
This guide explains how to publish your watch face, created using Watch Face Designer, to Google Play.
Sign into your developer account in Google Play
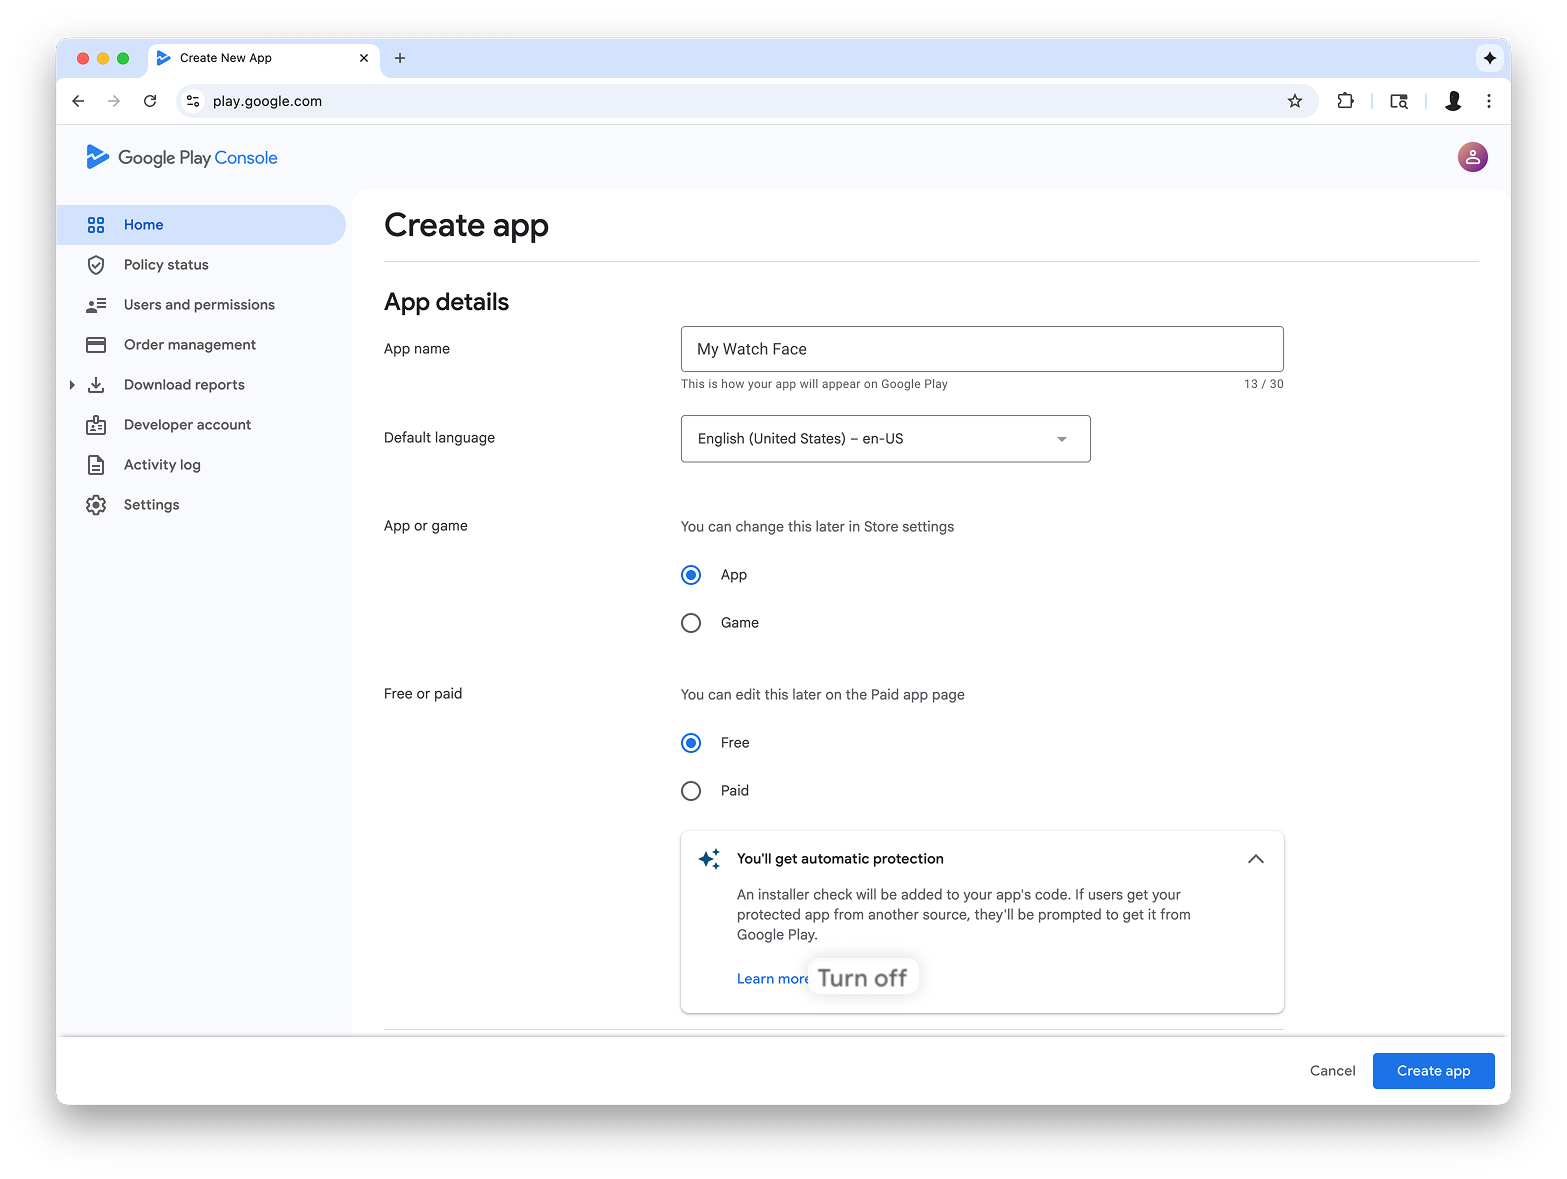
Sign in to Google Play Console and press 'Create App' on the dashboard.
During the "create app," workflow, turn off automatic protection when prompted; otherwise, you'll have issues signing the bundle later. Automatic protection isn't relevant to watch faces because they don't have any code.
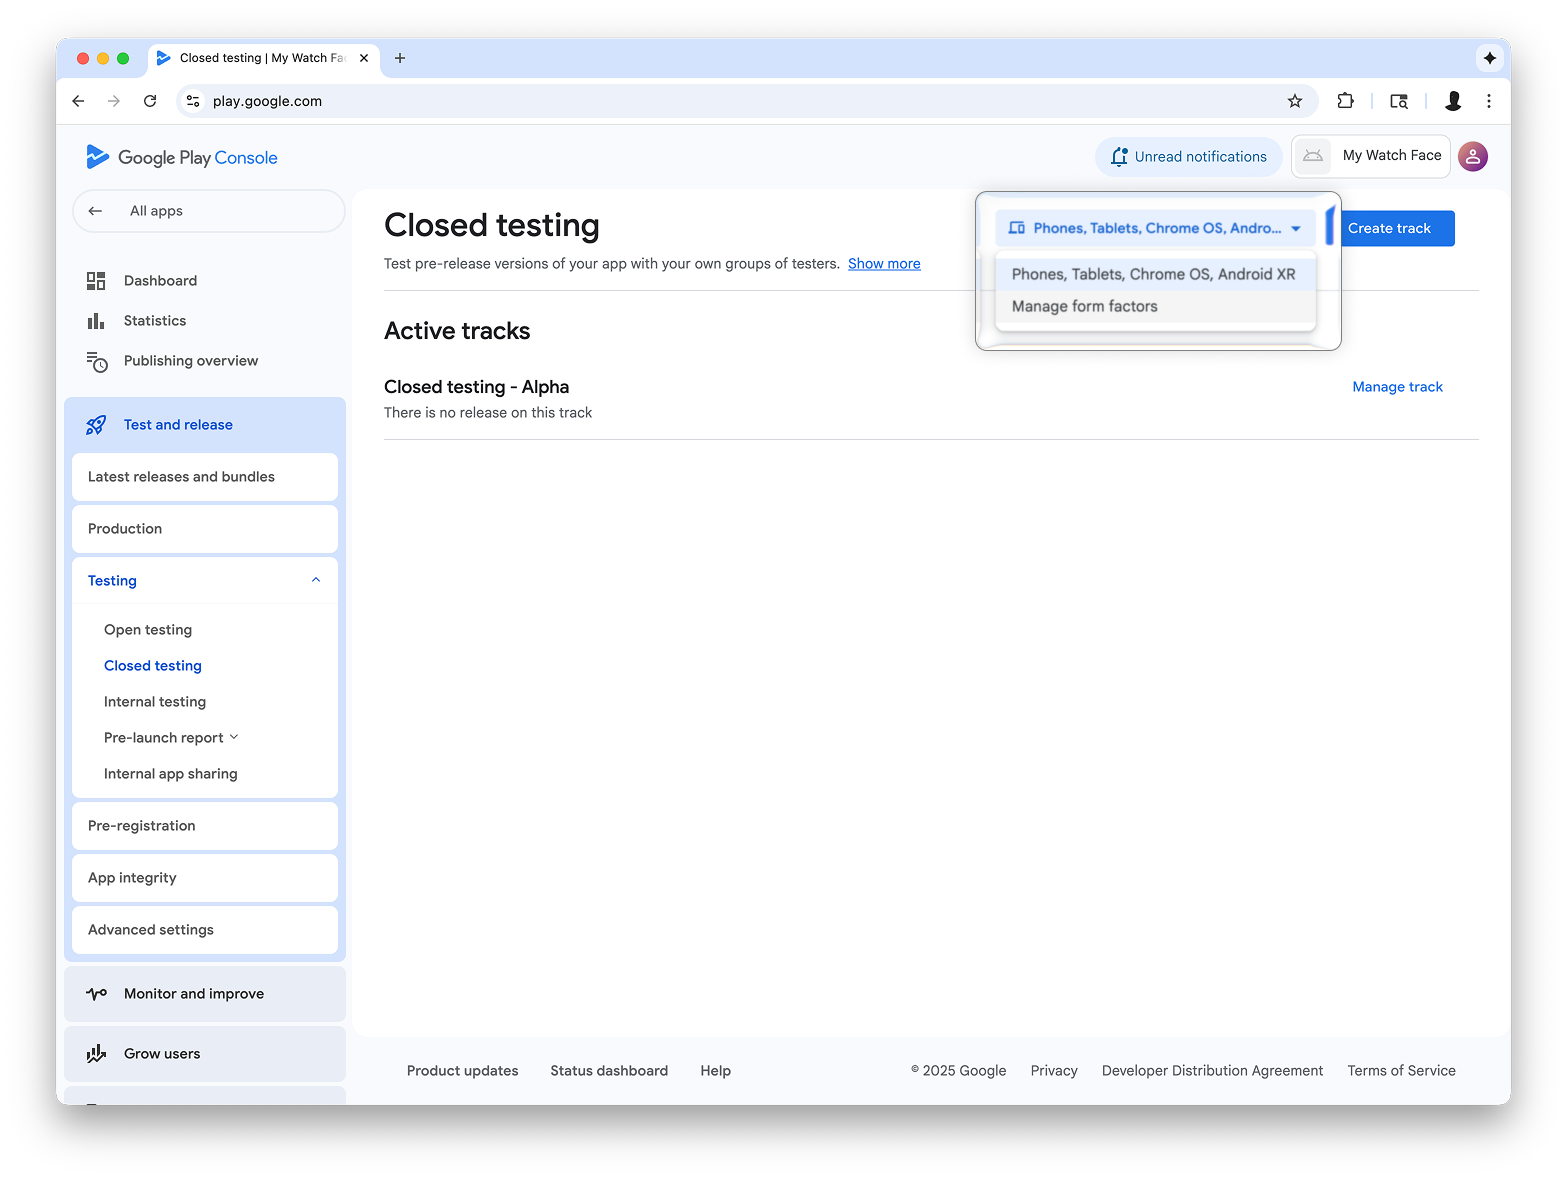
Add support for the Wear OS form factor
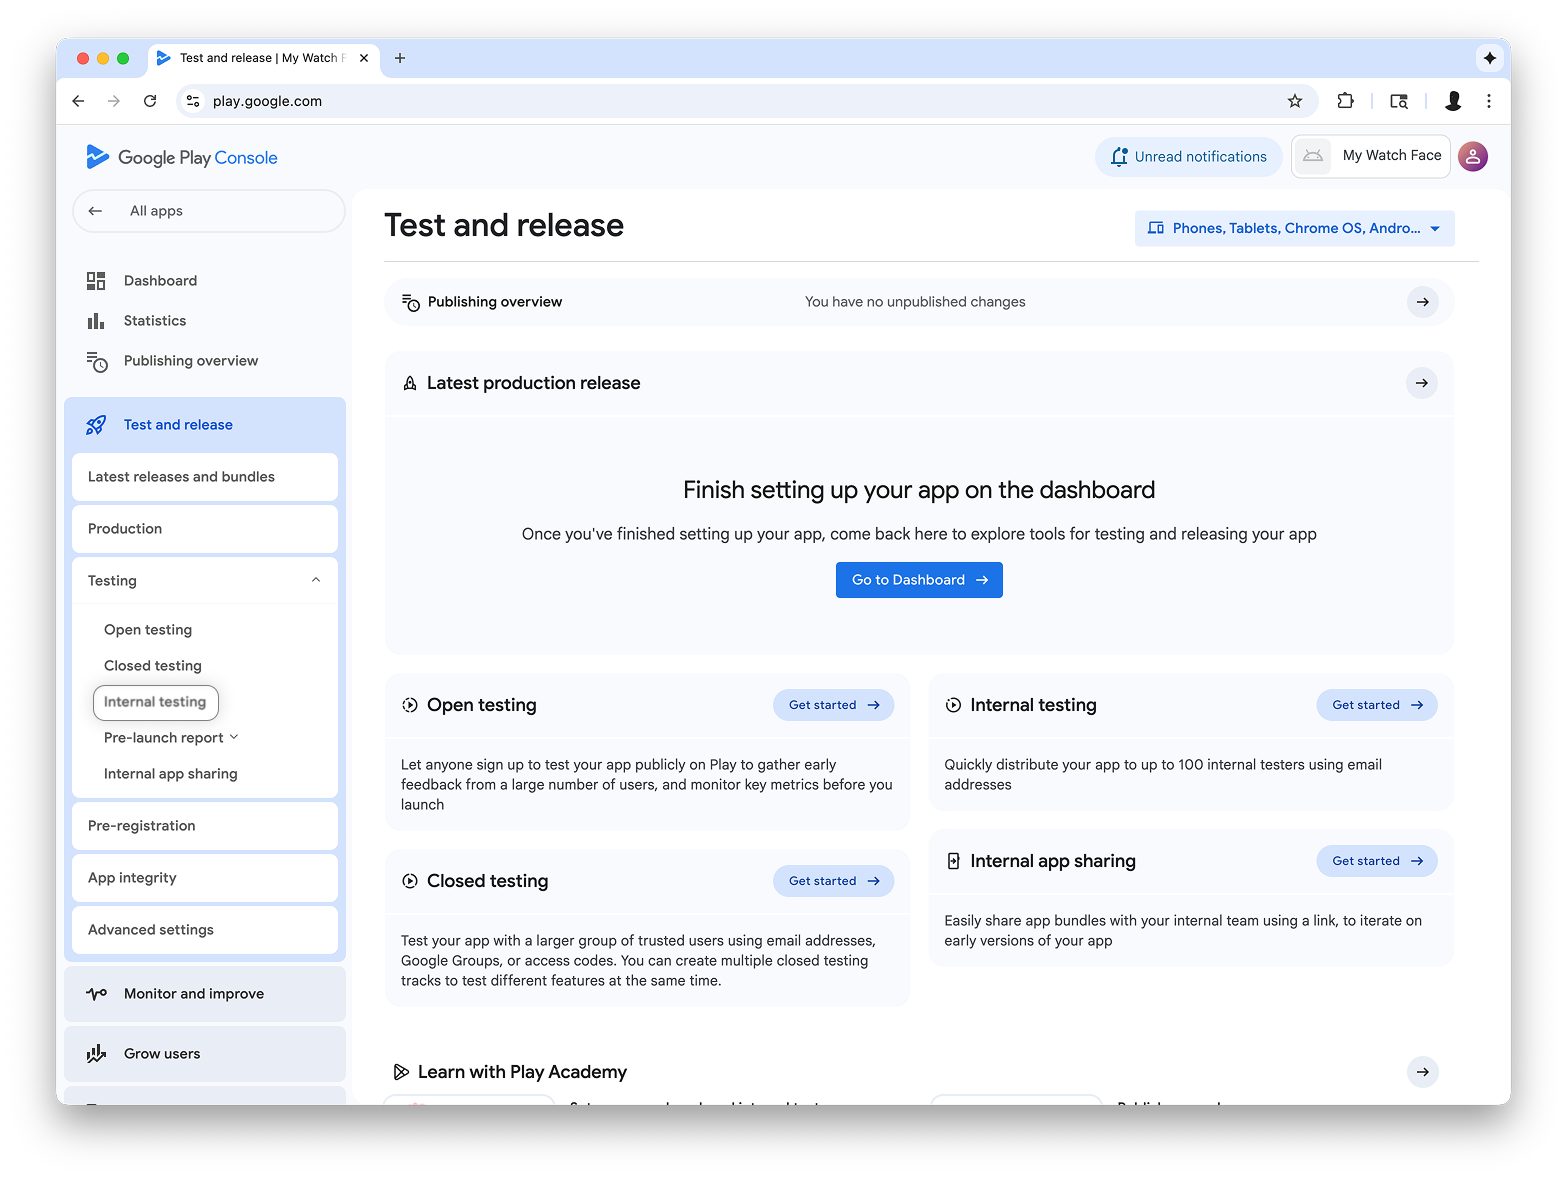
After you've created your app, navigate to Test and release > Testing > Internal testing:
In the drop-down in the top right of the page, select Manage form factors, and add Wear OS as a form factor for your app:

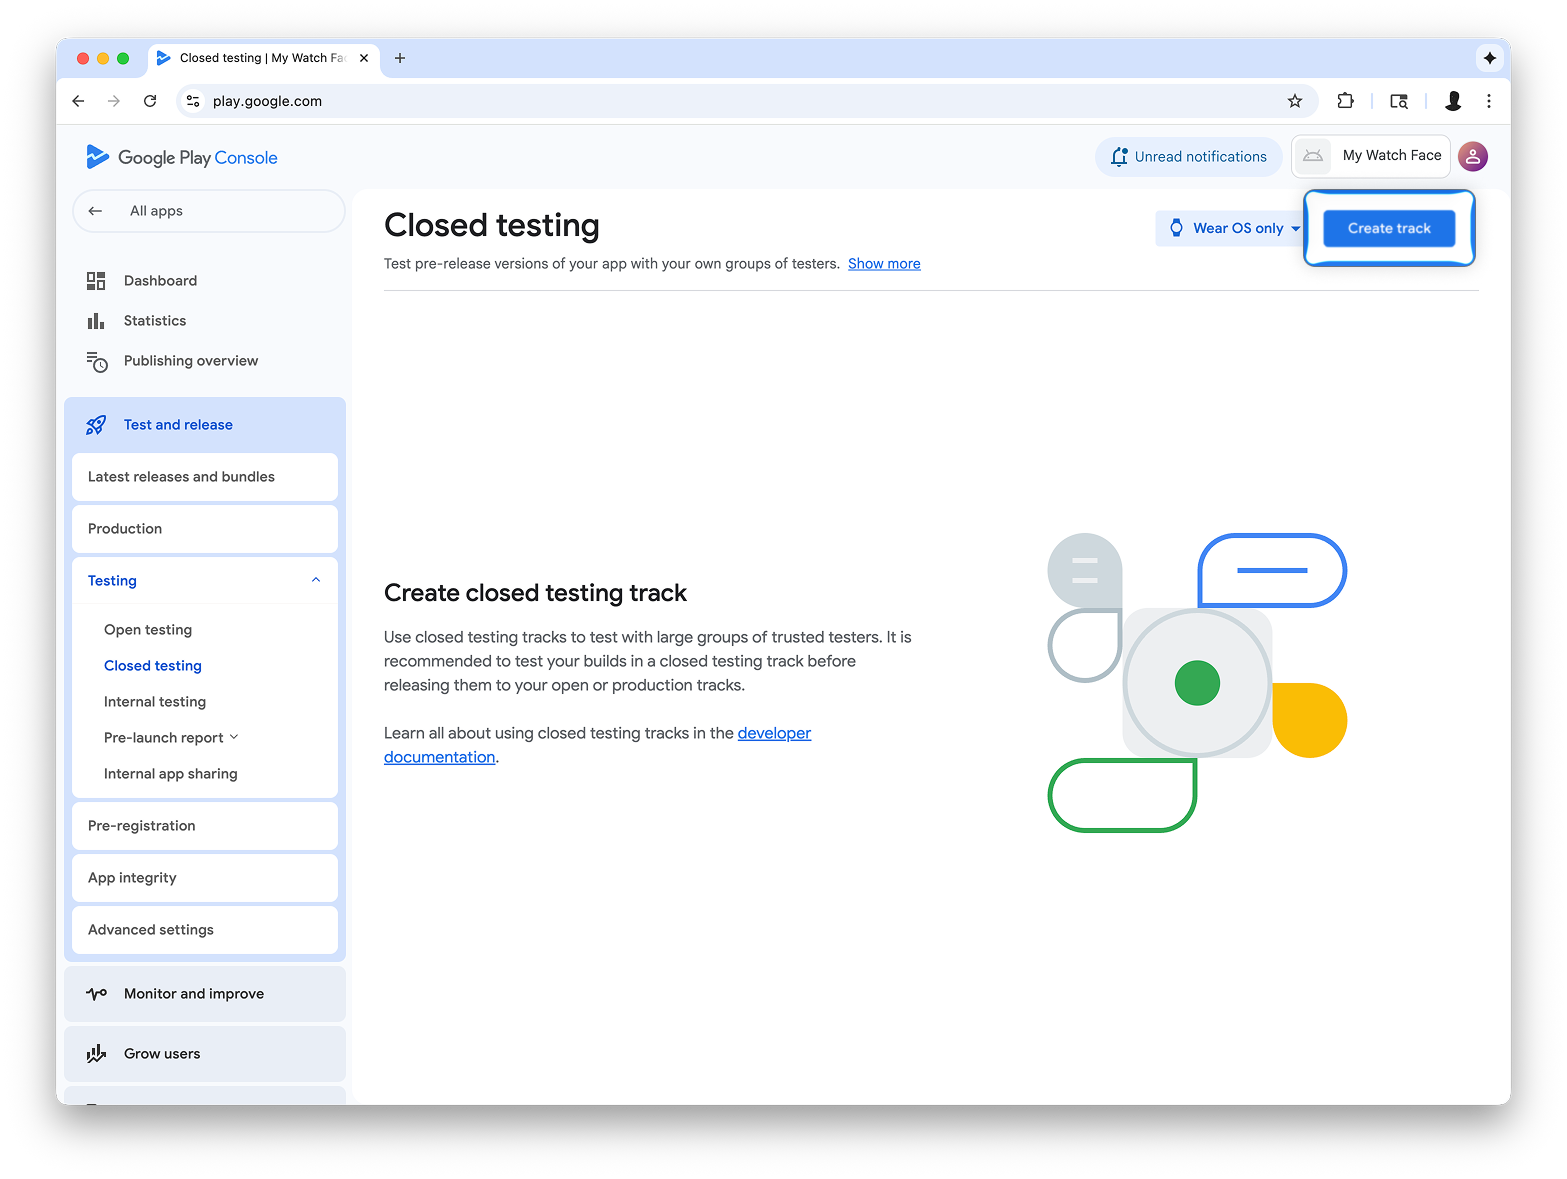
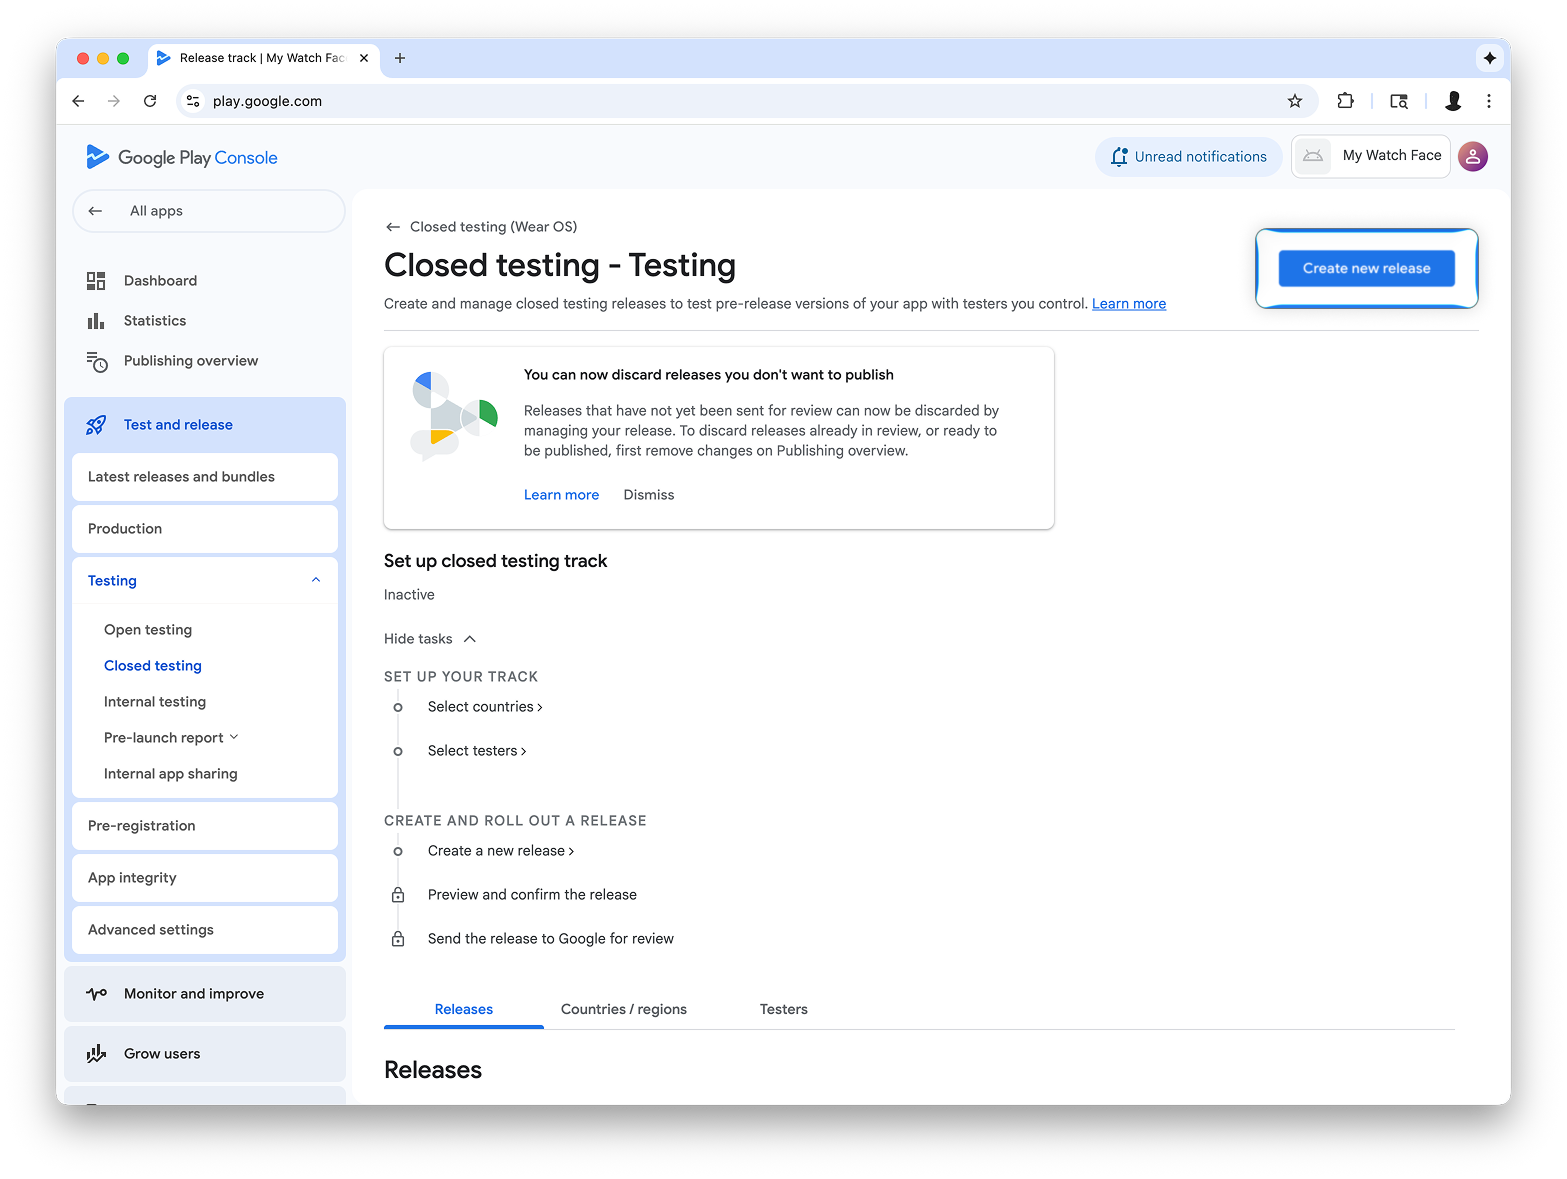
Create a release on the internal testing track
Return to the internal testing menu and create a Wear OS-only internal testing track. Then, create a release:
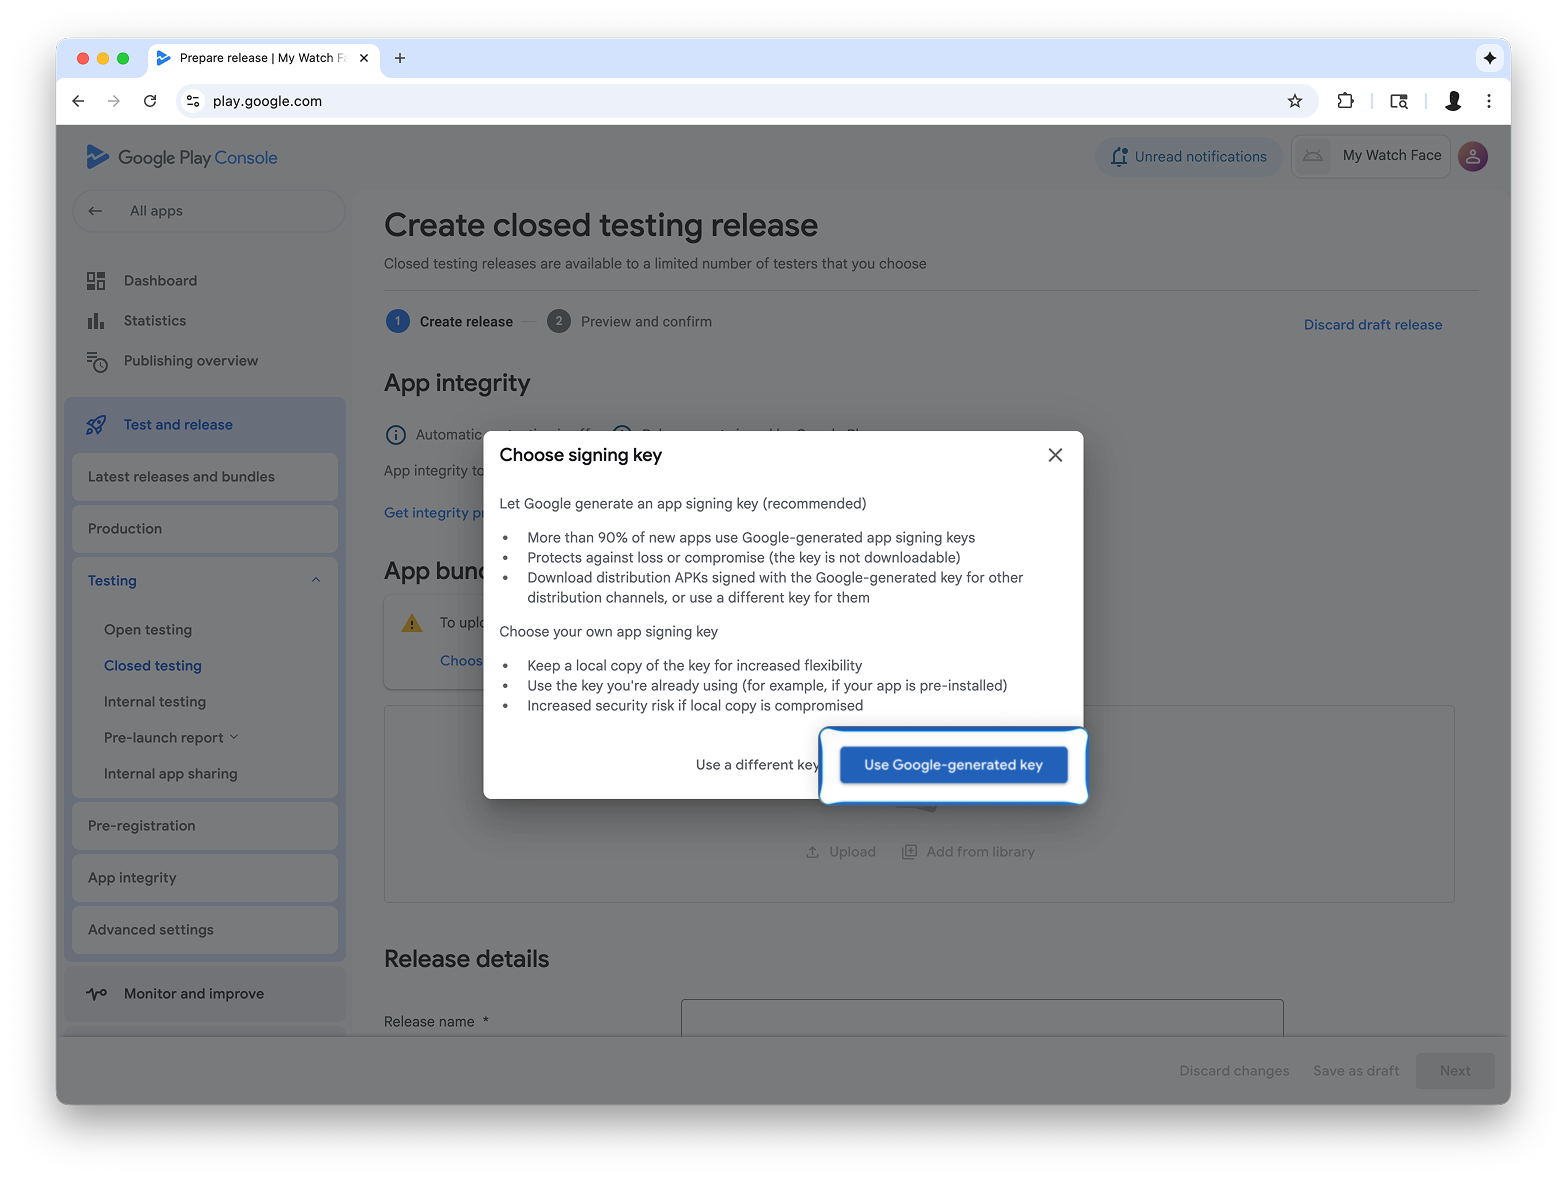
On the Create closed testing release screen, select Choose signing key.
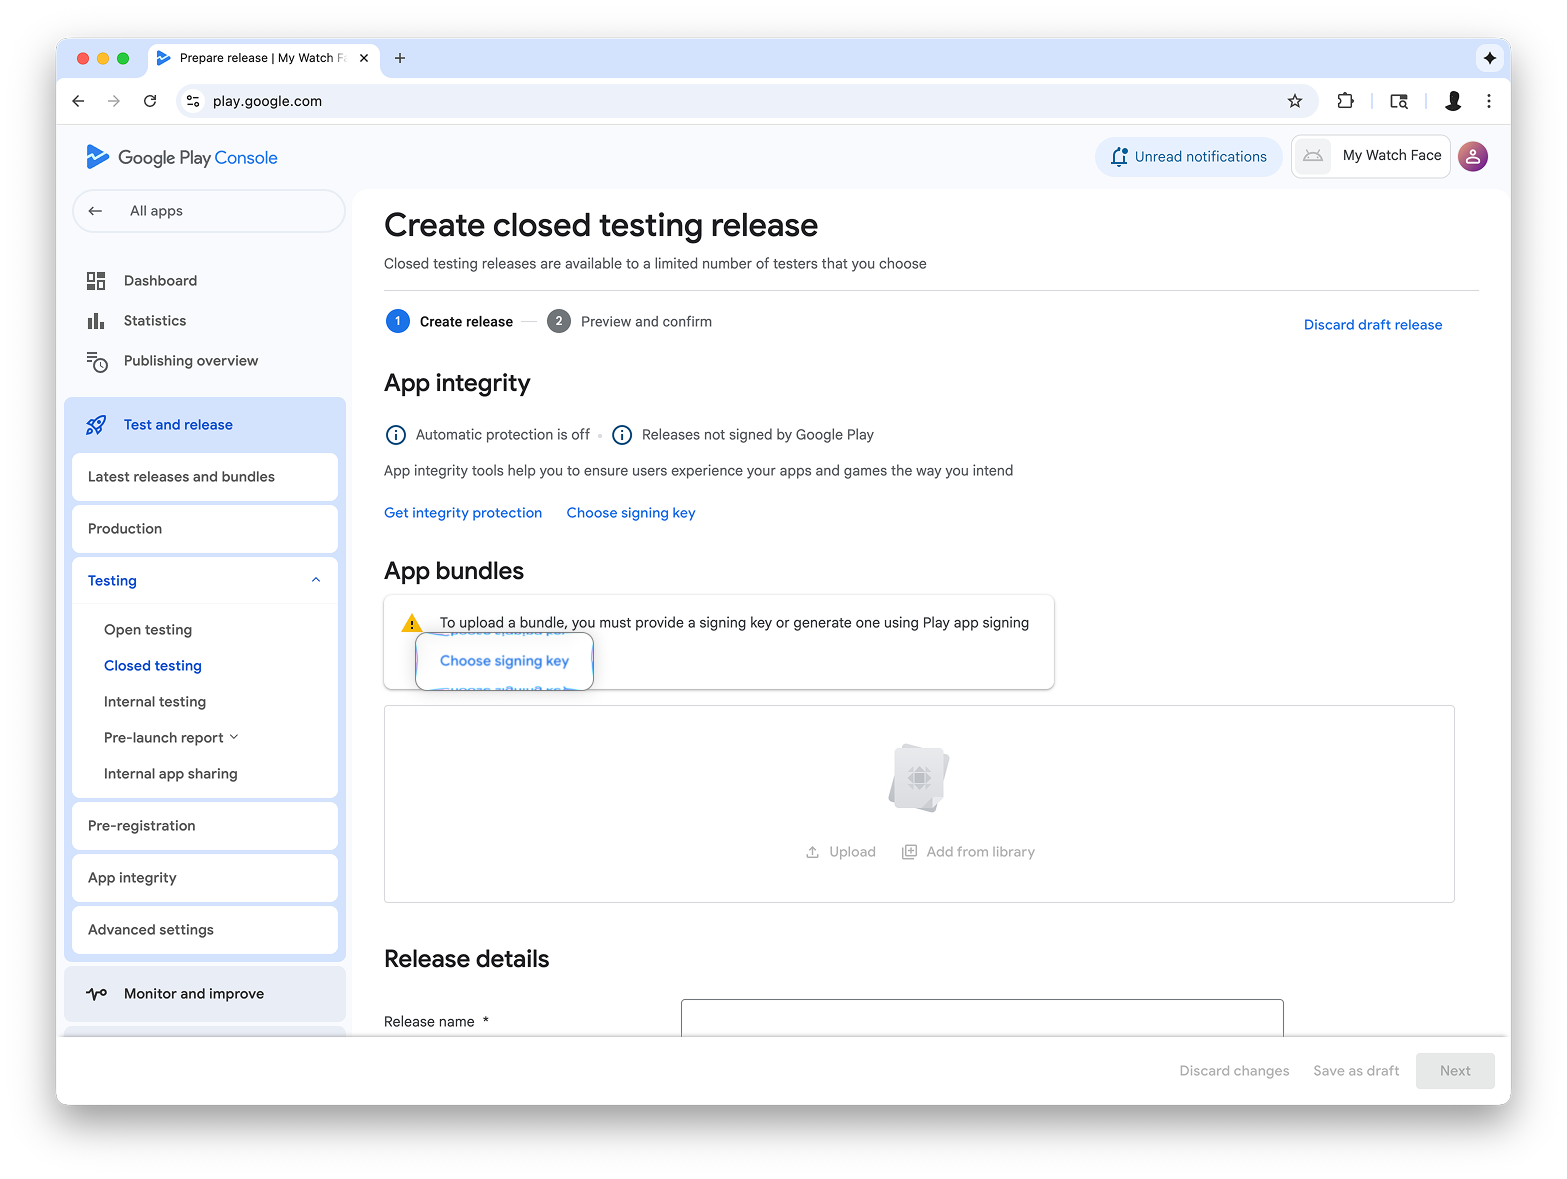
Drag-and-drop the AAB file from Watch Face Designer into the Upload section, and proceed with creating the release on the testing track.
Next steps
From here, follow official Google Play documentation on trying out apps in the testing track and promoting releases to production, which makes your app visible to everyone on Google Play.