Koleksiyonlar ile düzeninizi koruyun
İçeriği tercihlerinize göre kaydedin ve kategorilere ayırın.
Sık kullandığınız istemleri kaydedip yönetmek ve gerektiğinde hızlıca hatırlamak için İstem Kitaplığı'nı kullanın. Farklı dosyalar veya kodun farklı bölümleri için sık kullandığınız bir istem varsa istem yürütme sırasında seçilen kod veya dosya ile otomatik olarak değiştirilen bir istem şablonu değişkeni kullanabilirsiniz. Bu kolaylaştırılmış iş akışı, sık kullanılan istemleri yeniden yazma ihtiyacını ortadan kaldırarak zamandan ve emekten tasarruf etmenizi sağlar.
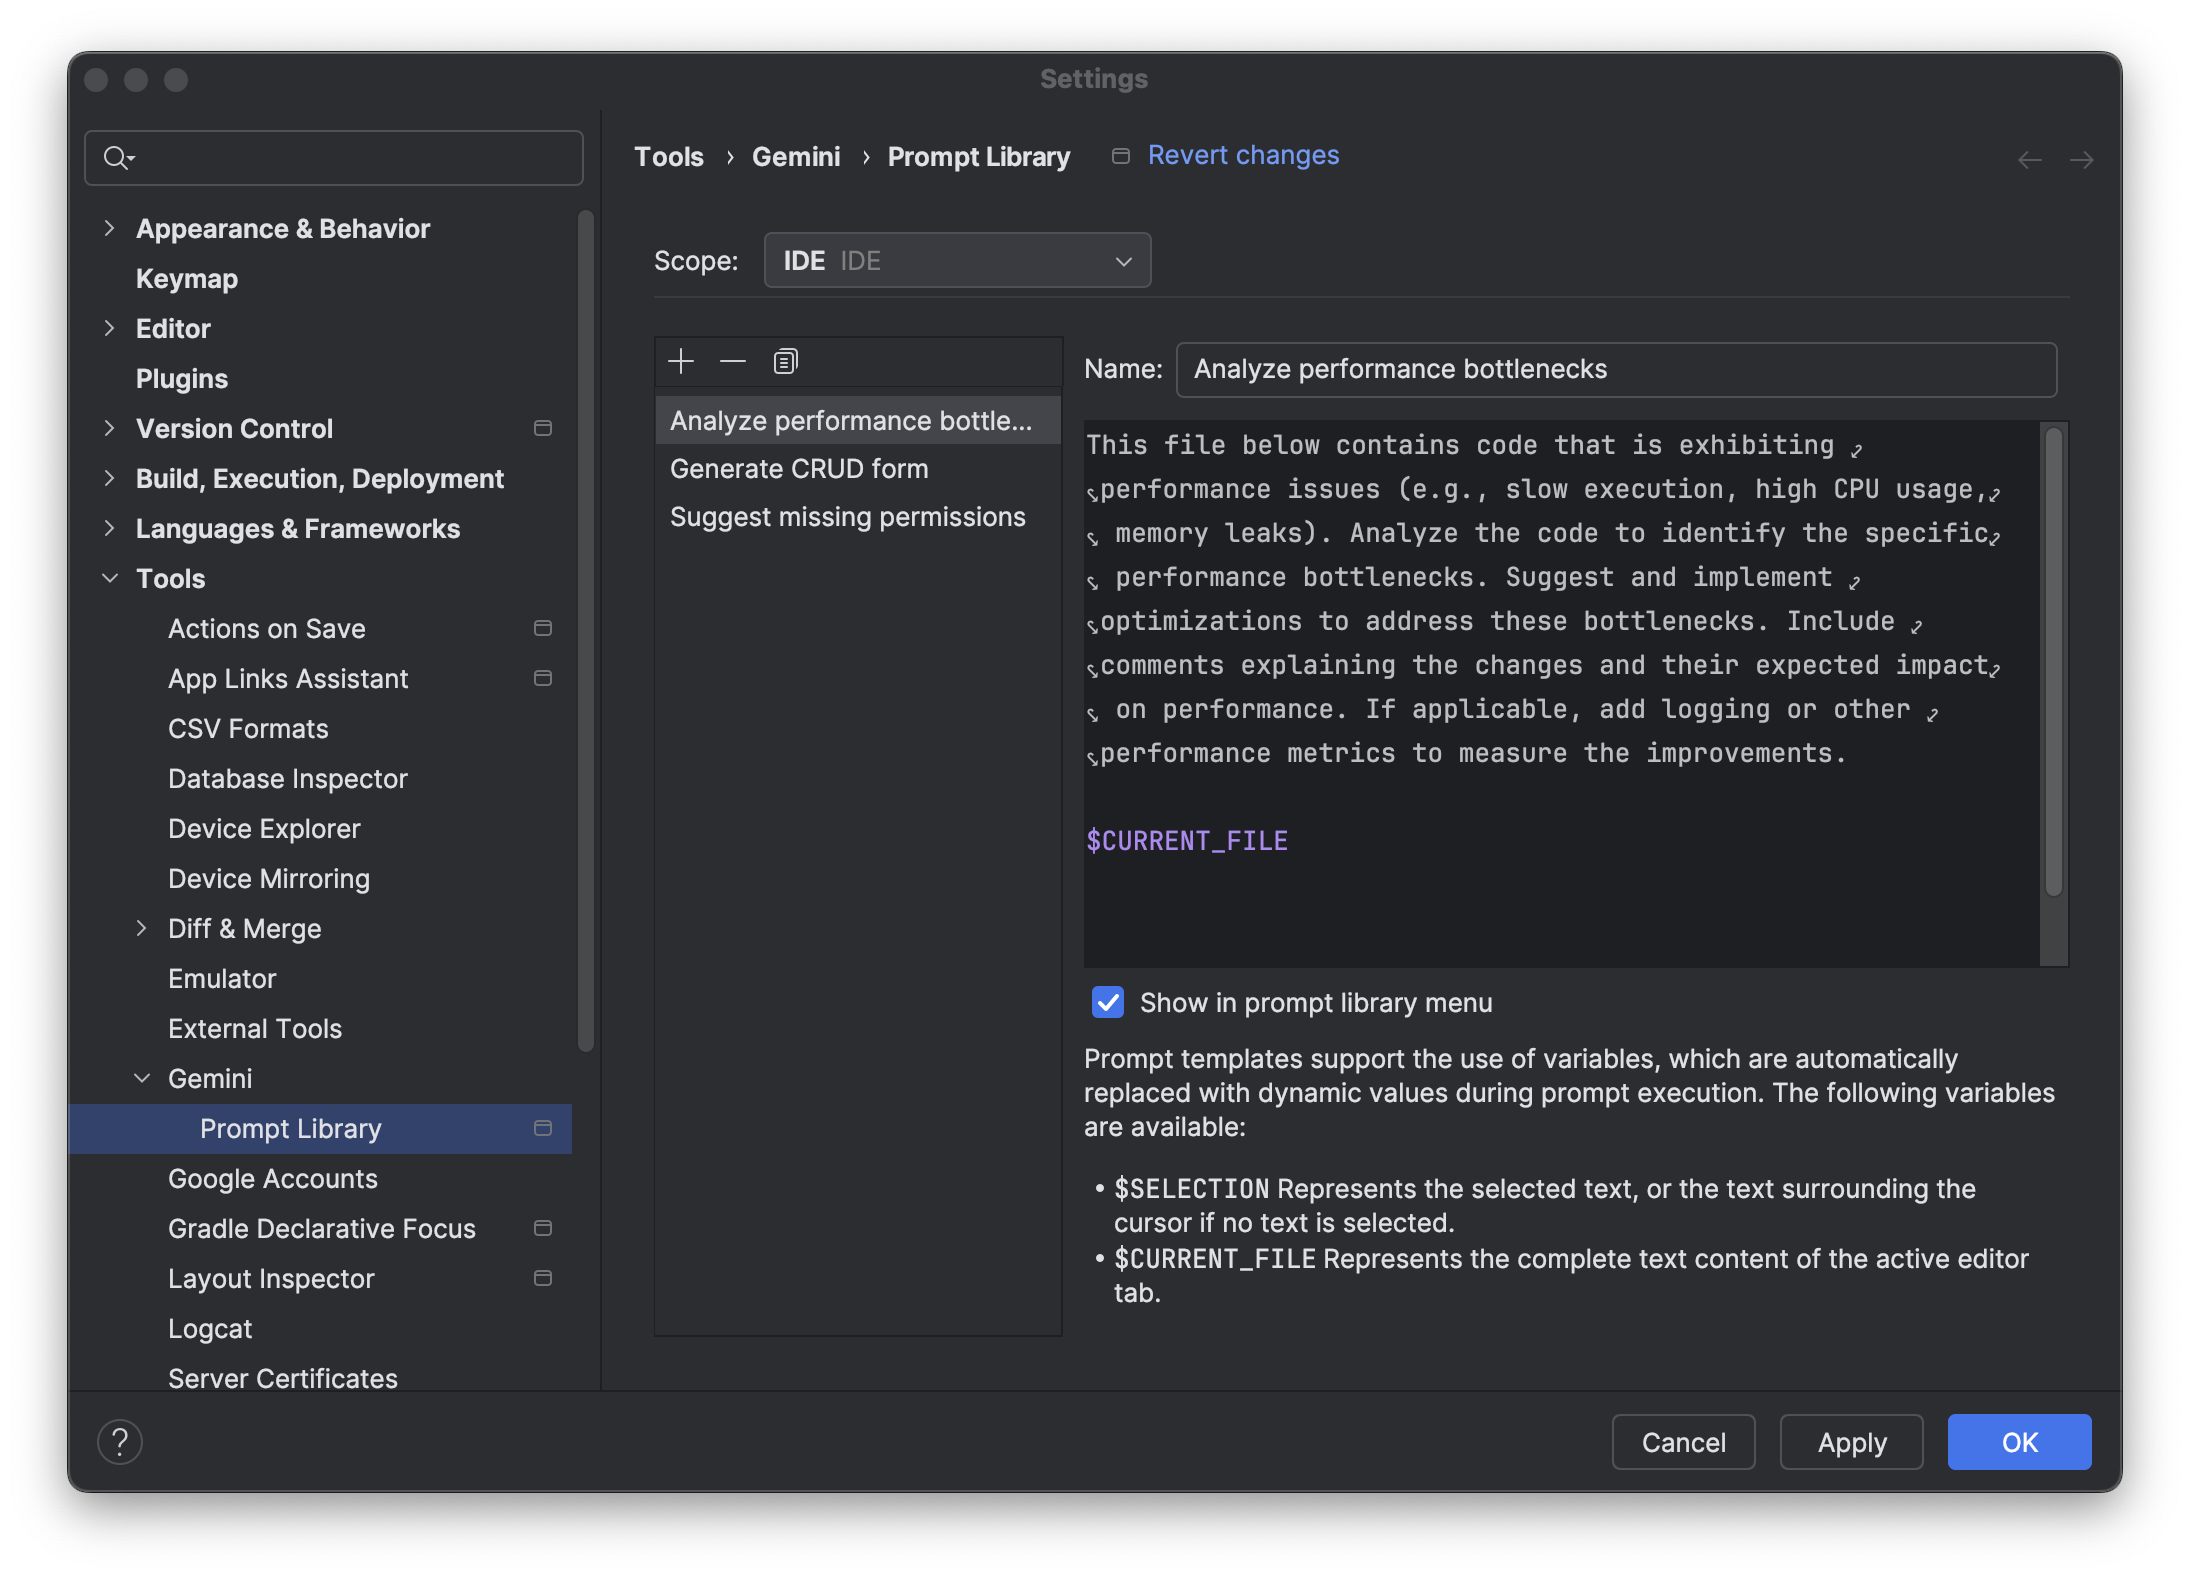
İsteme bir ad verin. Bu ad, düzenleyiciden istem uygulamak istediğinizde İstem Kitaplığı menüsünde görünür.
İstemi sağlanan alana girin. İstemde belirli bir koda referans verilmesi gerekiyorsa isteminizi çalıştırırken isteminizde aşağıdaki değişkenleri kullanarak ilgili kodu ekleyebilirsiniz:
$SELECTION: Seçili metni veya metin seçilmediyse imlecin etrafındaki metni gösterir.
$CURRENT_FILE - Dosyadaki, düzenleyicide şu anda etkin olan tüm metni temsil eder.
Değişiklikleri uygulamak ve diğer ayarları yapılandırmaya devam etmek için Uygula'yı tıklayın.
Değişiklikleri uygulamak ve ayarlar iletişim kutusundan hemen çıkmak için Tamam'ı tıklayın.
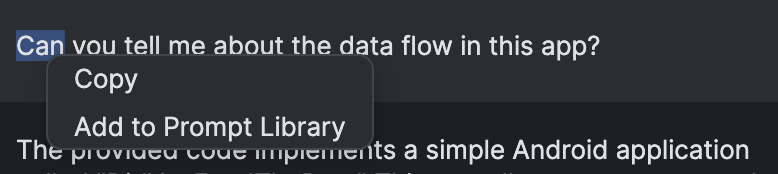
Ayrıca, sohbetteki bir istemi sağ tıklayarak daha sonra kullanmak üzere kaydedebilirsiniz. Kaydedilmiş bir istemi uygulamak için Düzenleyici'de sağ tıklayın ve Gemini > İstem Kitaplığı'na giderek istemi uygulayın.
Kayıtlı bir istemi kullanma
İstem kitaplığındaki bir istemi kullanmak için aşağıdaki adımları uygulayın:
Kullanmayı planladığınız istemle alakalıysa ilgili kodu vurgulayın. İstemde belirli bir koddan bahsedilmiyorsa imlecinizin dosyadaki konumu önemli değildir.
İstem listenizi almak için düzenleyicide sağ tıklayın ve Gemini > İstem Kitaplığı'na gidin.
İstemi Gemini'a göndermek için menüden istemi seçin.
Proje düzeyindeki istemleri paylaşma ve yönetme
Aynı proje üzerinde çalışan ekip arkadaşlarınızla proje düzeyindeki istemleri paylaşabilir ve bu istemleri yönetebilirsiniz. İstem Kitaplığı'nda bir istemi proje düzeyinde kaydettiğinizde istem <project-root>/.idea/project.prompts.xml konumunda saklanır. Proje düzeyindeki istemleri paylaşmak ve yönetmek için .idea klasörünü sürüm kontrolü sisteminize ekleyin.
Bu sayfadaki içerik ve kod örnekleri, İçerik Lisansı sayfasında açıklanan lisanslara tabidir. Java ve OpenJDK, Oracle ve/veya satış ortaklarının tescilli ticari markasıdır.
Son güncelleme tarihi: 2025-07-31 UTC.
[[["Anlaması kolay","easyToUnderstand","thumb-up"],["Sorunumu çözdü","solvedMyProblem","thumb-up"],["Diğer","otherUp","thumb-up"]],[["İhtiyacım olan bilgiler yok","missingTheInformationINeed","thumb-down"],["Çok karmaşık / çok fazla adım var","tooComplicatedTooManySteps","thumb-down"],["Güncel değil","outOfDate","thumb-down"],["Çeviri sorunu","translationIssue","thumb-down"],["Örnek veya kod sorunu","samplesCodeIssue","thumb-down"],["Diğer","otherDown","thumb-down"]],["Son güncelleme tarihi: 2025-07-31 UTC."],[],[],null,["# Save and manage prompts with the Prompt Library\n\nUse the Prompt Library to save and manage your frequently used prompts and\nquickly recall them when needed. If there's a prompt that you use often for\ndifferent files or different sections of code, you can use a prompt template\nvariable that is automatically replaced with the selected code or file during\nprompt execution. This streamlined workflow eliminates the need to retype\ncommonly used prompts, saving you time and effort.\n\nTo open the Prompt Library, go to **File** (**Android Studio** on macOS)\n**Settings \\\u003e Tools \\\u003e Gemini \\\u003e Prompt Library**.\n\nSave a prompt\n-------------\n\nTo add a prompt, follow these steps:\n\n1. Open the Prompt Library by clicking **File** (**Android Studio** on macOS) **\\\u003e Settings \\\u003e Tools \\\u003e Gemini \\\u003e Prompt Library**.\n2. To set the scope of the prompt, use the **Scope** drop-down:\n - IDE-level rules are private to yourself and can be used across multiple projects.\n - Project-level rules can be [shared among teammates](#share-project-prompts) working on the same project.\n3. To add a new prompt, click **Add** .\n4. Give the prompt a name. This name is what appears in the [Prompt Library menu](#use-saved-prompt) if you want to apply the prompt from the editor.\n5. Enter the prompt in the field provided. If the prompt involves referencing specific code, you can add the relevant code during prompt execution by using the following variables in your prompt:\n - `$SELECTION` - Represents the selected text, or text surrounding the cursor if no text is selected.\n - `$CURRENT_FILE` - Represents all the text in the file that's currently active in the editor.\n6. Optional: If you don't want the prompt to show up in the [Prompt Library menu](#use-saved-prompt), un-check **Show in Prompt Library menu**.\n7. To apply the changes and continue configuring other settings, click **Apply** . To apply the changes and immediately exit the settings dialog, click **Ok**.\n\nYou can also right-click on a prompt in chat to save it for later use. To apply\na saved prompt, right-click in the Editor and navigate to **Gemini \\\u003e Prompt\nLibrary** to apply the prompt.\n\nUse a saved prompt\n------------------\n\nTo use a prompt from the Prompt Library, follow these steps:\n\n1. Highlight the relevant code, if applicable to the prompt that you're planning to use. If the prompt doesn't reference specific code, it doesn't matter where your cursor is in the file.\n2. To get your list of prompts, right-click in the editor and go to **Gemini \\\u003e Prompt Library**.\n3. To submit the prompt to Gemini, select the prompt from the menu.\n\nShare and manage project-level prompts\n--------------------------------------\n\nYou can share and manage project-level prompts with teammates working on the\nsame project. When you save a prompt at the project level in the Prompt Library,\nthe prompt is stored at `\u003cproject-root\u003e/.idea/project.prompts.xml`. To share and\nmanage project-level prompts, add the `.idea` folder to your version control\nsystem."]]

 tıklayın.