设置 Eclipse(已弃用)
使用集合让一切井井有条
根据您的偏好保存内容并对其进行分类。
不再支持 Eclipse ADT 插件。我们建议迁移至 Android Studio,以便使用 ndk-build 或 CMake 编译、构建和封装应用的原生源代码。与 ndk-build 的兼容性让您可以轻松地将原生项目从 Eclipse 迁移到 Android Studio。如需详细了解 Android 官方 IDE 的原生开发知识,请参阅向您的项目添加 C 和 C++ 代码。
安装
要安装和配置 NDK,请按以下步骤操作:
- 获取并安装 Android SDK 命令行工具。
- 下载 NDK,确保下载的开发平台版本正确无误。您可以将解压后的目录放在本地驱动器上的任意位置。
- 使用包含 NDK 的目录的位置更新您的
PATH
环境变量。
在构建应用时,Eclipse 必须知道 NDK 的位置。请按照以下步骤设置 NDK 的位置。
- 启动作为 Android SDK 的一部分安装的 Eclipse。
- 依次打开 Window > Preferences。
- 在“Preferences”窗口左侧的窗格中,选择“Android”。“Android”部分将展开,显示若干子部分。
- 选择 NDK。在“Preferences”窗口右侧的窗格中,浏览到包含 NDK 的目录。
- 点击 OK 返回到“Package Explorer”显示画面。
验证
Eclipse
若要确认您已安装 NDK、正确设置 NDK 并已正确配置 Eclipse,请按以下步骤操作:
- 像任意其他 Android 项目一样从
<ndk>/samples/
导入 hello-jni 示例。
- 在“Project Explorer”窗格中,右键点击项目名称 (HelloJni)。系统将显示上下文菜单。
- 从上下文菜单中依次选择 Android Tools > Add Native Support。系统将显示“Add Android Native Support”窗口。
- 接受默认的库名称 (“hello-jni”),然后点击 Finish。
- 构建并执行应用。
命令行
若要通过命令行进行构建,请按以下步骤操作:
- 切换到项目的根目录。
- 执行 ndk-build 以构建应用的原生组件。通过在命令提示符中输入
ndk-build
执行此操作。
- 像使用 Java 编写的常规 Android 应用一样构建和安装项目。如需了解详情,请参阅配置构建和从命令行运行 Gradle。
如果您已成功安装和配置 NDK,目标设备上的屏幕如图 1 所示。
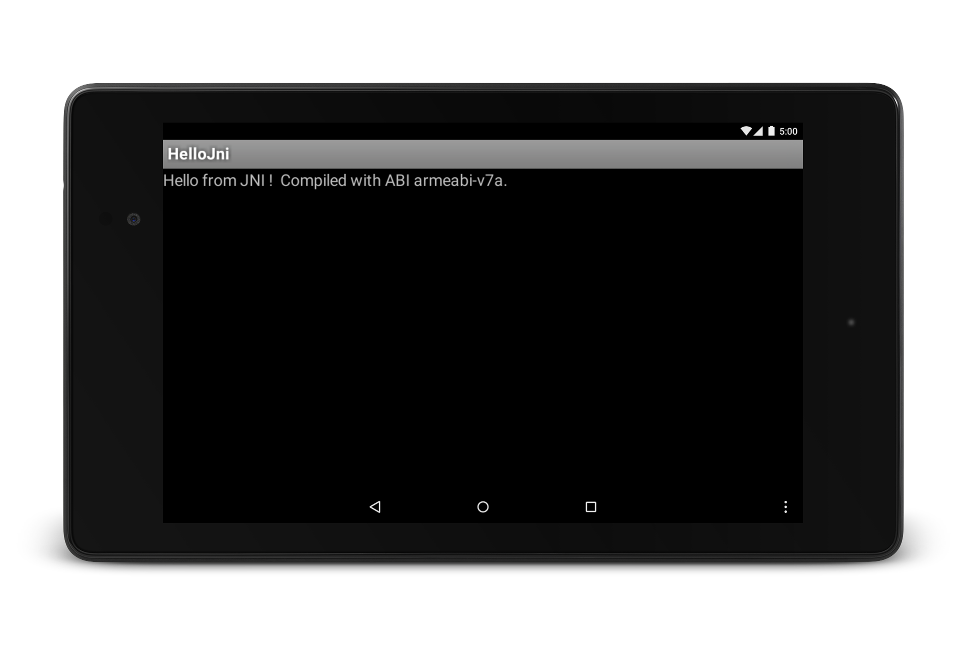
图 1. 成功启动后的目标设备屏幕。
如未另行说明,那么本页面中的内容已根据知识共享署名 4.0 许可获得了许可,并且代码示例已根据 Apache 2.0 许可获得了许可。有关详情,请参阅 Google 开发者网站政策。Java 是 Oracle 和/或其关联公司的注册商标。
最后更新时间 (UTC):2025-07-26。
[[["易于理解","easyToUnderstand","thumb-up"],["解决了我的问题","solvedMyProblem","thumb-up"],["其他","otherUp","thumb-up"]],[["没有我需要的信息","missingTheInformationINeed","thumb-down"],["太复杂/步骤太多","tooComplicatedTooManySteps","thumb-down"],["内容需要更新","outOfDate","thumb-down"],["翻译问题","translationIssue","thumb-down"],["示例/代码问题","samplesCodeIssue","thumb-down"],["其他","otherDown","thumb-down"]],["最后更新时间 (UTC):2025-07-26。"],[],[],null,["# Setup Eclipse (DEPRECATED)\n\n**The Eclipse ADT plugin is no longer supported** . We recommend [migrating to Android Studio](/studio/intro/migrate) to compile,\nbuild, and package your app's native sources using [ndk-build](/ndk/guides/ndk-build) or [CMake](https://cmake.org/). Compatibility with ndk-build makes it easy\nto migrate your native projects from Eclipse to Android Studio. To learn more\nabout native development with the official IDE for Android, read [Add C and C++ Code to Your\nProject](/studio/projects/add-native-code).\n\nInstallation\n------------\n\nTo install and configure the NDK, follow these steps:\n\n1. Get and install the [Android SDK command line tools](/studio#downloads).\n2. [Download the NDK](/ndk/downloads), making sure to download the correct version for your development platform. You may place the unzipped directory anywhere on your local drive.\n3. Update your `PATH` environment variable with the location of the directory that contains the NDK.\n\nConfiguring Eclipse\n-------------------\n\nEclipse must know where the NDK is in order to use it when building your app. Follow these steps\nto set the location of the NDK.\n\n1. Launch Eclipse, which is installed as part of the Android SDK.\n2. Open **Window** \\\u003e **Preferences**.\n3. In the pane on the left side of the *Preferences* window, select *Android* . The *Android* section expands, revealing a number of subsections.\n4. Select **NDK** . In the pane on the right side of the *Preferences* window, browse to the directory that contains the NDK.\n5. Click **OK** to return to the *Package Explorer* display.\n\nVerification\n------------\n\n### Eclipse\n\nTo confirm that you have installed the NDK, set it up correctly, and properly configured Eclipse,\nfollow these steps:\n\n1. Import the hello-jni sample from `\u003cndk\u003e/samples/`, as you would any other Android project.\n2. In the *Project Explorer* pane, right-click the project name (*HelloJni*). A context menu appears.\n3. From the context menu, select **Android Tools** \\\u003e **Add Native Support** . The *Add Android Native Support* window appears.\n4. Accept the default library name (\"hello-jni\"), and click **Finish**.\n5. Build and execute the application.\n\n### Command line\n\nFollow these steps to build from the command line:\n\n1. Change to the root directory of your project.\n2. Execute ndk-build to build the native component of your app. do this by typing `ndk-build` at the command prompt.\n3. Build and install your project as you would a regular Android app written in Java. For more information, see [Configure Your Build](/studio/build) and [Run Gradle from the Command Line](/studio/build/building-cmdline).\n\nIf you have successfully installed and configured the NDK, the screen on your target device looks\nas shown in Figure 1.\n\n\n**Figure 1.** Target-device screen after successful launch."]]