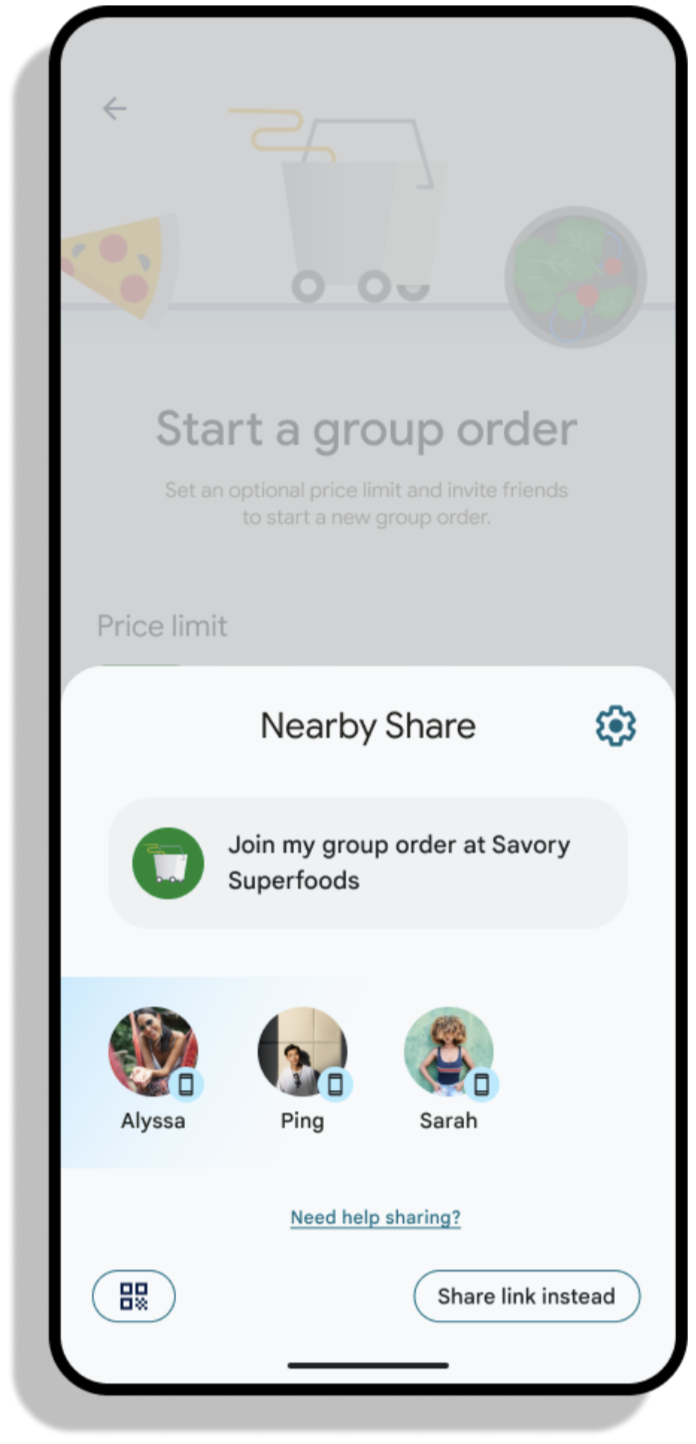
Hầu hết mọi trải nghiệm trên nhiều thiết bị đều bắt đầu bằng việc tìm các thiết bị có sẵn. Người nhận để đơn giản hoá tác vụ chung này, chúng tôi cung cấp API Khám phá thiết bị.

Khởi chạy hộp thoại chọn thiết bị
Tính năng khám phá thiết bị sử dụng hộp thoại hệ thống để cho phép người dùng chọn một thiết bị mục tiêu. Người nhận
để bắt đầu hộp thoại chọn thiết bị, trước tiên, bạn cần tải thông tin khám phá thiết bị
ứng dụng khách và đăng ký trình nhận kết quả. Lưu ý rằng tương tự như
registerForActivityResult, receiver này phải được đăng ký vô điều kiện dưới dạng
của đường dẫn khởi tạo mảnh hoặc hoạt động.
Kotlin
override fun onCreate(savedInstanceState: Bundle?) {
  super.onCreate(savedInstanceState)
  devicePickerLauncher = Discovery.create(this).registerForResult(this, handleDevices)
}
Java
@Override
public void onCreate(@Nullable Bundle savedInstanceState) {
  super.onCreate(savedInstanceState);
  devicePickerLauncher = Discovery.create(this).registerForResult(this, handleDevices);
}
Trong đoạn mã trên, chúng ta có một đối tượng handleDevices không xác định. Sau
người dùng chọn thiết bị để kết nối và sau khi SDK thành công
kết nối với các thiết bị khác, lệnh gọi lại này sẽ nhận được danh sách Participants
đã chọn.
Kotlin
handleDevices = OnDevicePickerResultListener { participants -> participants.forEach {
    // Use participant info
  }
}
Java
handleDevices = participants -> {
   for (Participant participant : participants) {
      // Use participant info
   }
}
Sau khi đăng ký bộ chọn thiết bị, hãy chạy bộ chọn đó bằng devicePickerLauncher
thực thể. DevicePickerLauncher.launchDevicePicker nhận hai tham số – một
danh sách bộ lọc thiết bị (xem phần dưới đây) và startComponentRequest. Chiến lược phát hành đĩa đơn
startComponentRequest dùng để cho biết hoạt động nào sẽ được bắt đầu vào
thiết bị nhận và lý do yêu cầu được hiển thị cho người dùng.
Kotlin
devicePickerLauncher.launchDevicePicker(
  listOf(),
  startComponentRequest {
    action = "com.example.crossdevice.MAIN"
    reason = "I want to say hello to you"
  },
)
Java
devicePickerLauncher.launchDevicePickerFuture(
    Collections.emptyList(),
    new StartComponentRequest.Builder()
        .setAction("com.example.crossdevice.MAIN")
        .setReason("I want to say hello to you")
        .build());
Chấp nhận yêu cầu kết nối
Khi người dùng chọn một thiết bị trong bộ chọn thiết bị, một hộp thoại sẽ xuất hiện trên
thiết bị nhận để yêu cầu người dùng chấp nhận kết nối. Sau khi được chấp nhận,
khởi chạy hoạt động mục tiêu. Bạn có thể xử lý việc này trong onCreate và
onNewIntent
Kotlin
override fun onCreate(savedInstanceState: Bundle?) {
  super.onCreate(savedInstanceState)
  handleIntent(getIntent())
}

override fun onNewIntent(intent: Intent) {
  super.onNewIntent(intent)
  handleIntent(intent)
}

private fun handleIntent(intent: Intent) {
  val participant = Discovery.create(this).getParticipantFromIntent(intent)
  // Accept connection from participant (see below)
}
Java
@Override
public void onCreate(@Nullable Bundle savedInstanceState) {
  super.onCreate(savedInstanceState);
  handleIntent(getIntent());
}

@Override
public void onNewIntent(Intent intent) {
  super.onNewIntent(intent);
  handleIntent(intent);
}

private void handleIntent(Intent intent) {
  Participant participant = Discovery.create(this).getParticipantFromIntent(intent);
  // Accept connection from participant (see below)
}
Bộ lọc thiết bị
Khi khám phá các thiết bị, thông thường, họ chỉ muốn lọc các thiết bị này theo hiển thị những mô hình có liên quan đến trường hợp sử dụng đó. Ví dụ:
- Lọc để chỉ xem các thiết bị có máy ảnh để giúp quét mã QR
- Chỉ lọc ra TV để có trải nghiệm xem trên màn hình lớn
Đối với bản dùng thử này cho nhà phát triển, chúng ta sẽ bắt đầu với khả năng lọc để thiết bị thuộc sở hữu của cùng một người dùng.
Bạn có thể chỉ định bộ lọc thiết bị bằng cách sử dụng lớp DeviceFilter:
Kotlin
val deviceFilters = listOf(DeviceFilter.trustRelationshipFilter(MY_DEVICES_ONLY))
Java
List<DeviceFilter> deviceFilters =
    Arrays.asList(DeviceFilter.trustRelationshipFilter(MY_DEVICES_ONLY));
Sau khi xác định bộ lọc thiết bị, bạn có thể bắt đầu khám phá thiết bị.
Kotlin
devicePickerLauncher.launchDevicePicker(deviceFilters, startComponentRequest)
Java
Futures.addCallback(
    devicePickerLauncher.launchDevicePickerFuture(deviceFilters, startComponentRequest),
    new FutureCallback<Void>() {
      @Override
      public void onSuccess(Void result) {
        // do nothing, result will be returned to handleDevices callback
      }

      @Override
      public void onFailure(Throwable t) {
        // handle error
      }
    },
    mainExecutor);
Lưu ý rằng launchDevicePicker là một hàm không đồng bộ sử dụng
Từ khoá suspend.
