
Dynamic System Updates (DSU) is a system feature introduced in Android 10 that does the following:
- Downloads a new GSI (or other Android system image) onto your device.
- Creates a new dynamic partition.
- Loads the downloaded GSI onto the new partition.
- Boots the GSI as a guest OS on the device.
DSU also enables you to easily switch between the current system image and the GSI so you can try GSI without risking corruption of the current system image.
DSU requirements
DSU depends on the Android Dynamic Partition feature and requires the GSIs to be signed by Google or your OEMs as a trusted system image.
DSU is a feature provided by your device’s manufacturer. Refer to your device manufacturer’s support page for availability. Google has enabled DSU on Pixel 3 and newer devices since the Android 10 Beta 4 release.
Install GSIs using DSU and the command line
This section describes how to install a GSI using DSU and the command line.
Launch DSU
Launch DSU using the adb tool.
Download a GSI from the GSI release page or another GSI image server.
gzip the GSI.
gzip -c system_raw.img > system_raw.gz
Push the GSI to the device.
adb push system_raw.gz /storage/emulated/0/Download/
Launch DSU using
adb.adb shell am start-activity \ -n com.android.dynsystem/com.android.dynsystem.VerificationActivity \ -a android.os.image.action.START_INSTALL \ -d file:///storage/emulated/0/Download/system_raw.gz \ --el KEY_SYSTEM_SIZE $(du -b system_raw.img|cut -f1) \ --el KEY_USERDATA_SIZE 8589934592
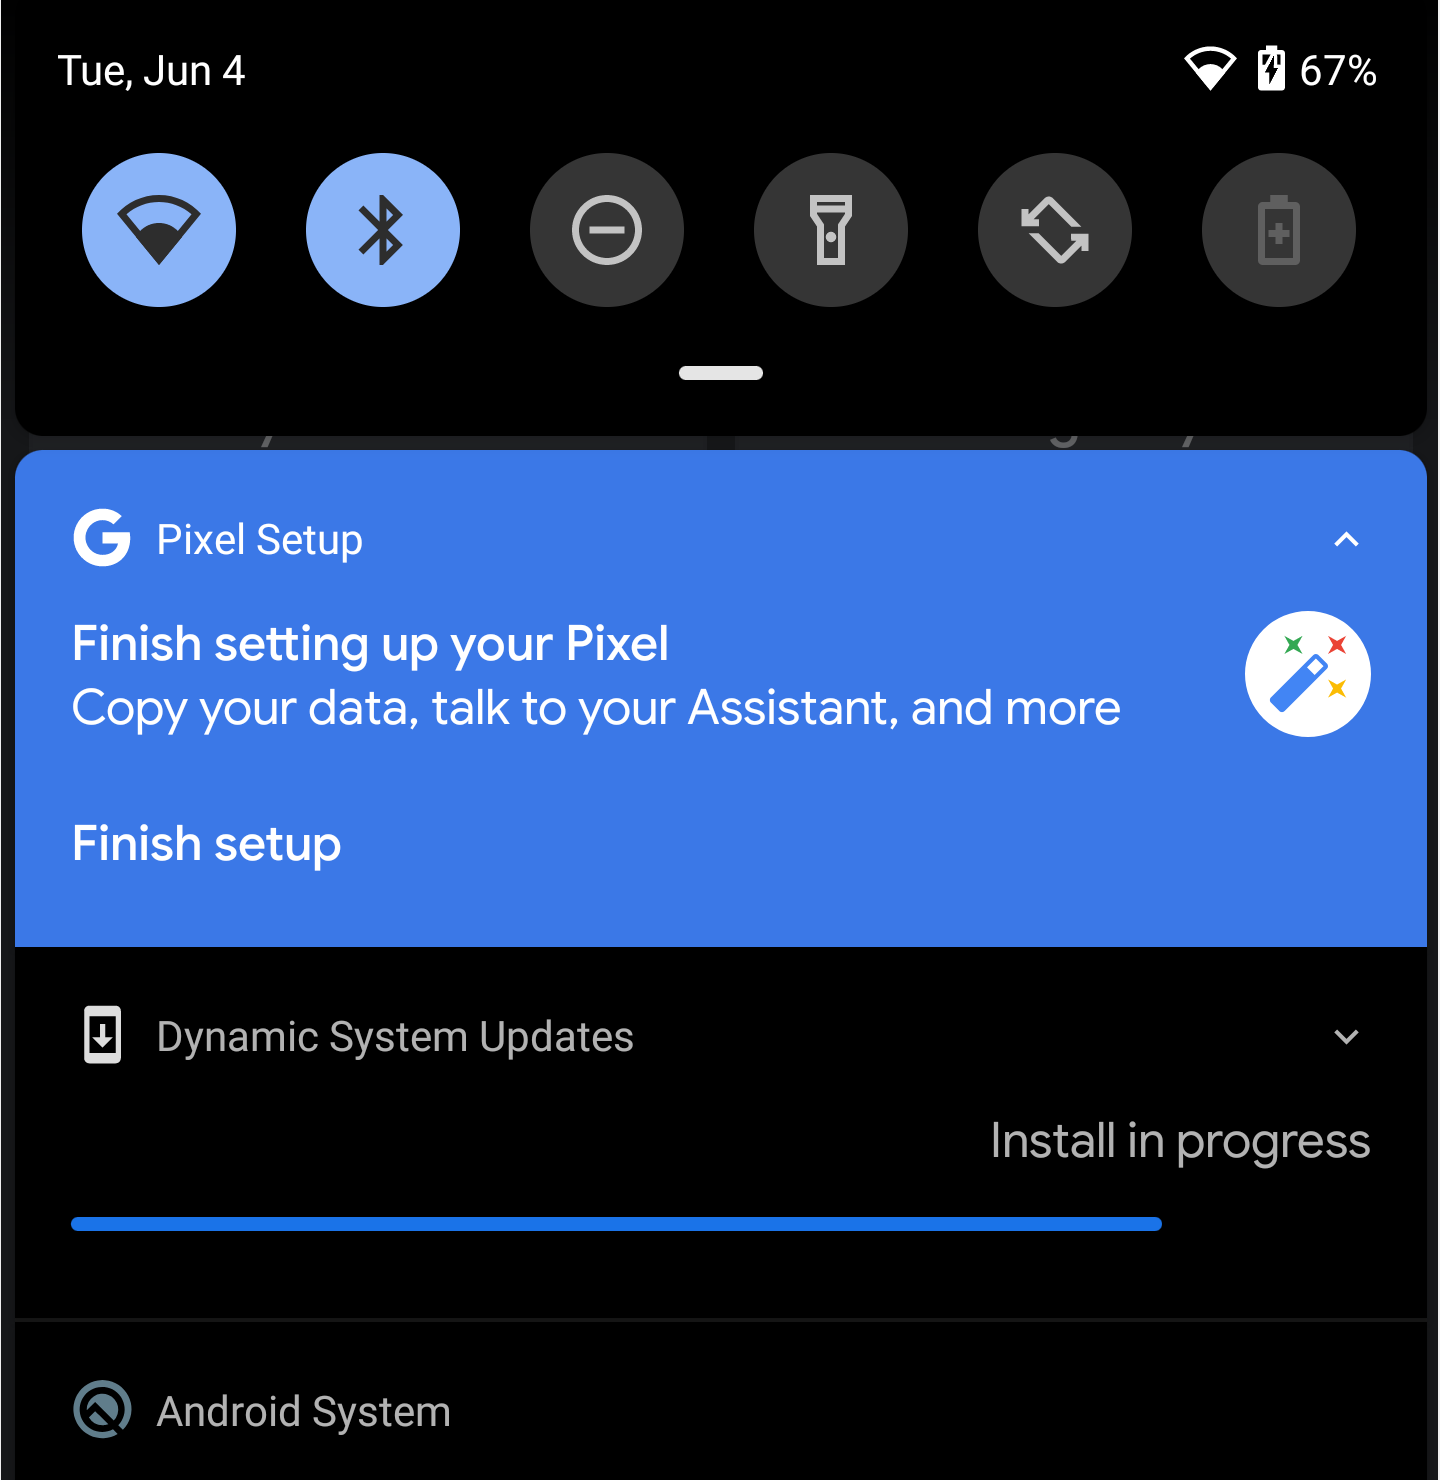
A notification like this one shows the status of the installation.
Boot into the GSI
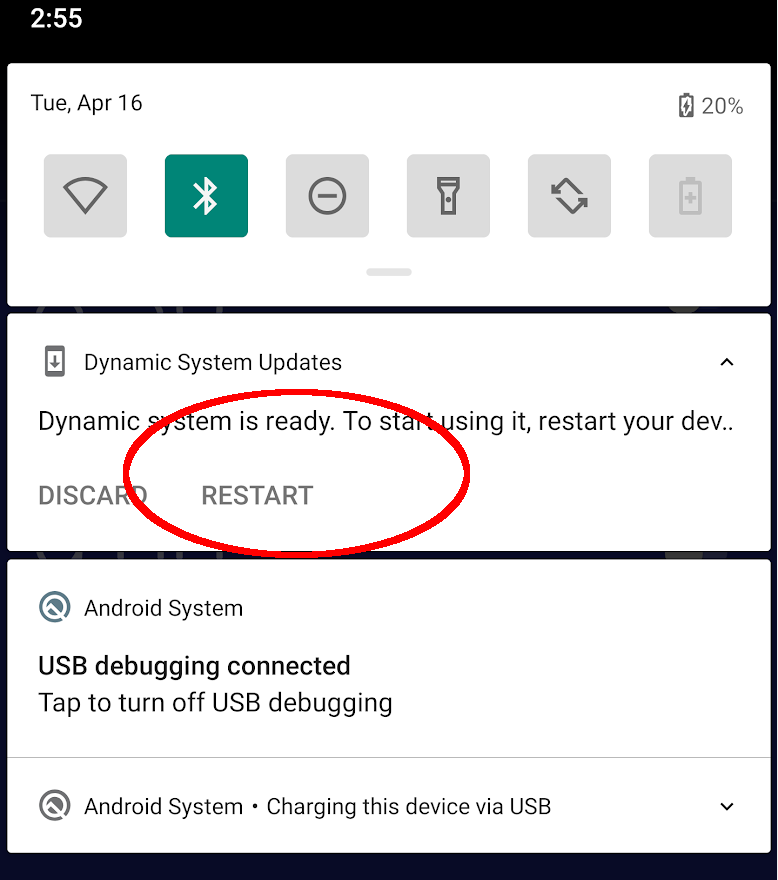
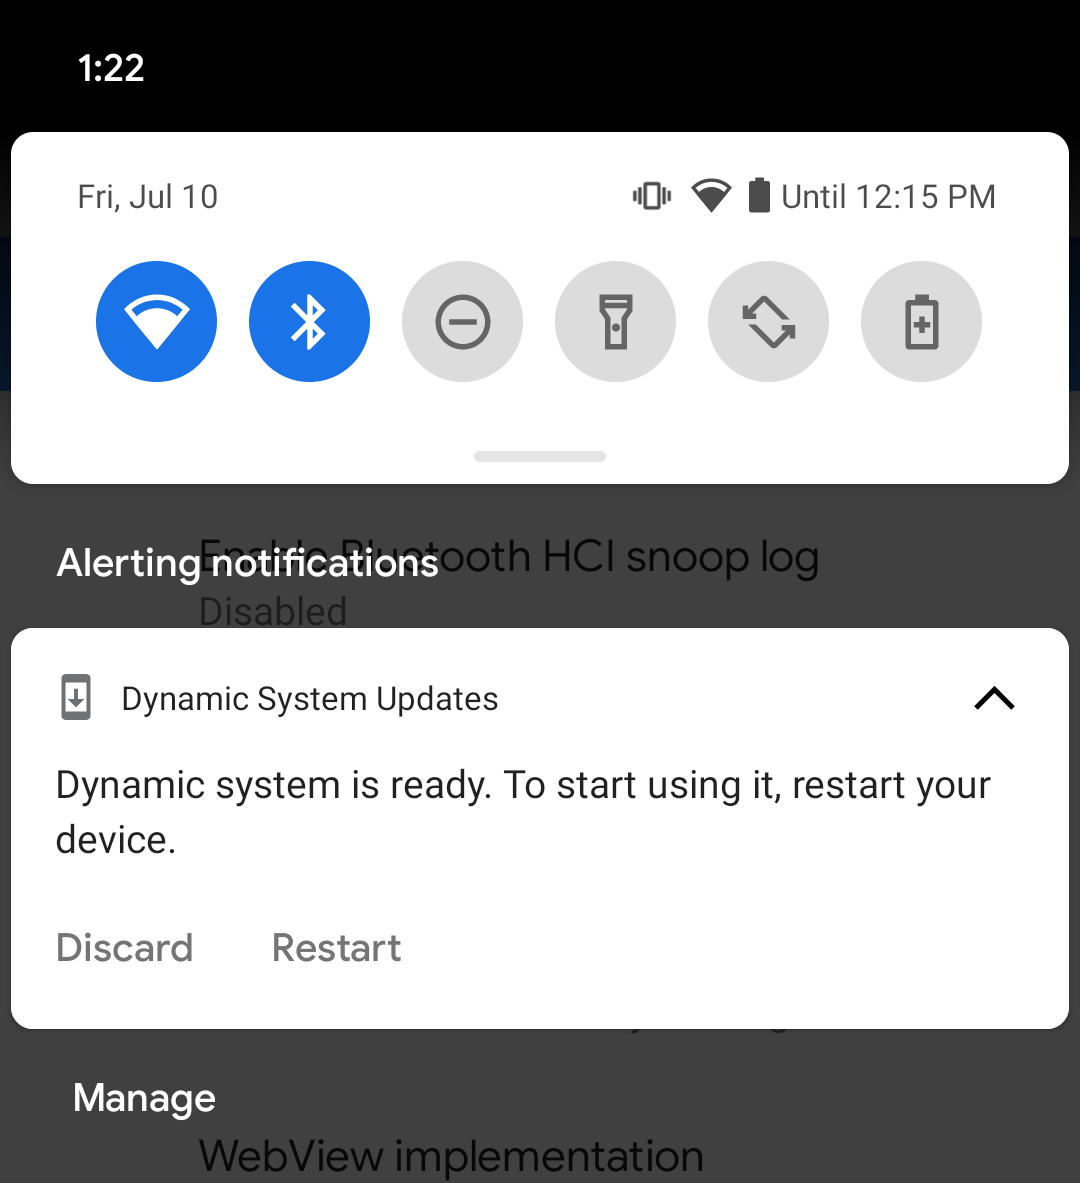
After DSU installs the GSI, a DSU menu appears as a persistent notification inside the system notification drawer (see figure 1).
At this point, you can do one of the following:
- Boot into the GSI by tapping Restart.
- Clean up the GSI by tapping Discard.
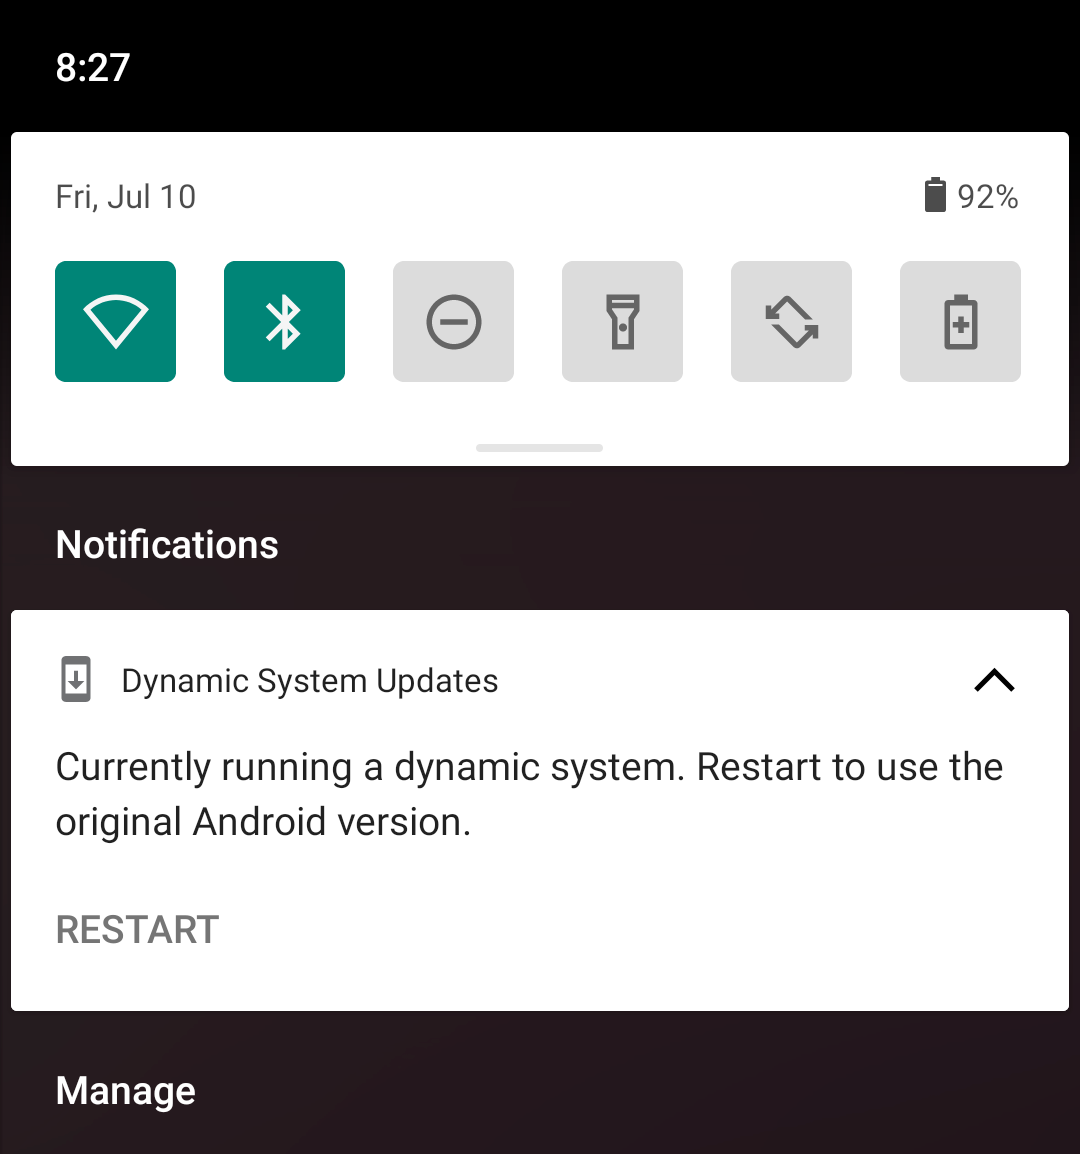
Switch back to the device's original system image
After you are done testing your app using the GSI, you can perform a cold reboot to boot the system back into its original system image.
When setting the next reboot to use a GSI, you can have the GSI stay installed through multiple boot cycles (until discarded) by enabling sticky mode, or have it used for only one boot cycle by disabling sticky mode.
The following command enables sticky mode:
adb shell gsi_tool enable
The following commands disable sticky mode:
adb shell gsi_tool disableadb shell gsi_tool enable -sadb shell gsi_tool disable
Install GSIs using DSU and the DSU Loader
Android 11 introduced the DSU Loader, a tool available in the device's developer options that lets you download, install, and manage GSIs entirely through the system's UI.
To install a GSI using the DSU Loader, follow these steps on a device running Android 11 or higher:
- Enable developer options on your device.
- Open your device's Settings app, then tap Developer options > DSU Loader.
Choose the GSI that you want to install on your device.

Agree to the GSI terms and conditions.
After you agree to the terms and conditions, the GSI that you selected starts downloading. You can check the status of the download through the DSU notification.
After the download has finished, tap Restart to boot the GSI.
When you want to switch back to your device's original system image, tap Restart from the DSU system notification.
Provide feedback
Your feedback helps us improve DSU and other GSI features. Share your thoughts and report GSI issues by filing GSI bugs and discussing topics on Stack Overflow.