Android Studio شامل یک ویرایشگر طراحی بصری برای نوع طرح بندی MotionLayout است که ساخت و پیش نمایش انیمیشن ها را آسان تر می کند.
Motion Editor یک رابط ساده برای دستکاری عناصر از کتابخانه MotionLayout ارائه می دهد که به عنوان پایه ای برای انیمیشن در برنامه های اندروید عمل می کند. بدون Android Studio، ایجاد و تغییر این عناصر نیاز به ویرایش دستی محدودیتها در فایلهای منبع XML دارد. با این حال، Motion Editor میتواند این XML را با پشتیبانی از حالتهای شروع و پایان، فریمهای کلیدی، انتقالها و جدول زمانی برای شما ایجاد کند.
برای شروع کار با Motion Editor:
- یک ConstraintLayout ایجاد کنید .
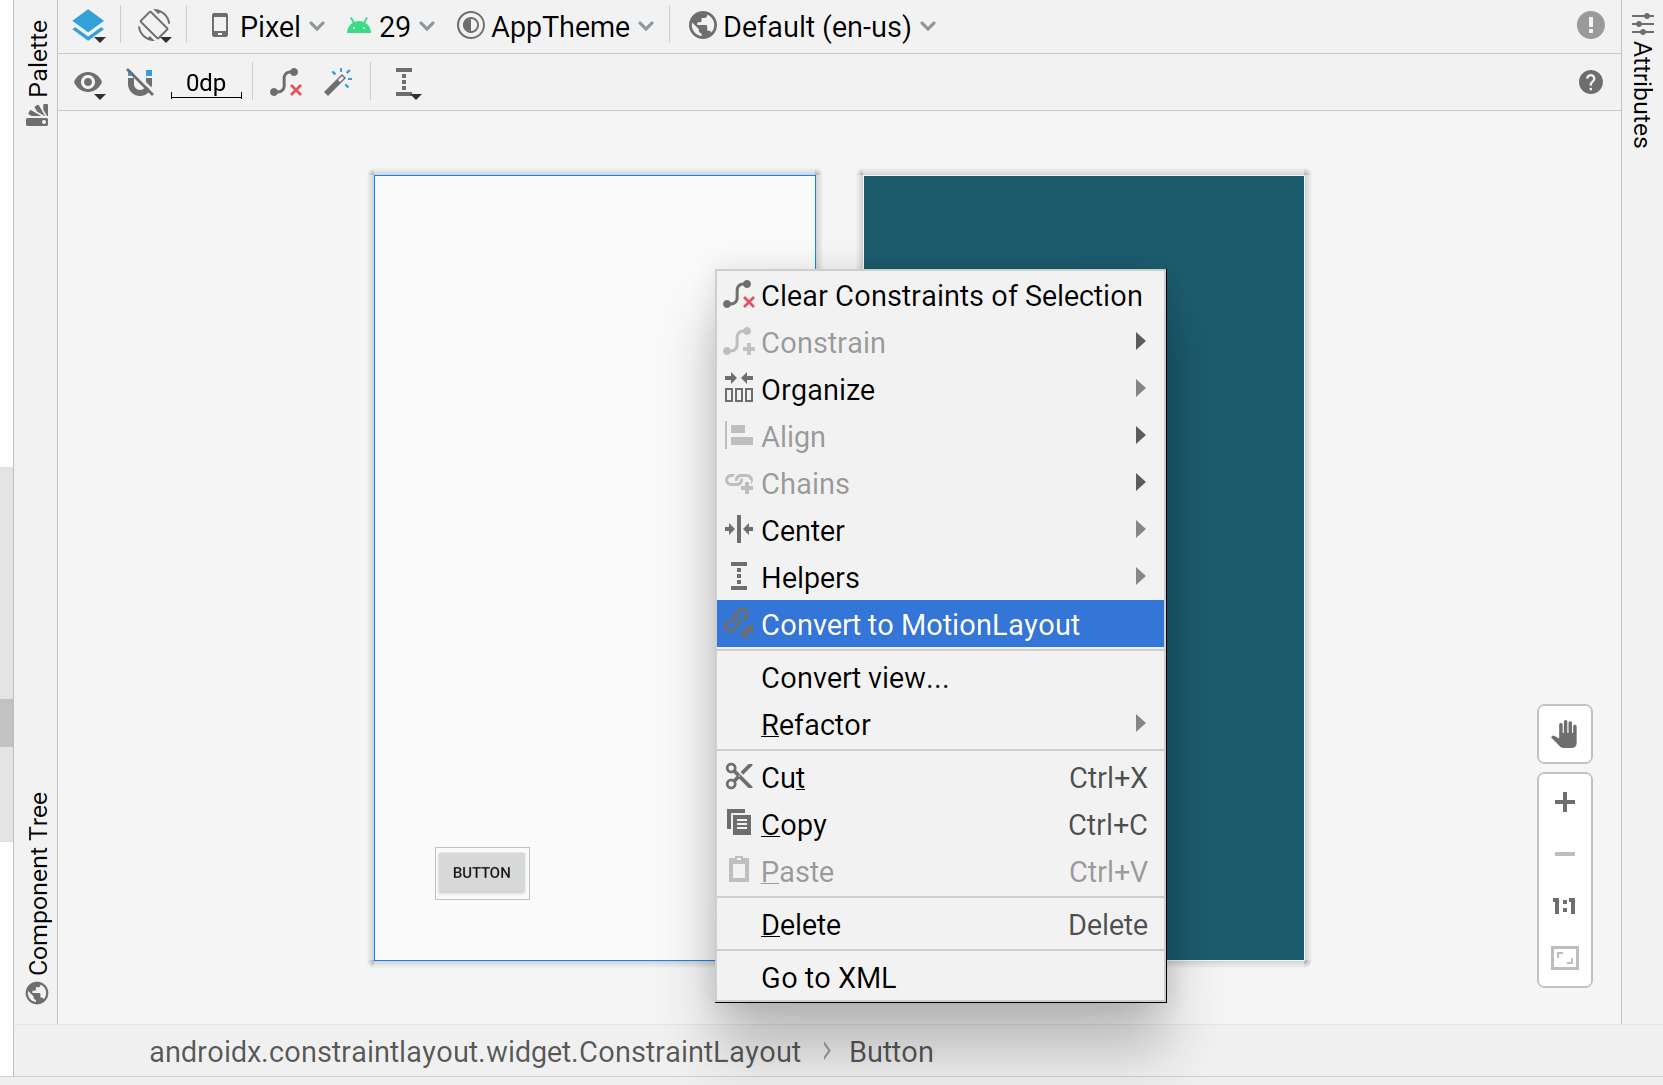
- روی پیش نمایش در Layout Editor کلیک راست کنید.
- مطابق شکل زیر روی Convert to MotionLayout کلیک کنید.
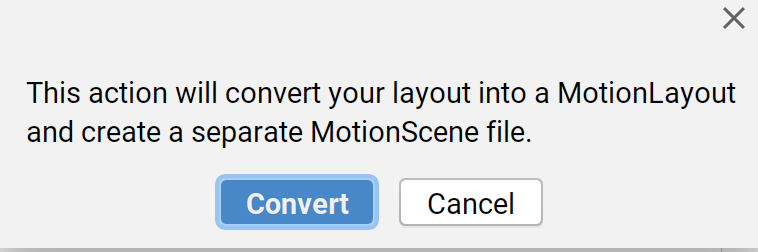
پس از اینکه Android Studio ConstraintLayout شما را به MotionLayout تبدیل کرد، یک فایل Motion Scene (یک فایل .xml با _scene که به نام فایل طرح بندی شما اضافه شده است) نیز به دایرکتوری حاوی XML شما اضافه می شود.
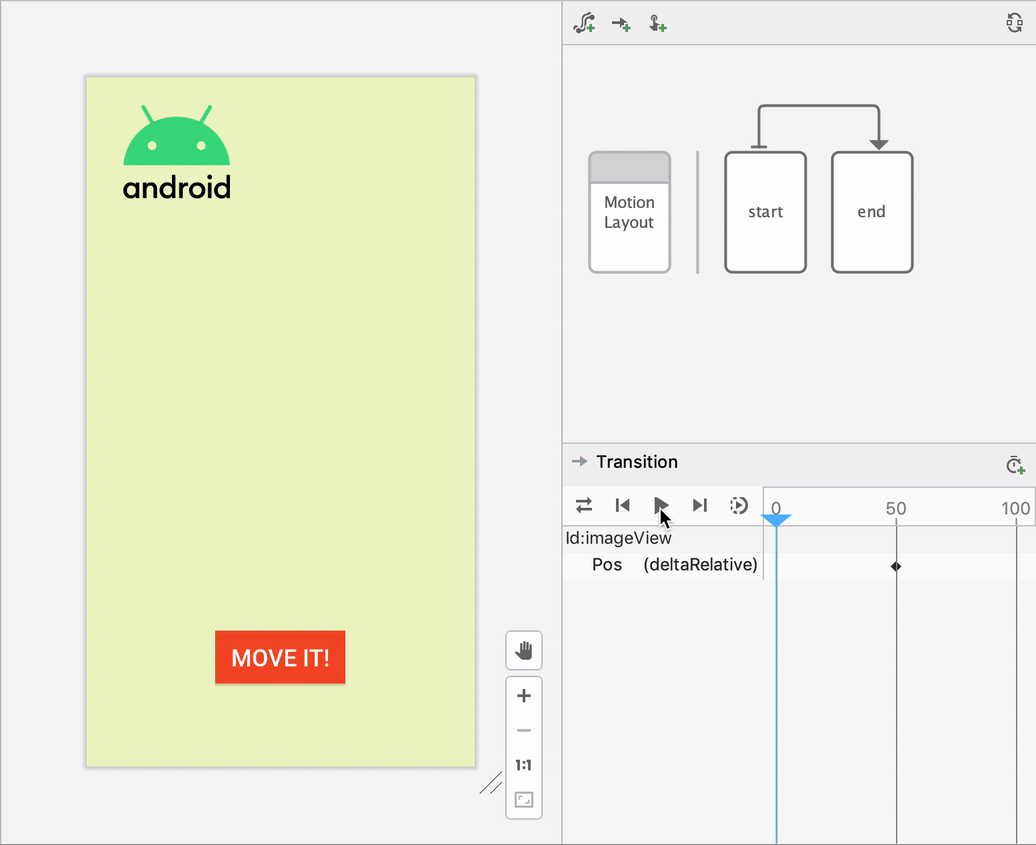
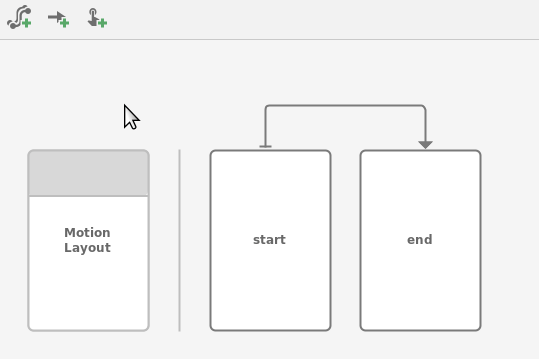
سپس MotionLayout تبدیل به طرح اصلی شما می شود و در رابط کاربری Motion Editor ظاهر می شود. این طرح از قبل شامل یک ConstraintSet شروع، پایان ConstraintSet ، و یک انتقال از ابتدا به پایان است.
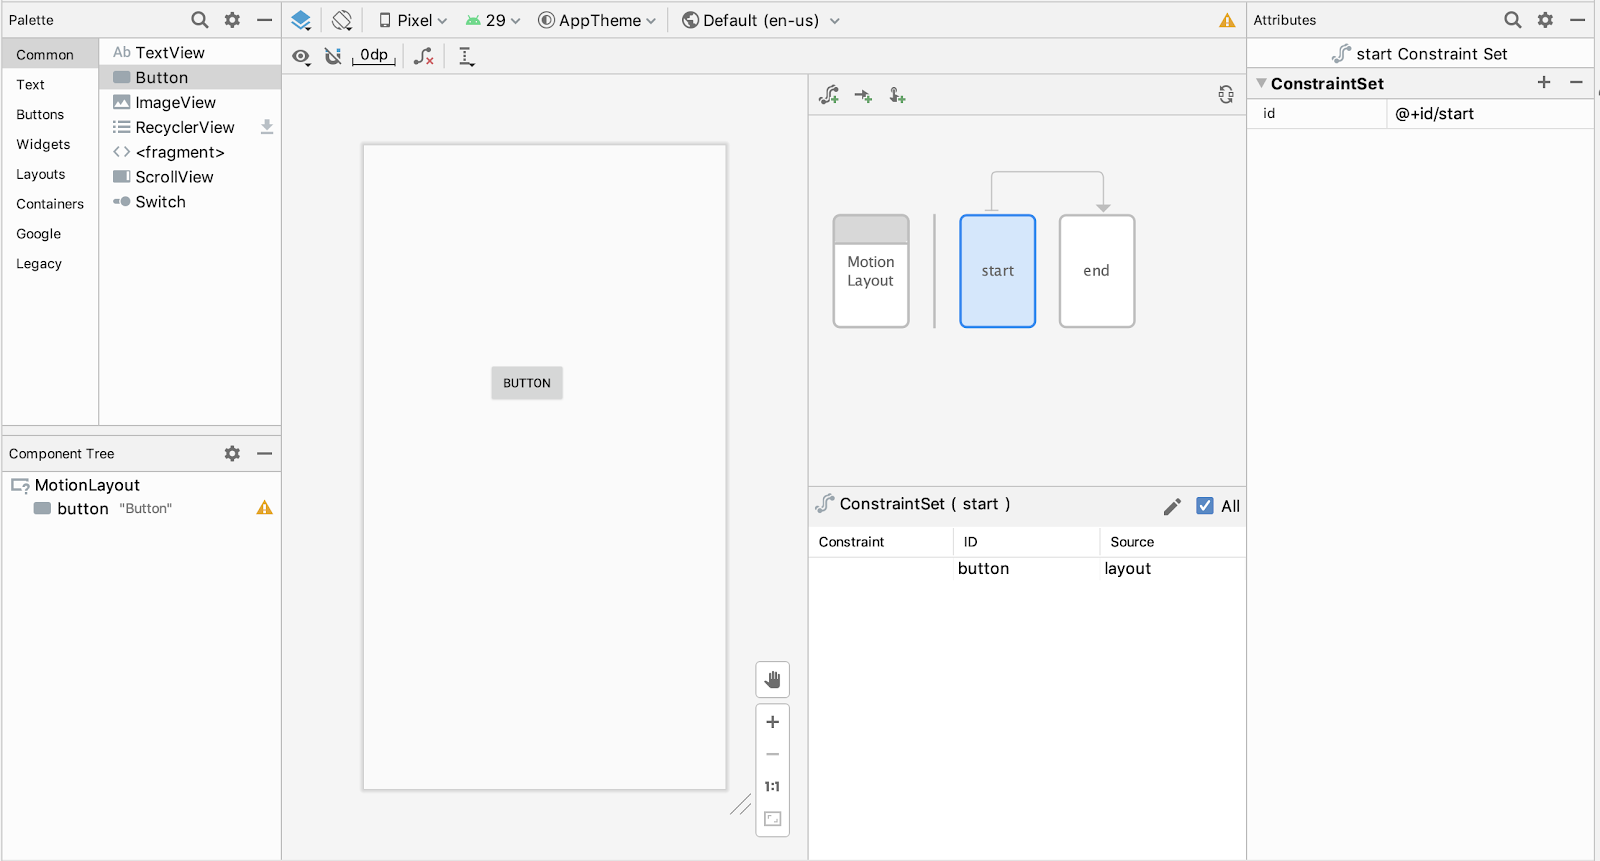
میتوانید از گرافیک نمای کلی برای انتخاب یک ConstraintSet یا Transition و برای انتخاب مؤلفهها در پانل انتخاب استفاده کنید.
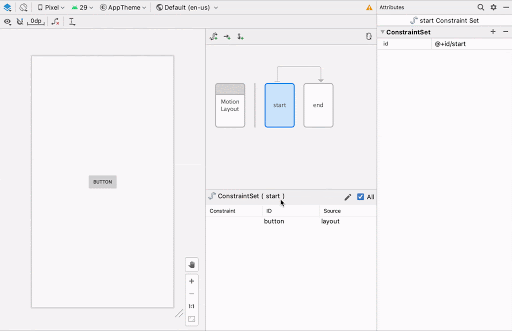
سپس میتوانید محدودیتها و ویژگیهای ConstraintSet شروع یا پایان را به همان روشی که ConstraintLayout ویرایش میکنید، ویرایش کنید.
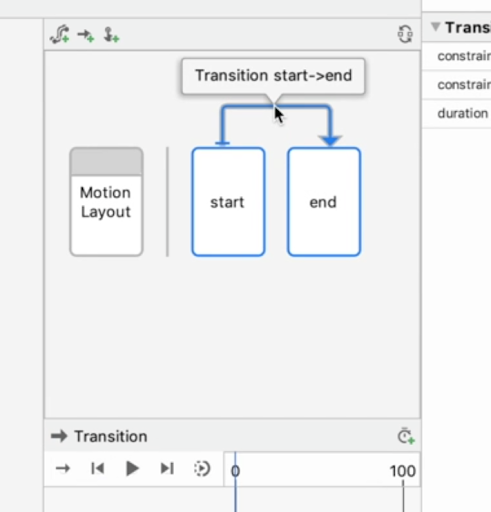
اگر میخواهید عناصر بیشتری در نمودار خود بسازید، میتوانید از نمادهای ایجاد برای اضافه کردن سریع حرکات ConstraintSet ، Transition یا OnClick / OnSwipe استفاده کنید.
![]()
برای افزودن یک فریم کلیدی، ابتدا روی فلش Transition کلیک کنید:
سپس، در قسمت Transition Timeline، روی گوشه سمت راست بالا کلیک کنید و KeyPosition را انتخاب کنید:

این عمل یک گفتگو را باز می کند که در آن می توانید ویژگی هایی را برای فریم کلیدی تنظیم کنید.
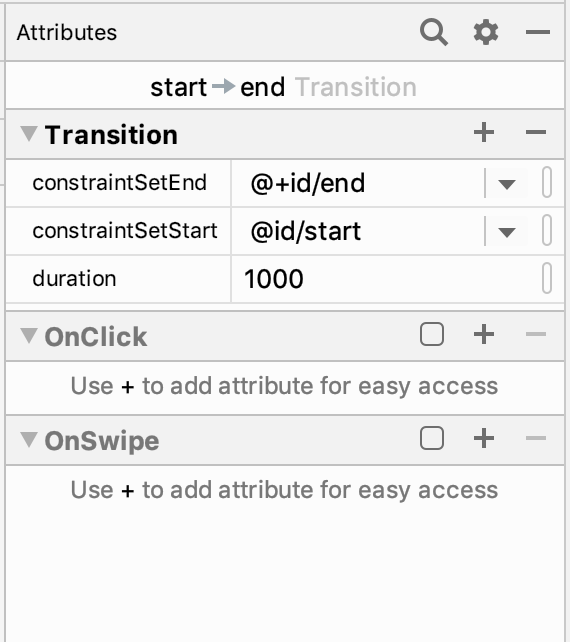
همچنین میتوانید کنترلکنندههای OnClick و OnSwipe را به Transition در پانل ویژگی اضافه کنید.
این عمل یک گفتگو را باز می کند که در آن می توانید ویژگی های کلیک مانند اجزای هدف و جهت کشیدن را تنظیم کنید.
Motion Editor از پیش نمایش انیمیشن ها در سطح طراحی پشتیبانی می کند. هنگامی که یک انیمیشن انتخاب شد، روی Play کلیک کنید![]() بالای جدول زمانی برای پیش نمایش انیمیشن.
بالای جدول زمانی برای پیش نمایش انیمیشن.