建立或匯入專案
透過集合功能整理內容
你可以依據偏好儲存及分類內容。
Android Studio for Platform (ASfP) 可協助您設定 Android 開放原始碼計畫 (AOSP) 的開發環境。本頁面說明如何啟動新專案或匯入現有專案。
建立新專案
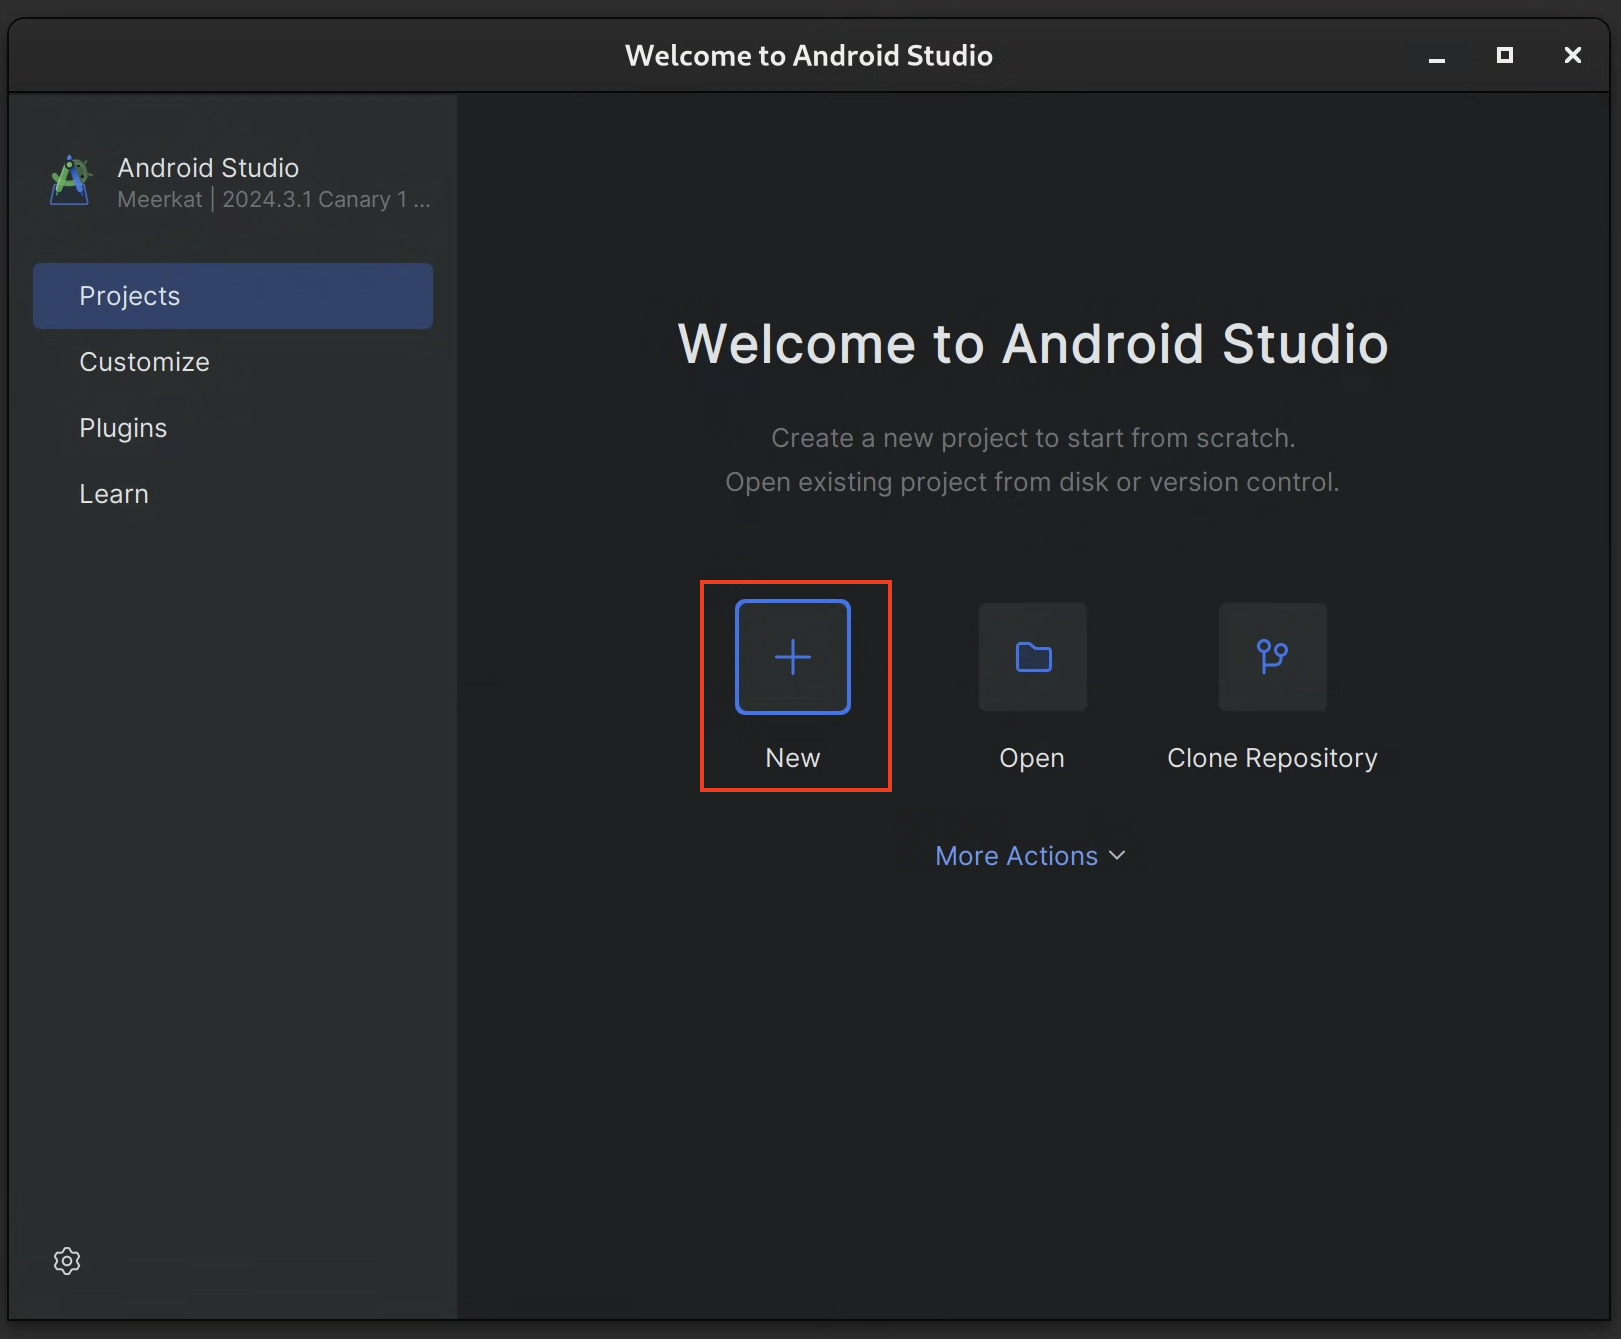
如果沒有開啟專案,請在「Welcome」(歡迎) 畫面中按一下「New Project」(新專案)。
如果已開啟專案,請從選單中依序選取「ASfP」>「Project」>「New Project」。
在精靈中填入專案設定詳細資料:
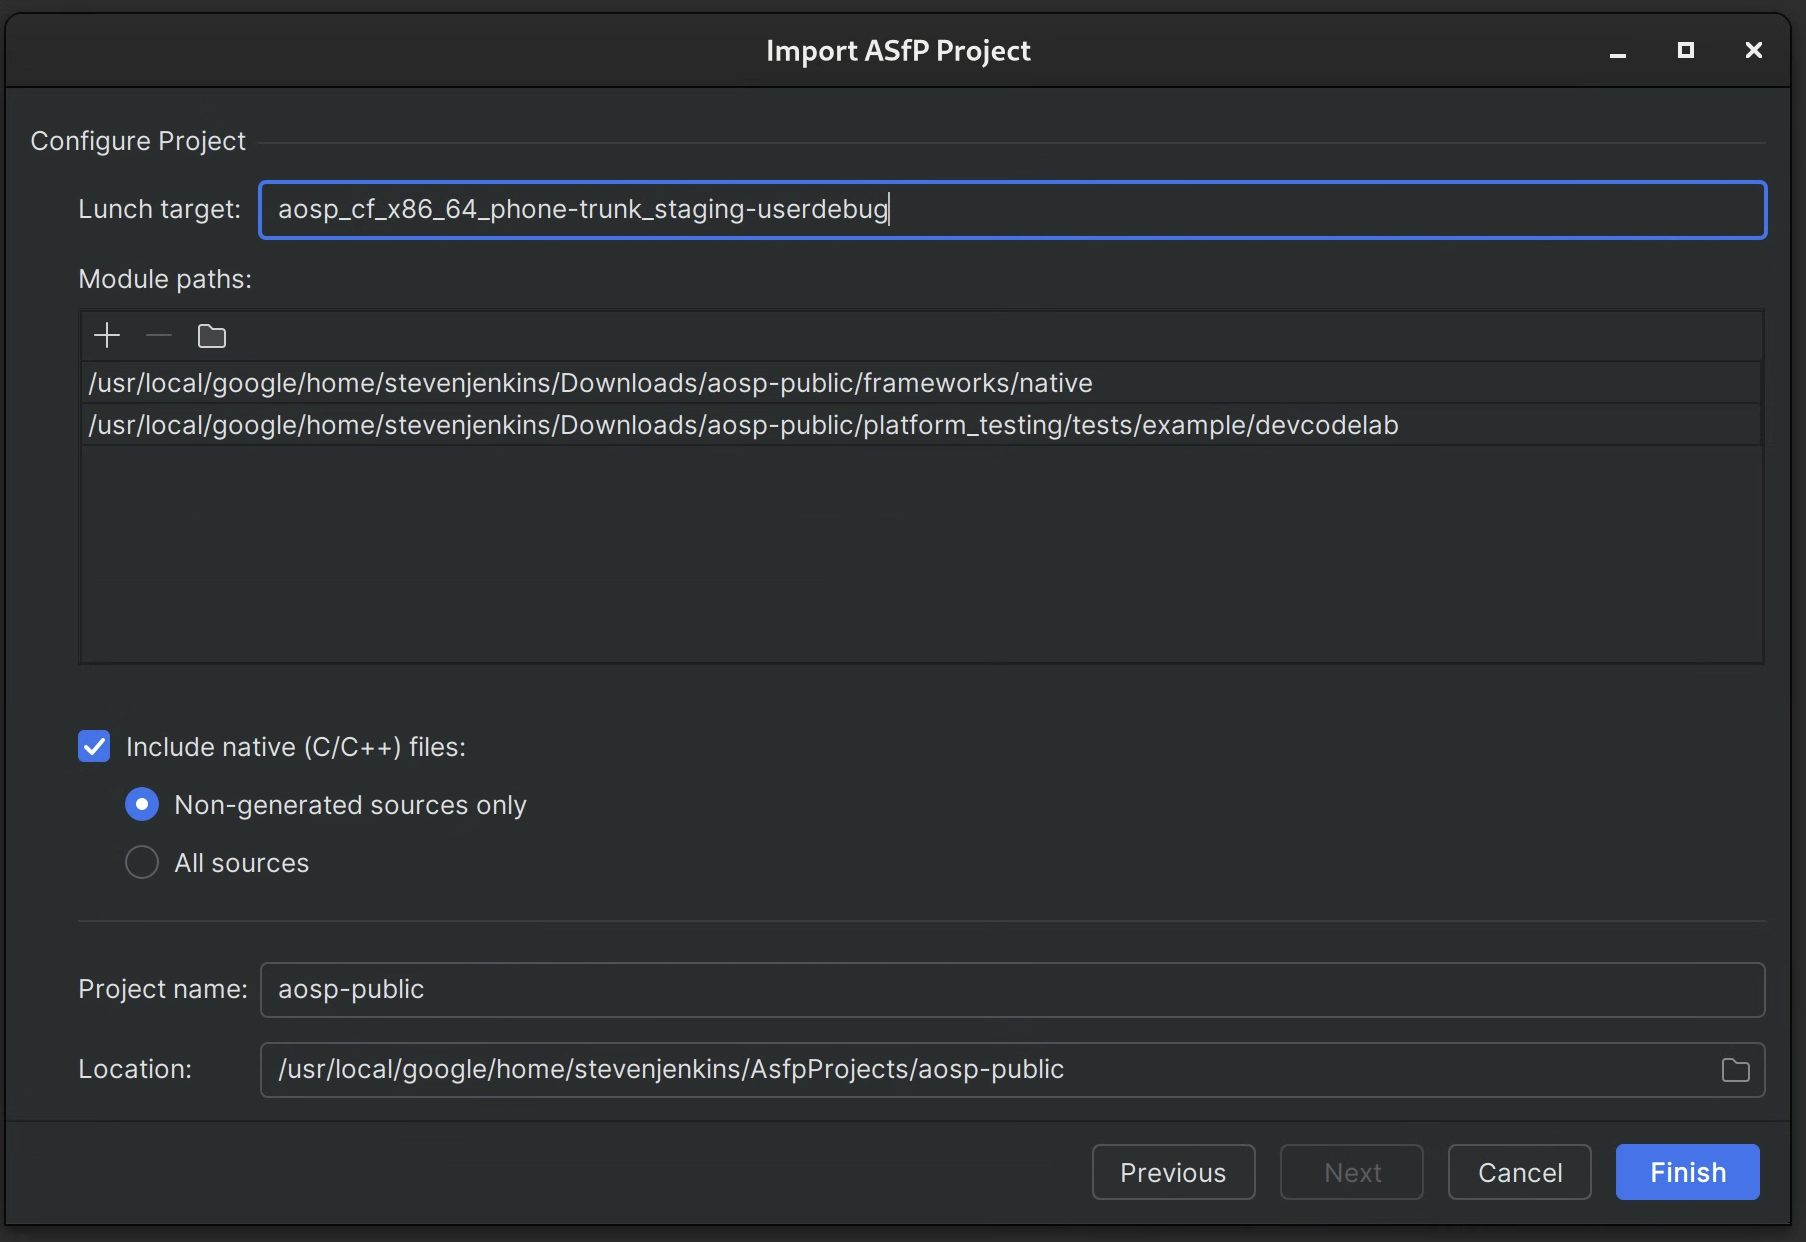
- 模組路徑:指定 AOSP 原始碼簽出根目錄的絕對路徑 (例如
/path/to/aosp
)。
- 午餐目標:輸入您用於建構的午餐目標 (例如
aosp_arm64-eng
)。
- 專案名稱:為專案提供描述性名稱。
- 目錄 / 模組:列出要納入專案的初始目錄或模組,並以半形逗號分隔。這些路徑應為存放區根目錄的相對路徑 (例如
frameworks/base,
packages/apps/Settings
)。您稍後可以新增或調整這項選取項目。
按一下「Finish」。ASfP 會建立專案結構和 .asfp-project
設定檔。
完成專案的初始設定後,您可以編輯專案根目錄中的 .asfp-project
檔案,進一步自訂專案。這個檔案可讓您:
- 新增或移除目錄和模組。
- 啟用對 Rust 或 C++ 等其他語言的支援。
- 設定建構標記和環境變數。
- 指定測試來源。
如需所有設定選項的詳細資訊,請參閱「專案總覽」。編輯 .asfp-project
後,您需要同步處理專案,變更才會生效。
匯入現有專案
ASfP 沒有獨立的「匯入」動作。如要開啟現有的 ASfP 專案設定,請按照下列步驟操作:
- 依序選取「ASfP」>「Project」>「New Project」。
- 在「Project Name」(專案名稱) 欄位中,前往並選取包含要開啟現有
.asfp-project
檔案的目錄。精靈中的欄位會根據所選 .asfp-project
檔案填入。
- 按一下「Finish」。ASfP 會開啟並為專案建立索引。
這個頁面中的內容和程式碼範例均受《內容授權》中的授權所規範。Java 與 OpenJDK 是 Oracle 和/或其關係企業的商標或註冊商標。
上次更新時間:2025-09-04 (世界標準時間)。
[[["容易理解","easyToUnderstand","thumb-up"],["確實解決了我的問題","solvedMyProblem","thumb-up"],["其他","otherUp","thumb-up"]],[["缺少我需要的資訊","missingTheInformationINeed","thumb-down"],["過於複雜/步驟過多","tooComplicatedTooManySteps","thumb-down"],["過時","outOfDate","thumb-down"],["翻譯問題","translationIssue","thumb-down"],["示例/程式碼問題","samplesCodeIssue","thumb-down"],["其他","otherDown","thumb-down"]],["上次更新時間:2025-09-04 (世界標準時間)。"],[],[],null,["Android Studio for Platform (ASfP) helps you set up your development environment\nfor the [Android Open Source Project (AOSP)](https://source.android.com/). This page explains how to\nstart a new project or import an existing one.\n\nCreate a new project\n\n1. If you don't have a project open, click **New Project** on the Welcome\n screen.\n\n2. If you already have a project open, select **ASfP \\\u003e Project \\\u003e New Project**\n from the menu.\n\n3. Fill in the project configuration details in the wizard:\n\n - **Module paths:** Specify the absolute path to the root of your AOSP source code checkout (for example, `/path/to/aosp`).\n - **Lunch target:** Enter the lunch target you use for building (for example, `aosp_arm64-eng`).\n - **Project name:** Give your project a descriptive name.\n - **Directories / modules:** List the initial directories or modules you want to include in your project, separated by commas. These should be relative paths from the repository root (for example, `frameworks/base,\n packages/apps/Settings`). You can add more or refine this selection later.\n4. Click **Finish** . ASfP creates the project structure and the `.asfp-project`\n configuration file.\n\nConfigure and customize your project\n\nAfter the initial project setup, you can further customize your project by\nediting the `.asfp-project` file located in the project root. This file lets\nyou:\n\n- Add or remove directories and modules.\n- Enable support for other languages like Rust or C++.\n- Configure build flags and environment variables.\n- Specify test sources.\n\nFor detailed information on all configuration options, see the [Projects\noverview](/studio/platform/projects). After editing `.asfp-project`, you'll need to sync the project for\nthe changes to take effect.\n\nImport an existing project\n\nASfP doesn't have a separate \"import\" action. To open an existing ASfP project\nconfiguration:\n\n1. Select **ASfP \\\u003e Project \\\u003e New Project**.\n2. In the **Project Name** field, navigate to and select the directory containing the existing `.asfp-project` file you want to open. The fields in the wizard will populate based on the selected `.asfp-project` file.\n3. Click **Finish**. ASfP opens and indexes the project."]]