
Las vistas deslizantes te permiten navegar entre pantallas del mismo nivel, como pestañas, con un gesto horizontal del dedo o deslizamiento. Este patrón de navegación también se conoce como paginación horizontal.
En este tema, se explica cómo crear un diseño de pestaña con deslizamiento para alternar entre pestañas y cómo mostrar una tira de título en lugar de pestañas.
Cómo implementar vistas deslizantes
Puedes crear vistas deslizantes con el widget ViewPager2 de AndroidX.
Para usar ViewPager2 y pestañas, debes agregar a tu proyecto una dependencia en ViewPager2 y en Componentes de Material.
Para configurar tu diseño con ViewPager2, agrega el elemento <ViewPager2> a tu diseño XML. Por ejemplo, si cada página de la vista deslizante consume todo el diseño, este se verá de la siguiente manera:
<androidx.viewpager2.widget.ViewPager2
    xmlns:android="http://schemas.android.com/apk/res/android"
    android:id="@+id/pager"
    android:layout_width="match_parent"
    android:layout_height="match_parent" />
Para insertar vistas secundarias que representen cada página, conecta este diseño a un FragmentStateAdapter.
Aquí te mostramos cómo puedes usarlo para deslizarte por una colección de objetos Fragment:
Kotlin
class CollectionDemoFragment : Fragment() {
    // When requested, this adapter returns a DemoObjectFragment,
    // representing an object in the collection.
    private lateinit var demoCollectionAdapter: DemoCollectionAdapter
    private lateinit var viewPager: ViewPager2

    override fun onCreateView(
        inflater: LayoutInflater,
        container: ViewGroup?,
        savedInstanceState: Bundle?
    ): View? {
        return inflater.inflate(R.layout.collection_demo, container, false)
    }

    override fun onViewCreated(view: View, savedInstanceState: Bundle?) {
        demoCollectionAdapter = DemoCollectionAdapter(this)
        viewPager = view.findViewById(R.id.pager)
        viewPager.adapter = demoCollectionAdapter
    }
}

class DemoCollectionAdapter(fragment: Fragment) : FragmentStateAdapter(fragment) {

    override fun getItemCount(): Int = 100

    override fun createFragment(position: Int): Fragment {
        // Return a NEW fragment instance in createFragment(int).
        val fragment = DemoObjectFragment()
        fragment.arguments = Bundle().apply {
            // The object is just an integer.
            putInt(ARG_OBJECT, position + 1)
        }
        return fragment
    }
}

private const val ARG_OBJECT = "object"

// Instances of this class are fragments representing a single
// object in the collection.
class DemoObjectFragment : Fragment() {

    override fun onCreateView(
        inflater: LayoutInflater,
        container: ViewGroup?,
        savedInstanceState: Bundle?
    ): View {
        return inflater.inflate(R.layout.fragment_collection_object, container, false)
    }

    override fun onViewCreated(view: View, savedInstanceState: Bundle?) {
        arguments?.takeIf { it.containsKey(ARG_OBJECT) }?.apply {
            val textView: TextView = view.findViewById(android.R.id.text1)
            textView.text = getInt(ARG_OBJECT).toString()
        }
    }
}
Java
public class CollectionDemoFragment extends Fragment {
    // When requested, this adapter returns a DemoObjectFragment,
    // representing an object in the collection.
    DemoCollectionAdapter demoCollectionAdapter;
    ViewPager2 viewPager;

    @Nullable
    @Override
    public View onCreateView(@NonNull LayoutInflater inflater, @Nullable ViewGroup container,
            @Nullable Bundle savedInstanceState) {
        return inflater.inflate(R.layout.collection_demo, container, false);
    }

    @Override
    public void onViewCreated(@NonNull View view, @Nullable Bundle savedInstanceState) {
        demoCollectionAdapter = new DemoCollectionAdapter(this);
        viewPager = view.findViewById(R.id.pager);
        viewPager.setAdapter(demoCollectionAdapter);
    }
}

public class DemoCollectionAdapter extends FragmentStateAdapter {
    public DemoCollectionAdapter(Fragment fragment) {
        super(fragment);
    }

    @NonNull
    @Override
    public Fragment createFragment(int position) {
        // Return a NEW fragment instance in createFragment(int).
        Fragment fragment = new DemoObjectFragment();
        Bundle args = new Bundle();
        // The object is just an integer.
        args.putInt(DemoObjectFragment.ARG_OBJECT, position + 1);
        fragment.setArguments(args);
        return fragment;
    }

    @Override
    public int getItemCount() {
        return 100;
    }
}

// Instances of this class are fragments representing a single
// object in the collection.
public class DemoObjectFragment extends Fragment {
    public static final String ARG_OBJECT = "object";

    @Nullable
    @Override
    public View onCreateView(@NonNull LayoutInflater inflater, @Nullable ViewGroup container,
            @Nullable Bundle savedInstanceState) {
        return inflater.inflate(R.layout.fragment_collection_object, container, false);
    }

    @Override
    public void onViewCreated(@NonNull View view, @Nullable Bundle savedInstanceState) {
        Bundle args = getArguments();
        ((TextView) view.findViewById(android.R.id.text1))
                .setText(Integer.toString(args.getInt(ARG_OBJECT)));
    }
}
Las siguientes secciones muestran cómo puedes agregar pestañas para ayudar a facilitar la navegación entre páginas.
Cómo agregar pestañas con un objeto TabLayout
Un objeto TabLayout proporciona una forma de mostrar pestañas horizontalmente. Cuando se usa junto con un ViewPager2, un TabLayout puede proporcionar una interfaz familiar para navegar entre páginas en una vista deslizante.
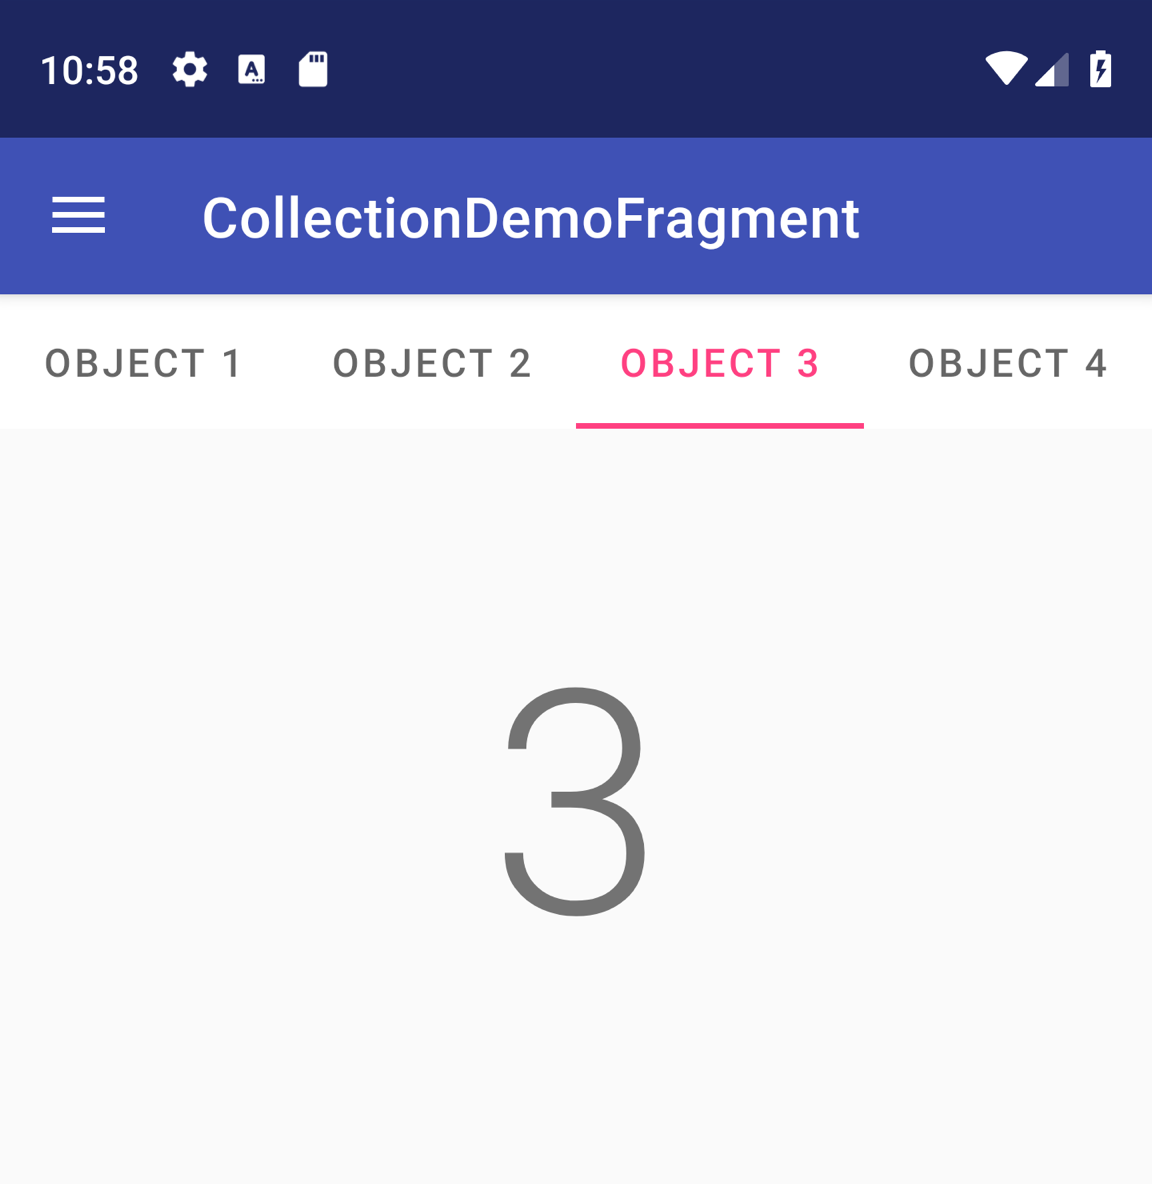
TabLayout con cuatro pestañas.
Para incluir un TabLayout en un ViewPager2, agrega un elemento <TabLayout> arriba del elemento <ViewPager2>:
<LinearLayout xmlns:android="http://schemas.android.com/apk/res/android"
    android:layout_width="match_parent"
    android:layout_height="match_parent"
    android:orientation="vertical">

    <com.google.android.material.tabs.TabLayout
        android:id="@+id/tab_layout"
        android:layout_width="match_parent"
        android:layout_height="wrap_content" />

    <androidx.viewpager2.widget.ViewPager2
        android:id="@+id/pager"
        android:layout_width="match_parent"
        android:layout_height="0dp"
        android:layout_weight="1" />

</LinearLayout>
Luego, crea un TabLayoutMediator para vincular el TabLayout al ViewPager2 y conéctalo de la siguiente manera:
Kotlin
class CollectionDemoFragment : Fragment() {
    ...
    override fun onViewCreated(view: View, savedInstanceState: Bundle?) {
        val tabLayout = view.findViewById(R.id.tab_layout)
        TabLayoutMediator(tabLayout, viewPager) { tab, position ->
            tab.text = "OBJECT ${(position + 1)}"
        }.attach()
    }
    ...
}
Java
public class CollectionDemoFragment extends Fragment {
    ...
    @Override
    public void onViewCreated(@NonNull View view, @Nullable Bundle savedInstanceState) {
        TabLayout tabLayout = view.findViewById(R.id.tab_layout);
        new TabLayoutMediator(tabLayout, viewPager,
                (tab, position) -> tab.setText("OBJECT " + (position + 1))
        ).attach();
    }
    ...
}
Para obtener ayuda adicional con el diseño de pestañas, consulta la documentación de Material Design sobre pestañas.
Recursos adicionales
Para obtener más información sobre ViewPager2, consulta los siguientes recursos adicionales.
Ejemplos
- Ejemplos de ViewPager2 en GitHub