
1. Before you begin
What you'll learn
- The unique user experiences made possible by Android XR.
- How to optimize an app for an Android XR headset using the Jetpack Compose for XR library.
- How to use UI elements from the Jetpack Compose for XR library.
- Where to learn more about building apps for Android XR.
What this isn't
- A guide to building Android XR apps without using Compose. See Develop UI for Android Views-based Apps.
- A guide to building Unity or OpenXR apps for Android XR. See Develop with Unity for Android XR and Develop with OpenXR.
What you'll need
- The latest Android Studio preview (Quail Canary 1 or later).
- A computer capable of running the Android XR emulator.
- Experience with Kotlin and Jetpack Compose, for example, by completing the Android Basics with Compose course.
- Experience creating Android Virtual Devices and running apps on them.
- Experience with Android XR's spaces and spatial panels, for example, by completing the Learn Android XR fundamentals: Part 1 - Spaces and Spatial Panels codelab.
What you'll build
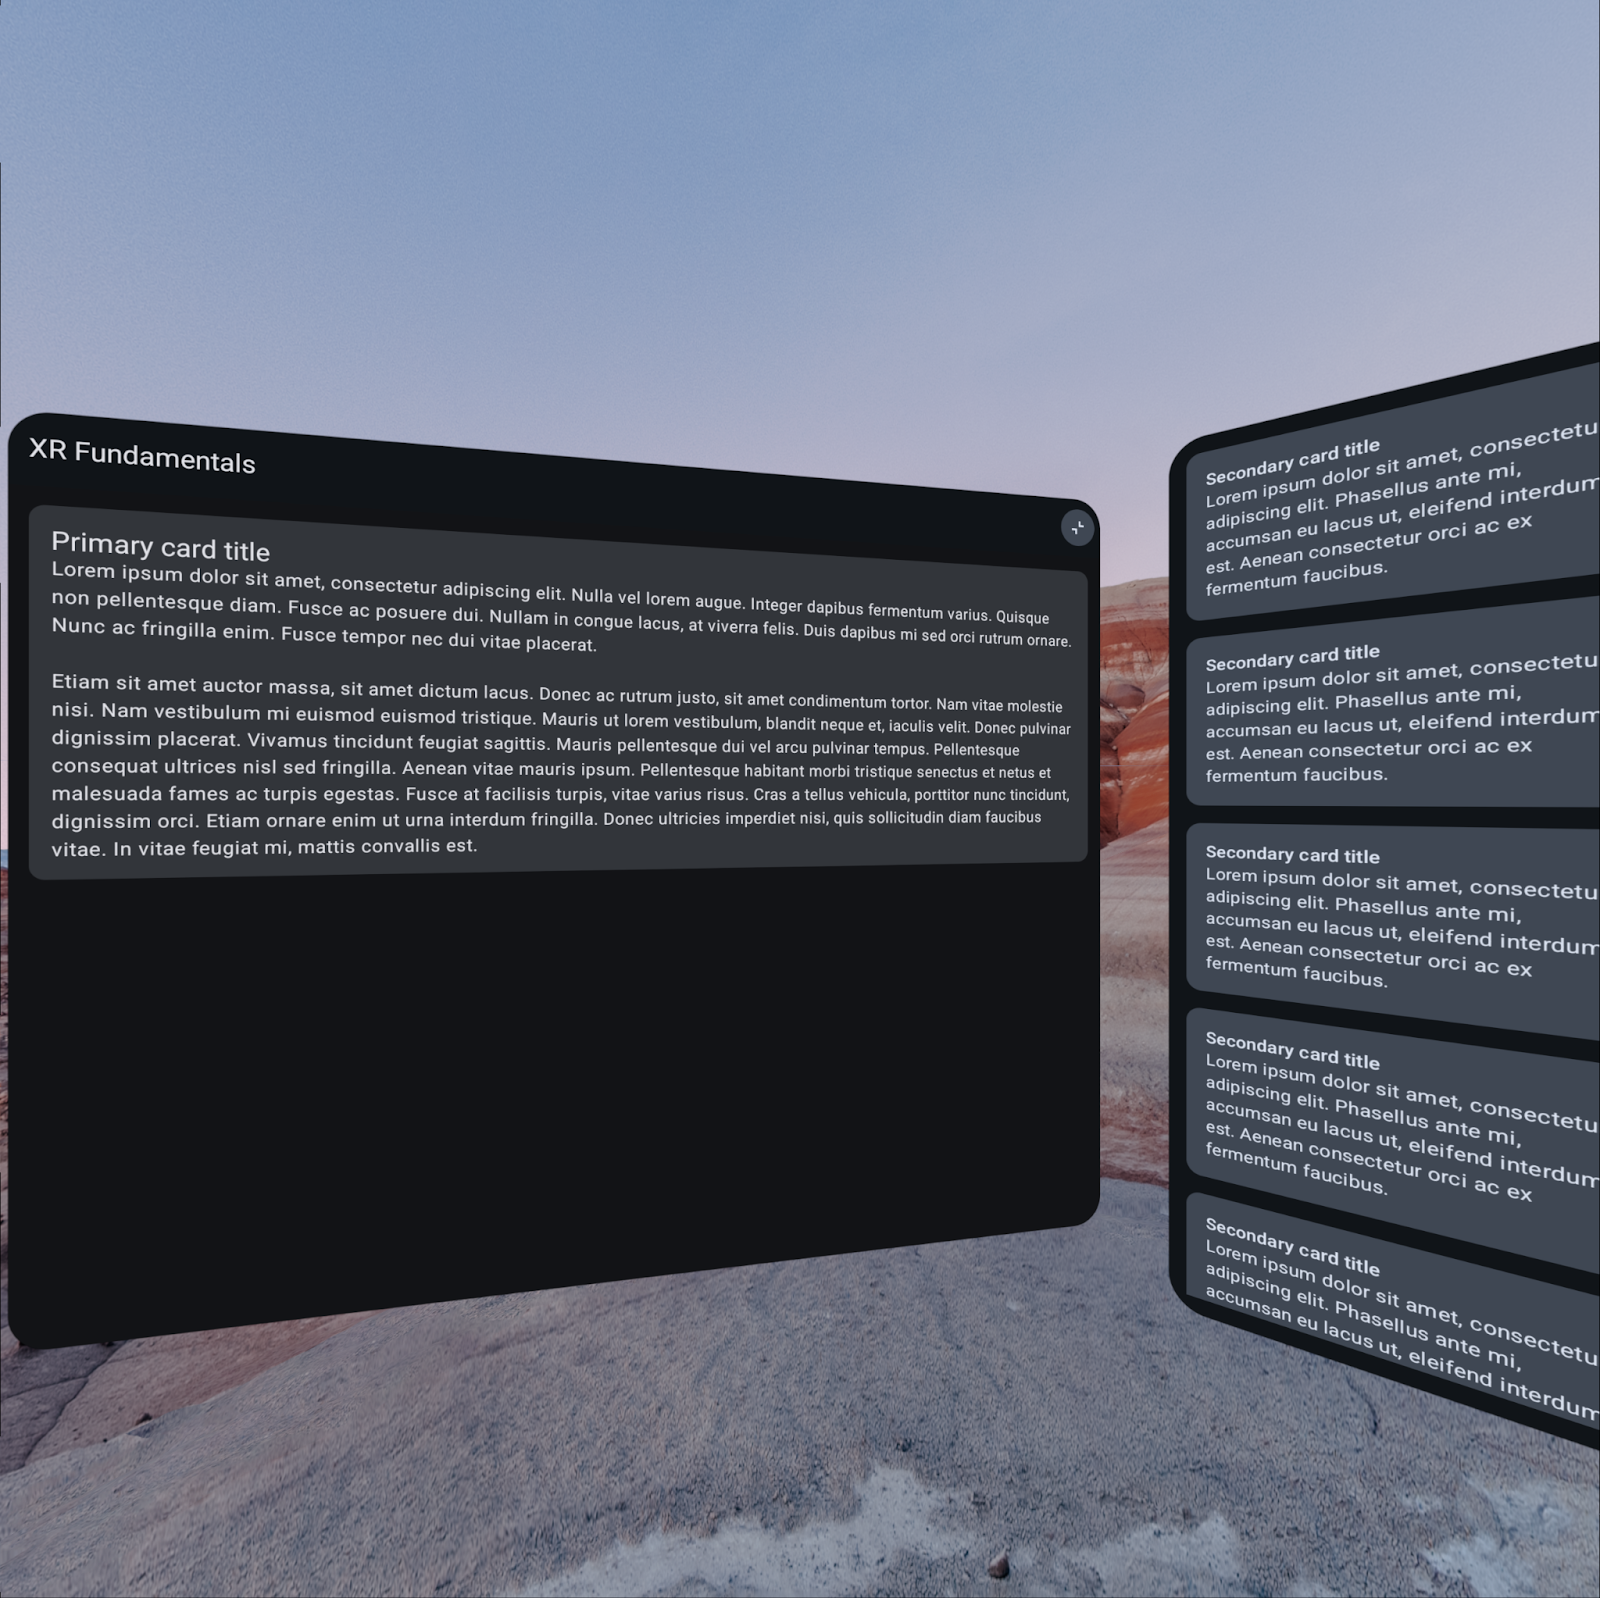
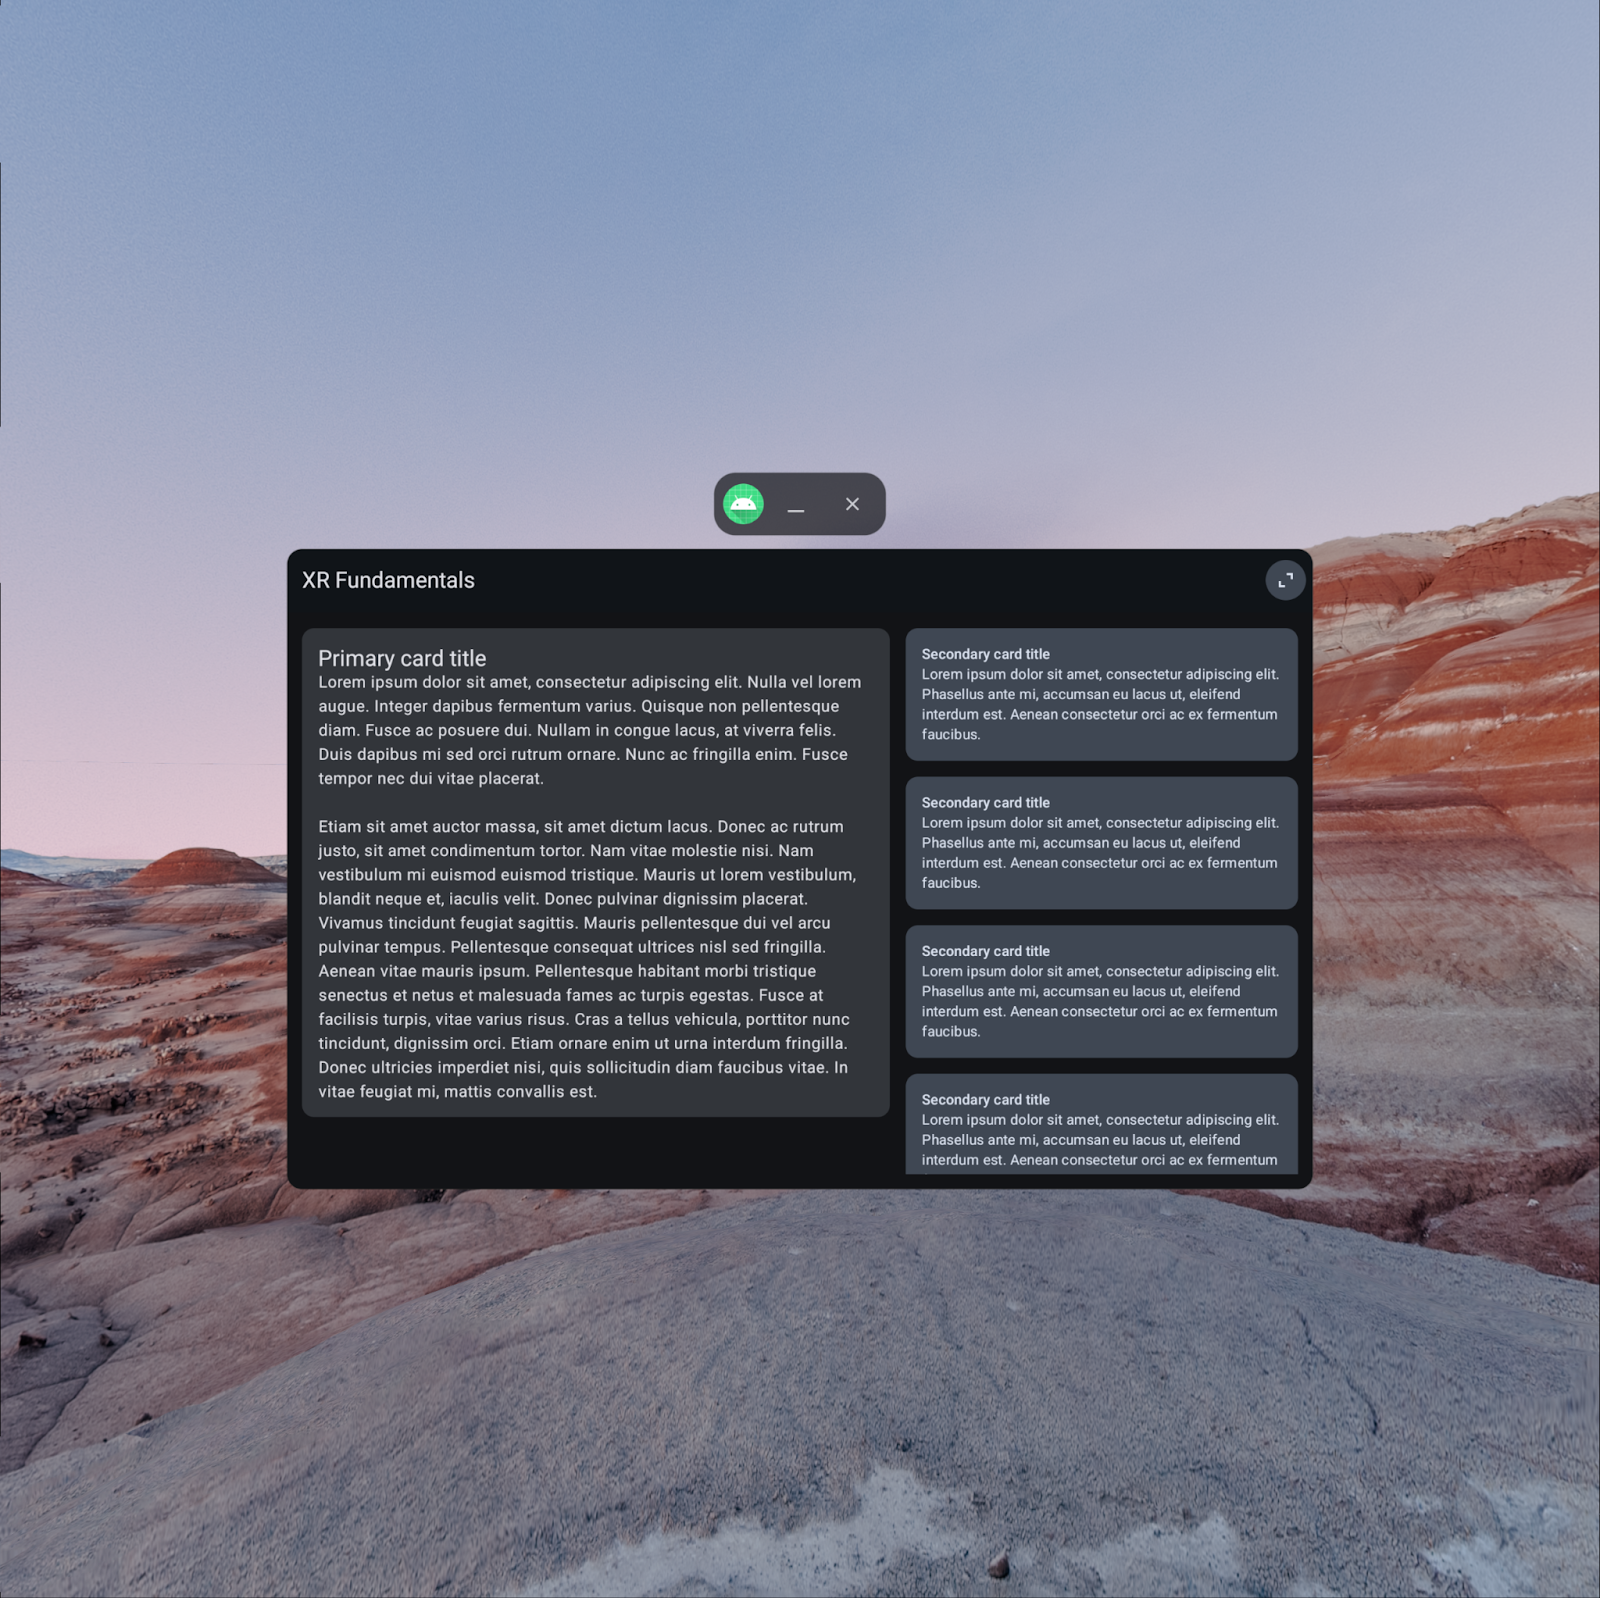
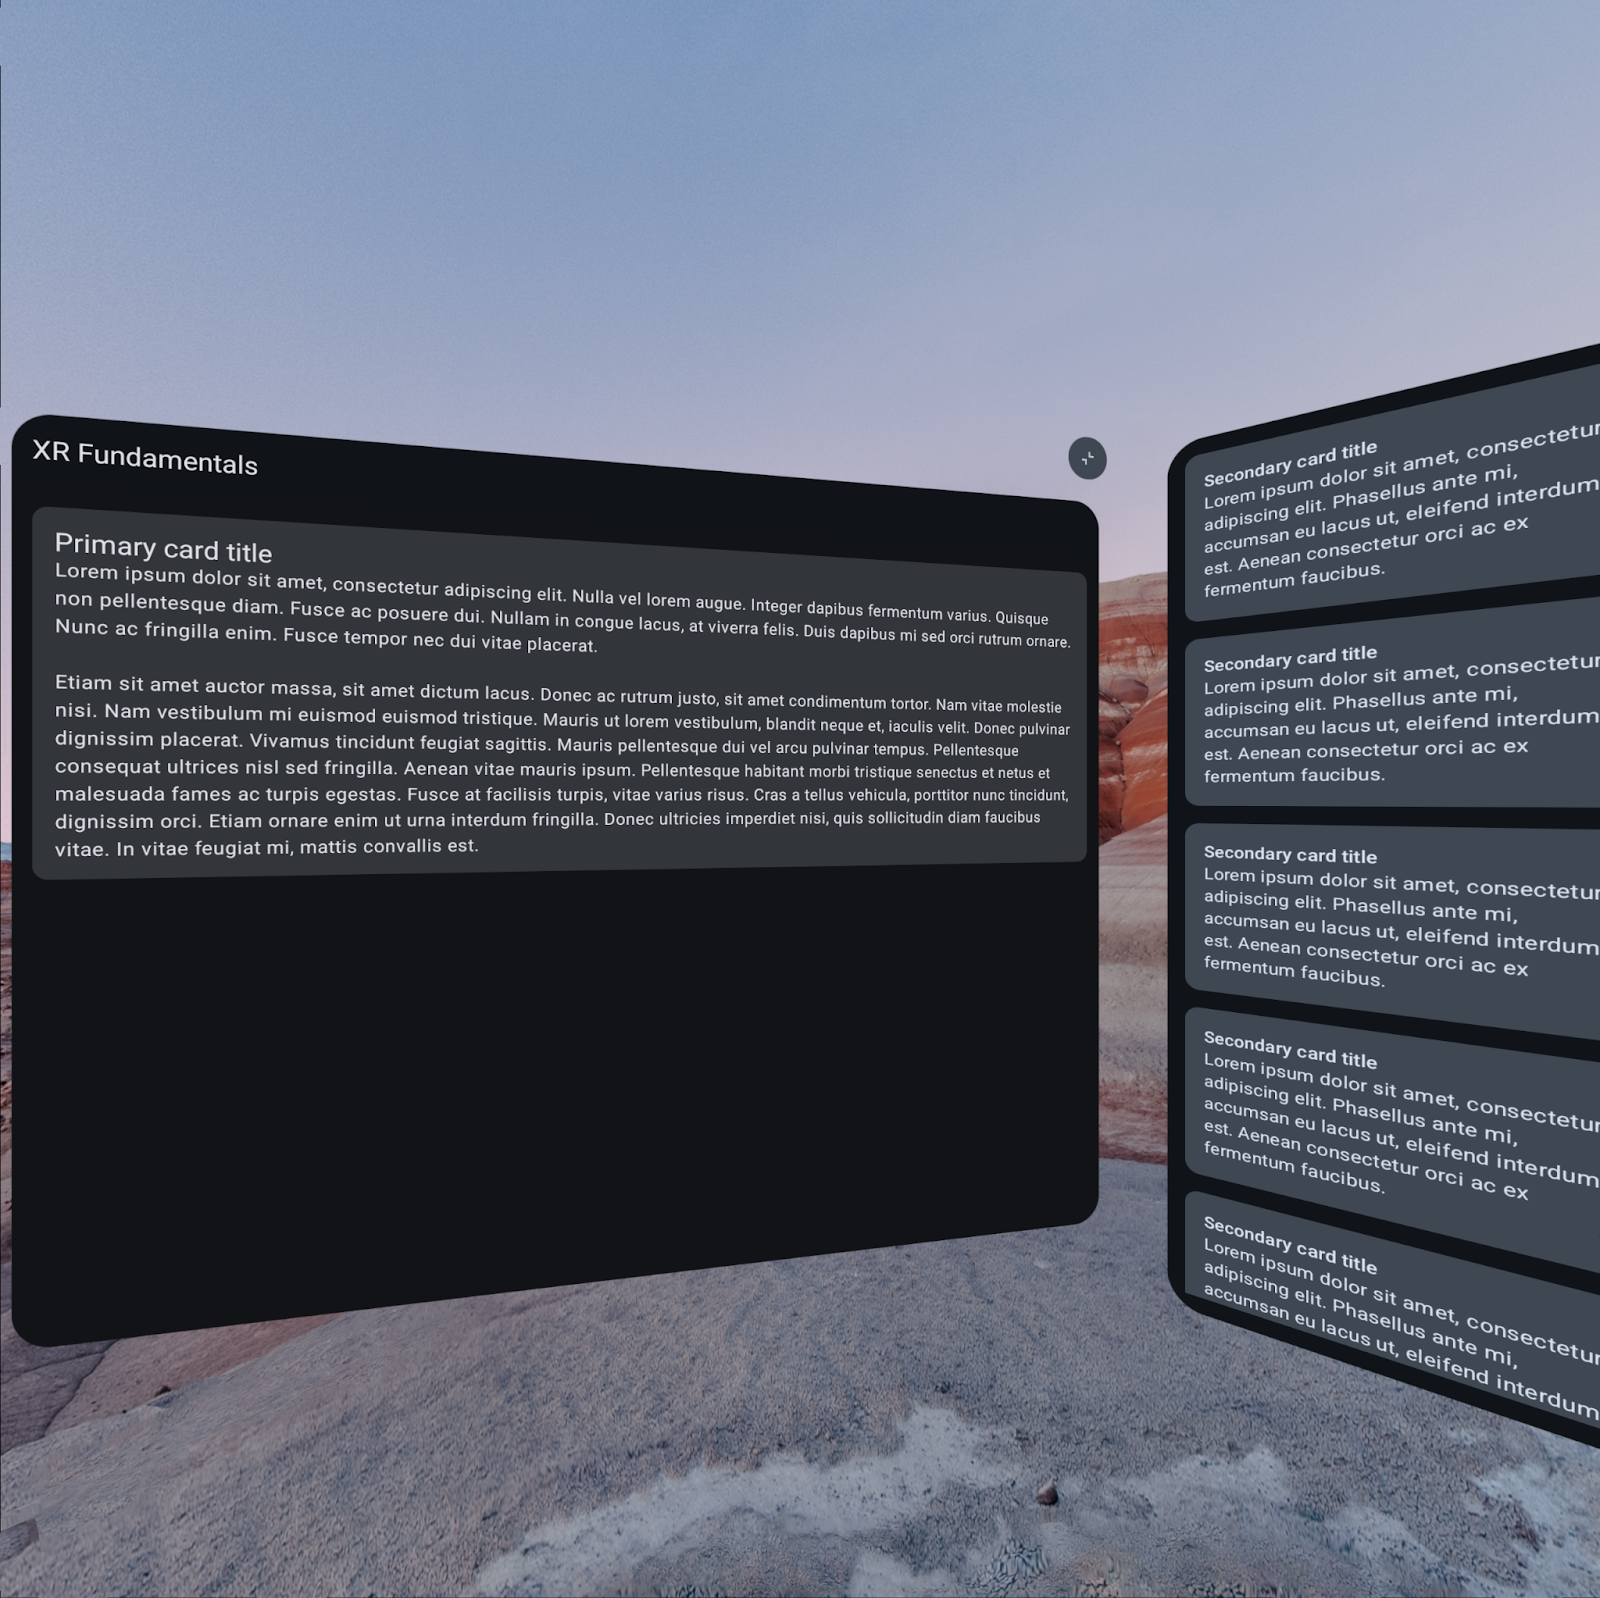
In this codelab, you'll further optimize an app with some existing XR features by adding floating UI elements and customizing the virtual environment that surrounds the user while using the app.
|
|
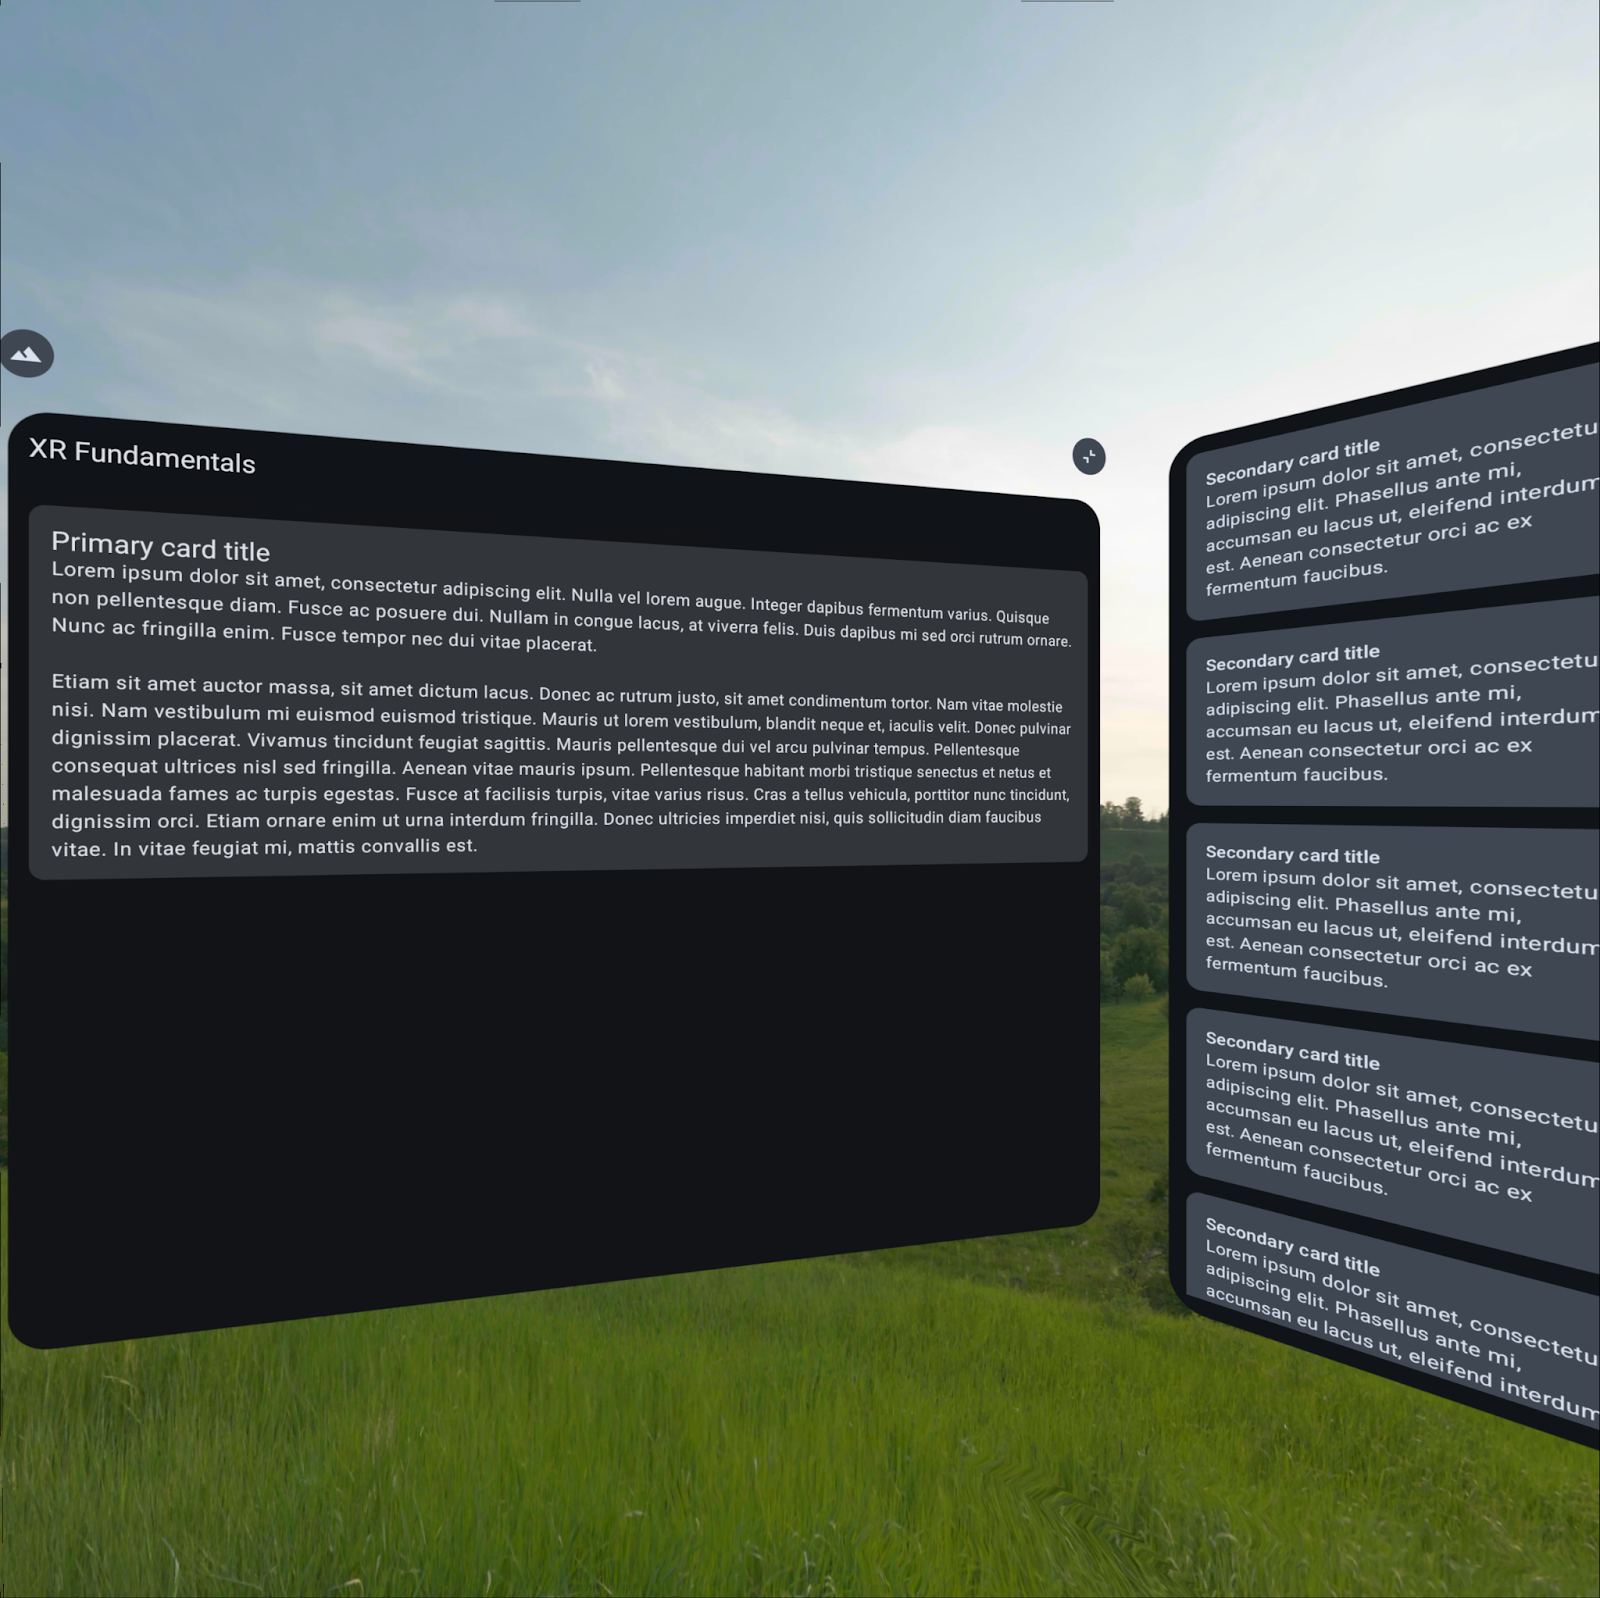
Starting point | Final result |
2. Get set up
Get the code
- The code for this codelab can be found in the
xr-fundamentalsdirectory within thexr-codelabsGitHub repository. To clone the repo, run the following command:
git clone https://github.com/android/xr-codelabs.git
- Alternatively, you can download the repository as a ZIP file:
Open the project
- After starting Android Studio, import the
xr-fundamentals/part1directory. Thexr-fundamentals/part2directory contains the solution code, which you can reference at any point if you get stuck or just want to see the full project.
Familiarize yourself with the code
- After opening the project in Android studio, take some time to look through the starting code.
- If you haven't taken the first codelab or used the Android XR emulator yet, follow the steps in Run the app in the Android XR emulator to run the app.
3. Learn XR concepts: Orbiters
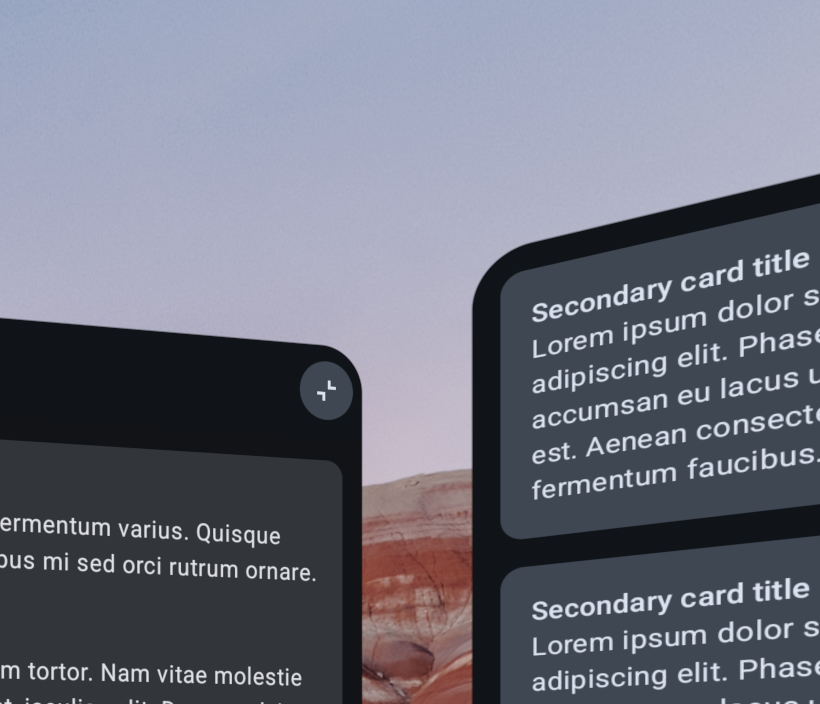
Orbiters are floating UI elements available in Full Space that are typically used to control the content within spatial panels or other entities to which their orbit is anchored. Using orbiters for content controls gives the content more space, meaning users can quickly access features contained within the orbiters while the main content remains visible. Orbiters give you the versatility to integrate existing UI components (such as navigation bars) or to create new ones.
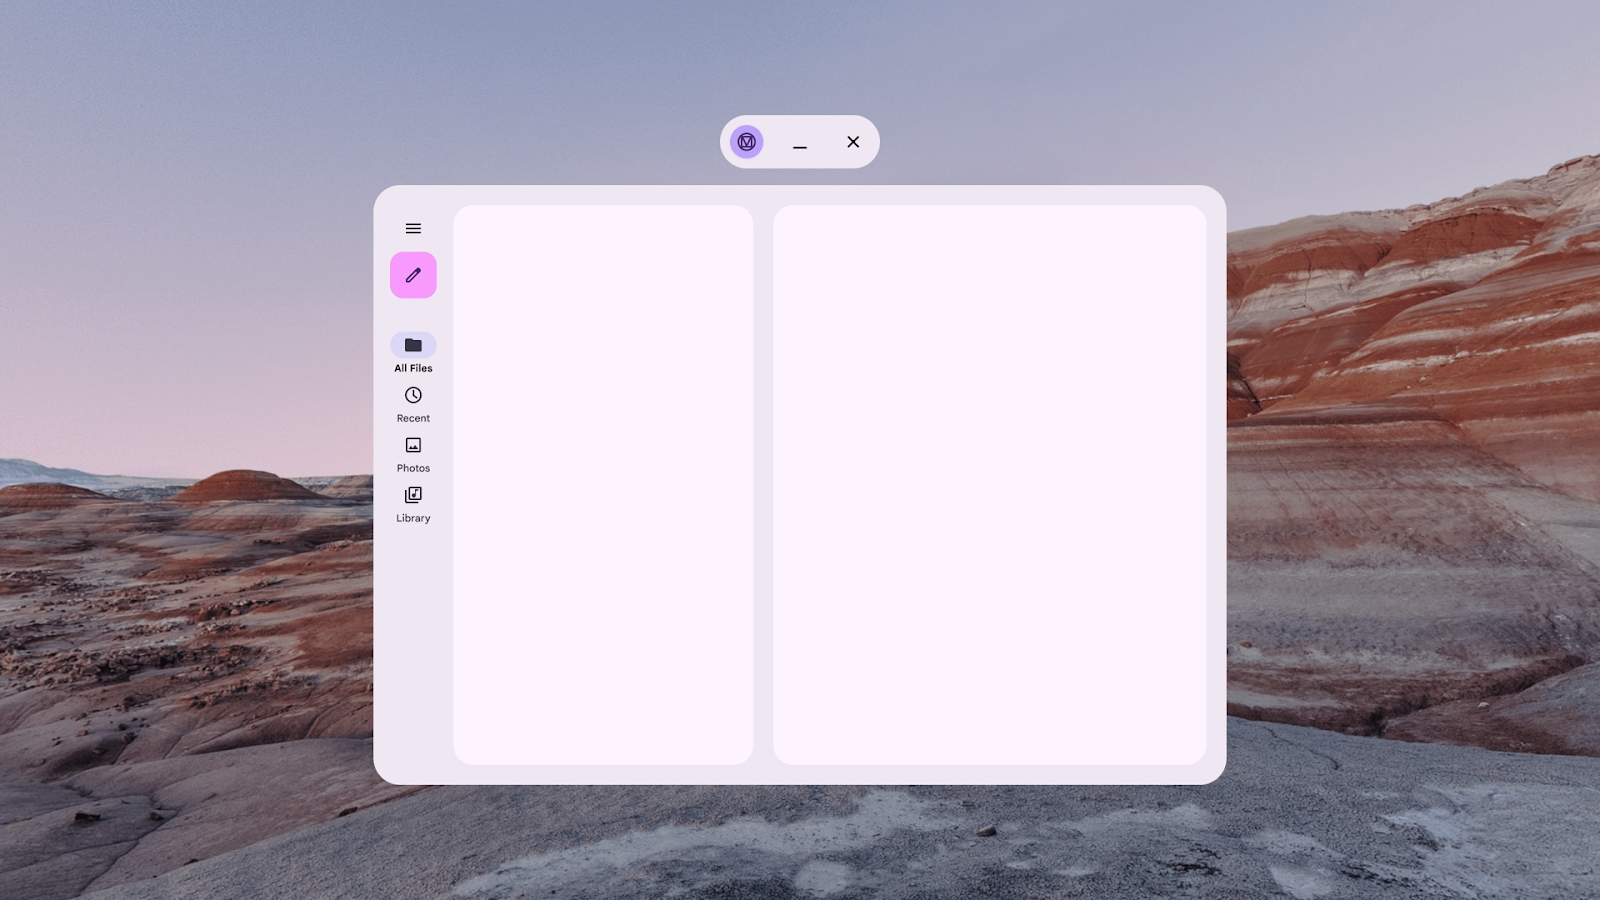
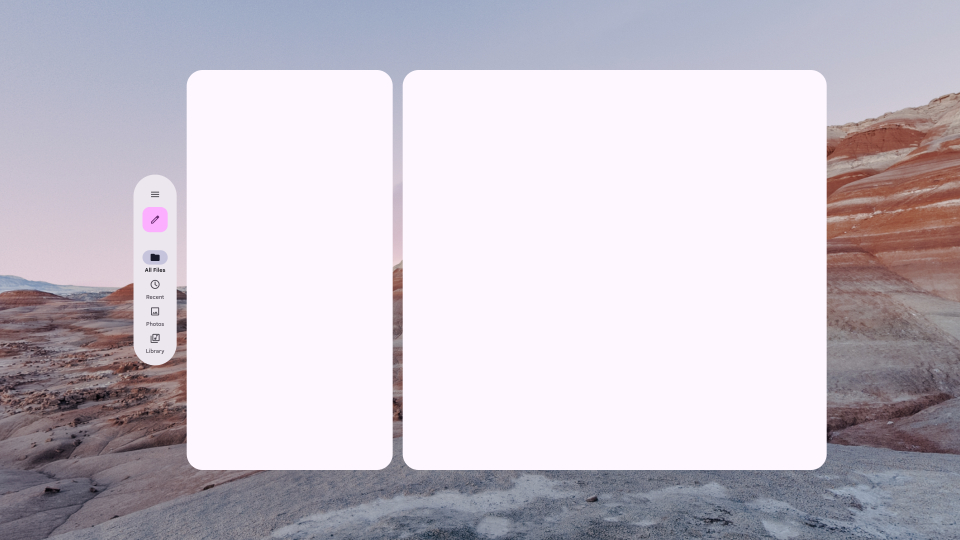
Additionally, the Orbiter API allows you to render an orbiter's content where it normally would when running in Home Space or on a non-XR device and automatically breaks it out into an orbiter when running in Full Space.
|
|
In Home Space space, this navigation rail renders within the main app panel. | In Full Space space, the navigation rail is broken out into an orbiter attached to the primary panel. |
At this point, the app contains a button in the top app bar to toggle between Home Space and Full Space. This button is a perfect example of a control that can be contained within an orbiter when running in Full Space, as moving the control to orbit the main panel helps the control stand out while also visually indicating that the control will collapse the app's content into that panel when clicked.
|
|
The current state | What you'll implement |
To learn more about the design considerations for orbiters, see Spatial UI.
4. Add an Orbiter
Wrap the space toggle button
To turn the space toggle into an orbiter, wrap the ToggleSpaceButton composable within an Orbiter composable.
ui/component/XRFundamentalsTopAppBar .kt
import androidx.compose.foundation.shape.CornerSize
import androidx.compose.ui.Alignment
import androidx.compose.ui.unit.dp
import androidx.xr.compose.spatial.ContentEdge
import androidx.xr.compose.spatial.Orbiter
import androidx.xr.compose.spatial.OrbiterOffsetType
import androidx.xr.compose.subspace.layout.SpatialRoundedCornerShape

...

Orbiter(
    position = ContentEdge.Top,
    alignment = Alignment.End,
    offset = 16.dp,
    offsetType = OrbiterOffsetType.InnerEdge,
    shape = SpatialRoundedCornerShape(
        CornerSize(percent = 100)
    )
) {
    ToggleSpaceButton()
}
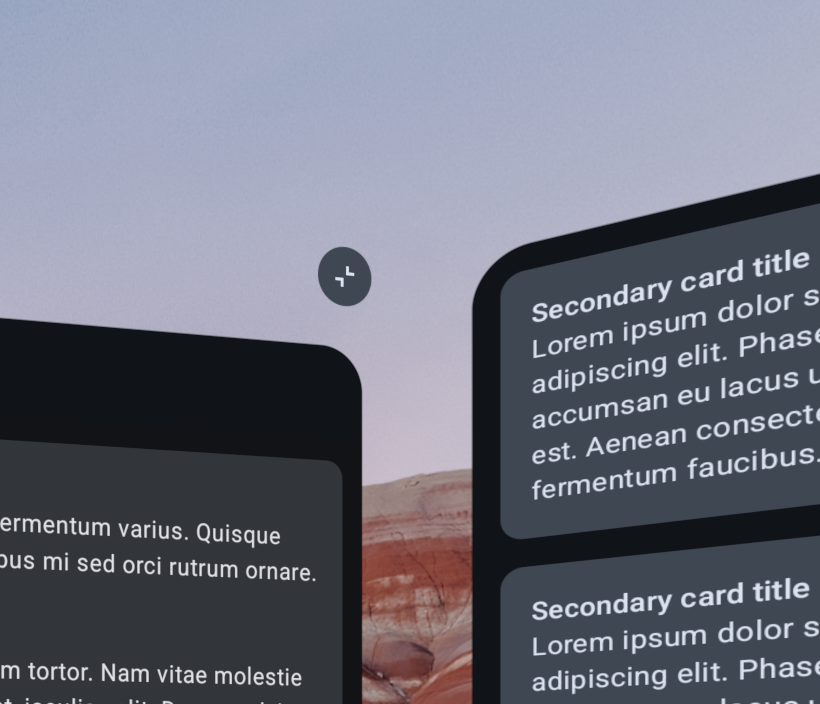
Now, run the app: When running in Home Space, you'll notice that nothing's changed. However, when you click the toggle and the app enters Full Space, you'll notice that the button is no longer located within the top app bar, but to the top right edge of the primary spatial panel.
The orbiter is anchored to the primary spatial panel because that is the nearest parent spatial entity in the UI tree. The exact position of the orbiter relative to the primary spatial panel is determined by the position, alignment, offset, and offsetType parameters. Try modifying these parameters to see the range of behaviors they support.
|
|
Home Space | Full Space |
5. Learn XR concepts: Spatial environments
Using an Orbiter to customize the position in 3D space of UI elements is a great way to improve the user experience on XR devices. You can improve the experience further by customizing the spatial environment in which users find themselves when using your app.
Spatial environments can incorporate depth, texture, and 3D geometry assets to create a rich, visually immersive experience. This is accomplished through the use of a spherical skybox image (in EXR format) to provide a distant panoramic background and/or a geometry asset (in glTF format) to provide foreground and midground elements that can blend into a skybox. For example, a video streaming app could use a night skybox with a glTF of a drive-in movie theater with a projection screen and cars. When creating assets for setting your users' spatial environment, ensure that your assets achieve high-quality resolution while maintaining a reasonable file size. See Optimize environment assets for more information.
Additionally, the opacity of the spatial environment can be controlled. This allows a video stream of the real world to pass through and blend with the virtual environment, which can help users keep their bearings

In the next step, you'll add a geometry asset to your app and create a menu to let the user choose their environment.
For all of the details about designing and implementing spatial environments, see Spatial environments and Add spatial environments to your app.
6. Let users change the spatial environment
How apps control the spatial environment
Before you get started, it's good to understand how exactly apps are able to control the spatial environment.
Unlike the content within panels, apps don't directly control the environment. Instead, they can interact with the Scene to provide a preference for the environment they want the system to use. This preference is represented by a SpatialEnvironmentPreference, which consists of a skybox EXR image and/or geometry glTF. What happens when your app provides a preference depends on the capabilities of your app when it sets the preference. If your app has the capability to change the environment, the system will use it immediately. If not, the preference will be applied when your app gains that capability.
For example, apps generally do not have the capability to change the environment while running in Home Space, but generally do when running in Full Space. So, if you allow a user to set an environment preference while in Home Space, that preference generally won't take effect until your app is running in Full Space.
Add a dependency on the XR SceneCore library
To get started with modifying the spatial environment, add a dependency on the XR SceneCore library, which you will use to load the environment assets and set environment preferences.
libs.version.toml
[versions]
...
xrSceneCore = "1.0.0-alpha14"

[libraries]
...
androidx-xr-scenecore = { group = "androidx.xr.scenecore", name = "scenecore", version.ref = "xrSceneCore"}
app/build.gradle.kts
dependencies {
    ...
    implementation(libs.androidx.xr.scenecore)
    ...
}
Add an environment asset to your project
To specify a unique environment preference, you'll need a skybox and/or a geometry asset. For this codelab you'll use just the green_hills_ktx2_mipmap.glb geometry asset and the green_hills_ibl.zip with image based lighting (IBL). You can find both assets either in the part2 folder containing the solution code or on GitHub.
- Right click on the app module in the Project window within Android Studio. Then select New New > Folder > Assets Folder then click Finish to create the folder.
- Add the GLB file and the zip file into the
app/src/main/assetsfolder you just created.
Model the environment options
To simplify the interaction between the UI code and the system APIs, you can create a Kotlin data class to model each environment option.
- Right click on the
com.example.android.xrfundamentalspackage in the Project window and select New > Package. Entercom.example.android.xrfundamentals.environmentas the package name. - Right click on that package and select New > Kotlin Class/File. Enter
EnvironmentOptionas the name and click the Data class type. - Add the following code in the file you just created:
EnvironmentOption.kt
data class EnvironmentOption(val name: String, val skyboxPath: String?, val geometryPath: String?)

val DEFAULT_ENVIRONMENT = EnvironmentOption("Default", null, null)

val ENVIRONMENT_OPTIONS = listOf(
    DEFAULT_ENVIRONMENT,
    EnvironmentOption("Green Hills", green_hills_ibl.zip, "green_hills_ktx2_mipmap.glb")
)
Add a helper to create load assets and return SpatialEnvironmentPreference
Next, you can add a helper method to the data class to make it easy to convert an EnvironmentOption to the corresponding SpatialEnvrionmentPreference.
EnvironmentOption.kt
import androidx.xr.runtime.Session
import androidx.xr.scenecore.ExrImage
import androidx.xr.scenecore.GltfModel
import androidx.xr.scenecore.SpatialEnvironment
import kotlin.io.path.Path

...

data class EnvironmentOption(val name: String, val skyboxPath: String?, val geometryPath: String?) {
    suspend fun toSpatialEnvironmentPreference(session: Session): SpatialEnvironmentPreference? {
        if (skyboxPath == null && geometryPath == null) {
            return null
        } else {
            val skybox = skyboxPath?.let {
                ExrImage.createFromZip(session, Path(it))
            }

            val geometry = geometryPath?.let {
                GltfModel.create(session, Path(it))
            }

            return SpatialEnvironmentPreference(skybox, geometry)
        }
    }
}
There's a few things to note here:
- If both the skybox and geometry are null, null is returned to indicate that the default system environment preference should be used. See
setSpatialEnvironmentPreferencefor more information. - The
skyboxandgeometryresources are created asynchronously because these assets can often be quite large and take time to read into memory. In a production app, you may want to consider caching these assets in memory if switching environments frequently.
Implement the environment selection UI
To implement the UI, you'll add a second orbiter that rotates through the environment options when clicked.
Add the orbiter
- Right click the
appmodule in the Project window and select the New > Vector Asset. Click on the Clip art field and search and select thelandscapeasset (from the Filled icon family), then click OK, then Next to create the asset. - Right click on the
com.example.android.xrfundamentals.ui.componentpackage and select New > Kotlin Class/File. EnterEnvironmentSelectionOrbiteras the name and click the File type. - Within the file you just created, add the following implementation of the
EnvironmentSelectionOrbitercomposable
EnvironmentSelectionOrbiter.kt
import androidx.compose.foundation.shape.CornerSize
import androidx.compose.material3.FilledTonalIconButton
import androidx.compose.material3.Icon
import androidx.compose.runtime.Composable
import androidx.compose.ui.Alignment
import androidx.compose.ui.Modifier
import androidx.compose.ui.res.painterResource
import androidx.compose.ui.unit.dp
import androidx.xr.compose.spatial.ContentEdge
import androidx.xr.compose.spatial.Orbiter
import androidx.xr.compose.spatial.OrbiterOffsetType
import androidx.xr.compose.subspace.layout.SpatialRoundedCornerShape
import com.example.android.xrfundamentals.R

@Composable
fun EnvironmentSelectionOrbiter(
    modifier: Modifier = Modifier,
    onClick: () -> Unit = {},
) {
    Orbiter(
        position = ContentEdge.Top,
        alignment = Alignment.Start,
        offset = 16.dp,
        offsetType = OrbiterOffsetType.InnerEdge
        shape = SpatialRoundedCornerShape(
            CornerSize(100)
        )
    ) {
        FilledTonalIconButton(
            modifier = modifier,
            onClick = onClick,
        ) {
            Icon(painterResource(R.drawable.baseline_landscape_24), "Show environment selection dialog")
        }
    }
}
- Finally, add the
EnvironmentSelectionOrbiterwithin the primary spatial panel:
XRFundamentalsApp.kt
import androidx.xr.compose.platform.LocalSpatialCapabilities
import com.example.android.xrfundamentals.ui.component.EnvironmentSelectionOrbiter

...

SpatialPanel(...) {

    // Only show the environment selection orbiter if the app is actually able to
    // change the environment
    if (LocalSpatialCapabilities.current.isAppEnvironmentEnabled) {
        EnvironmentSelectionOrbiter(
            onClick = { TODO() }
        )
    }
    ...
}
Change the environment when the orbiter is clicked
To get everything working, there's one last step, which is to set the spatial environment preference in the EnvironmentSelectionOrbiter click handler.
- Set up a variable to track the current environment option (outside of the
Subspaceso that the state is maintained when switching between Home Space and Full Space). Also, create variables for the current XR session and a coroutine scope to call thetoSpatialEnvironmentPreferencehelper:
XRFundamentalsApp.kt
import androidx.compose.runtime.mutableStateOf
import androidx.compose.runtime.rememberCoroutineScope
import androidx.xr.compose.platform.LocalSession

...

var currentEnvironmentOptionIndex by remember { mutableStateOf(0) }

Subspace {
    val session = checkNotNull(LocalSession.current)
    val scope = rememberCoroutineScope()
    ...
}
- Implement the
onClickcallback to rotate through the environment options.
XRFundamentalsApp.kt
EnvironmentSelectionOrbiter(
    onClick = {
        scope.launch {
            currentEnvironmentOptionIndex =
                (currentEnvironmentOptionIndex + 1) % ENVIRONMENT_OPTIONS.size
            session.scene.spatialEnvironment.preferredSpatialEnvironment =
                ENVIRONMENT_OPTIONS[currentEnvironmentOptionIndex].toSpatialEnvironmentPreference(
                    session
                )
        }
    }
)
Run your app one more time and see that you can switch between the Green Hills and default environments!
7. Congratulations
To continue learning about how to make the most of XR, check out the following resources and exercises:
Further reading
- Design for XR covers design principles and best practices to use when building apps for Android XR.
- Develop with the Jetpack XR SDK contains technical guidance on the APIs and tools you can use in building your Android XR experience.
- The Android XR app quality guidelines page describes criteria to create a great user experience.
- Dig into the Hello Android XR sample.
Challenges
- Find or create additional environment assets and add them as options.
- Modify the environment controller and UI to allow the user to set their passthrough preferences using the
SpatialEnvironmentAPI. Note that controlling passthrough is gated by a different capability than for changing the environment assets.