Last Updated: 2020-01-22
What are the benefits of adding a MediaSession around video playback?
Media sessions are an integral link between the Android platform and media apps. Not only does it inform Android that media is playing—so that it can forward media actions into the correct session—but it also informs the platform what is playing and how it can be controlled.
Exposing a MediaSession through your app has various benefits that users will enjoy. Here are a few great examples.
Google Assistant
Users can easily interact with media in your app through voice commands such as "Pause," "Resume," and "Next." Metadata from your media can also be used to get answers about what's currently playing.
Android TV
On big screen experiences, your Android TV app can make use of conventional remote controls for users with TVs supporting HDMI-CEC. Commands issued by the play/pause, stop, next and previous buttons are relayed to your app.
On-screen media controls
Starting with Android 4.0 (API level 14), the system can access a media session's playback state and metadata. This functionality enables the lock screen to display media controls and artwork. This behavior varies depending on the version of Android.
Background media
Media can be controlled in any of these scenarios even if the app playing the media is running in the background.
Ambient computing
Exposing your media with data about what's playing and how it can be controlled can bridge between devices so that users can interact with it in a variety of ways that they enjoy.
What you'll build
In this codelab, you're going to extend the existing Exoplayer sample to add media session support. Your app will:
- Correctly reflect the active state of the media session
- Relay media controls to ExoPlayer
- Pass metadata of items in the queue into the media session
What you'll learn
- Why media sessions offer users a richer experience
- How to create a media session and manage its state
- How to connect a media session to ExoPlayer
- How to include metadata of items in the playback queue in the media session
- How to add additional (custom) actions
This codelab focuses on the MediaSession SDK. Non-relevant concepts and code blocks, including details about the ExoPlayer implementation, are not discussed but are provided for you to simply copy and paste.
What you'll need
- A recent version of Android Studio (3.5 or later)
- Basic knowledge of developing Android applications
What's our starting point?
Our starting point is the main demo from ExoPlayer. This demo contains videos with on-screen playback controls, but doesn't use media sessions out of the box. It's a great place for us to dive in and add them!
Obtain the ExoPlayer sample
For a running start, let's begin with the ExoPlayer sample. Clone the GitHub repository from the link below.
Open the demo
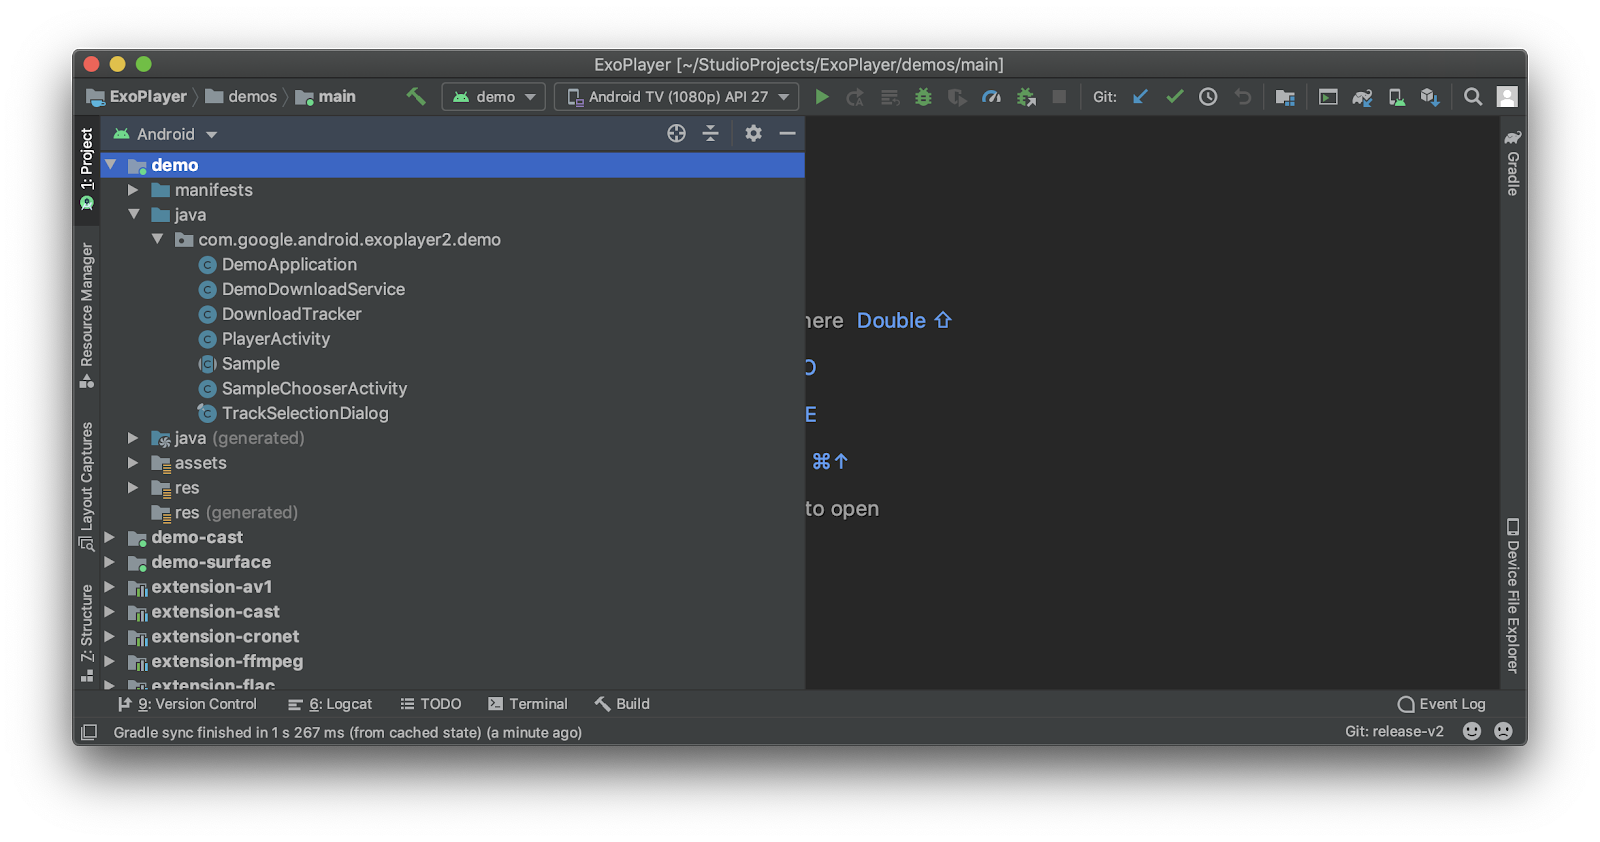
In Android Studio, open the main demo project located under demos/main.
Android Studio will prompt you to set the SDK path. You may want to follow the recommendations for updating the IDE and SDK tools if you encounter any problems.

If you're asked to use the latest Gradle version, go ahead and update it.
Take a moment to get a basic understanding of how the app is designed. Note that there are two activities: SampleChooserActivity and PlayerActivity. We'll be spending the remainder of the codelab in PlayerActivity, where the media actually plays, so open this class and move on to the next section.
Create the media session
Open PlayerActivity.java. This class creates the ExoPlayer and manages its functions, like rendering video to the screen. In this activity, we will be connecting the ExoPlayer to a media session.
Declare the following two fields at the top of the class. We will use these fields throughout this section.
private MediaSessionCompat mediaSession;
private MediaSessionConnector mediaSessionConnector;
You will need to add the "extension-mediasession" project dependency into the module-level build.gradle for "Module: demo":
implementation project(path: ':extension-mediasession')Note that Android Studio can help you with adding this dependency automatically if you mouse over the error with resolving MediaSessionConnector:

Finally, resolve the class imports by adding the following:
import android.support.v4.media.session.MediaSessionCompat;
import com.google.android.exoplayer2.ext.mediasession.MediaSessionConnector;When the activity is created we will want to create a media session and a media session connector that serves as an intermediary between the media session and ExoPlayer.
The ideal place to insert this is where ExoPlayer is created as well. In our demo app, we can append our code to the end of initializePlayer(). Make sure to add this logic after the player is instantiated!
private void initializePlayer() {
  if (player == null) {
    ...
    player = ...
    ...
    mediaSession = new MediaSessionCompat(this, "sample");
    mediaSessionConnector = new MediaSessionConnector(mediaSession);
    mediaSessionConnector.setPlayer(player);
  }
  ...
}
Release the media session
Release the media session when it's no longer needed. When we release ExoPlayer in releasePlayer(), we can also include the following code to do so:
private void releasePlayer() {
  if (mediaSession != null) {
    mediaSession.release();
  }
  ...
}
Manage the media session state
Now that we've instantiated the media session, we need to make sure that its state is correctly reflected as the user interacts with the activity.
When the user starts the activity, the media session should become active:
@Override
public void onStart() {
  ...
  if (mediaSession != null) {
    mediaSession.setActive(true);
  }
}
Because our application does not play media in the background, it's essential to ensure that the media session becomes inactive as the user leaves the activity:
@Override
public void onStop() {
  super.onStop();
  if (mediaSession != null) {
    mediaSession.setActive(false);
  }
  ...
}Let's run the demo
- Attach an Android device or start an emulator.
- Make sure that "demo" is selected to run from the Android Studio toolbar.

- Click
 from the Android Studio toolbar.
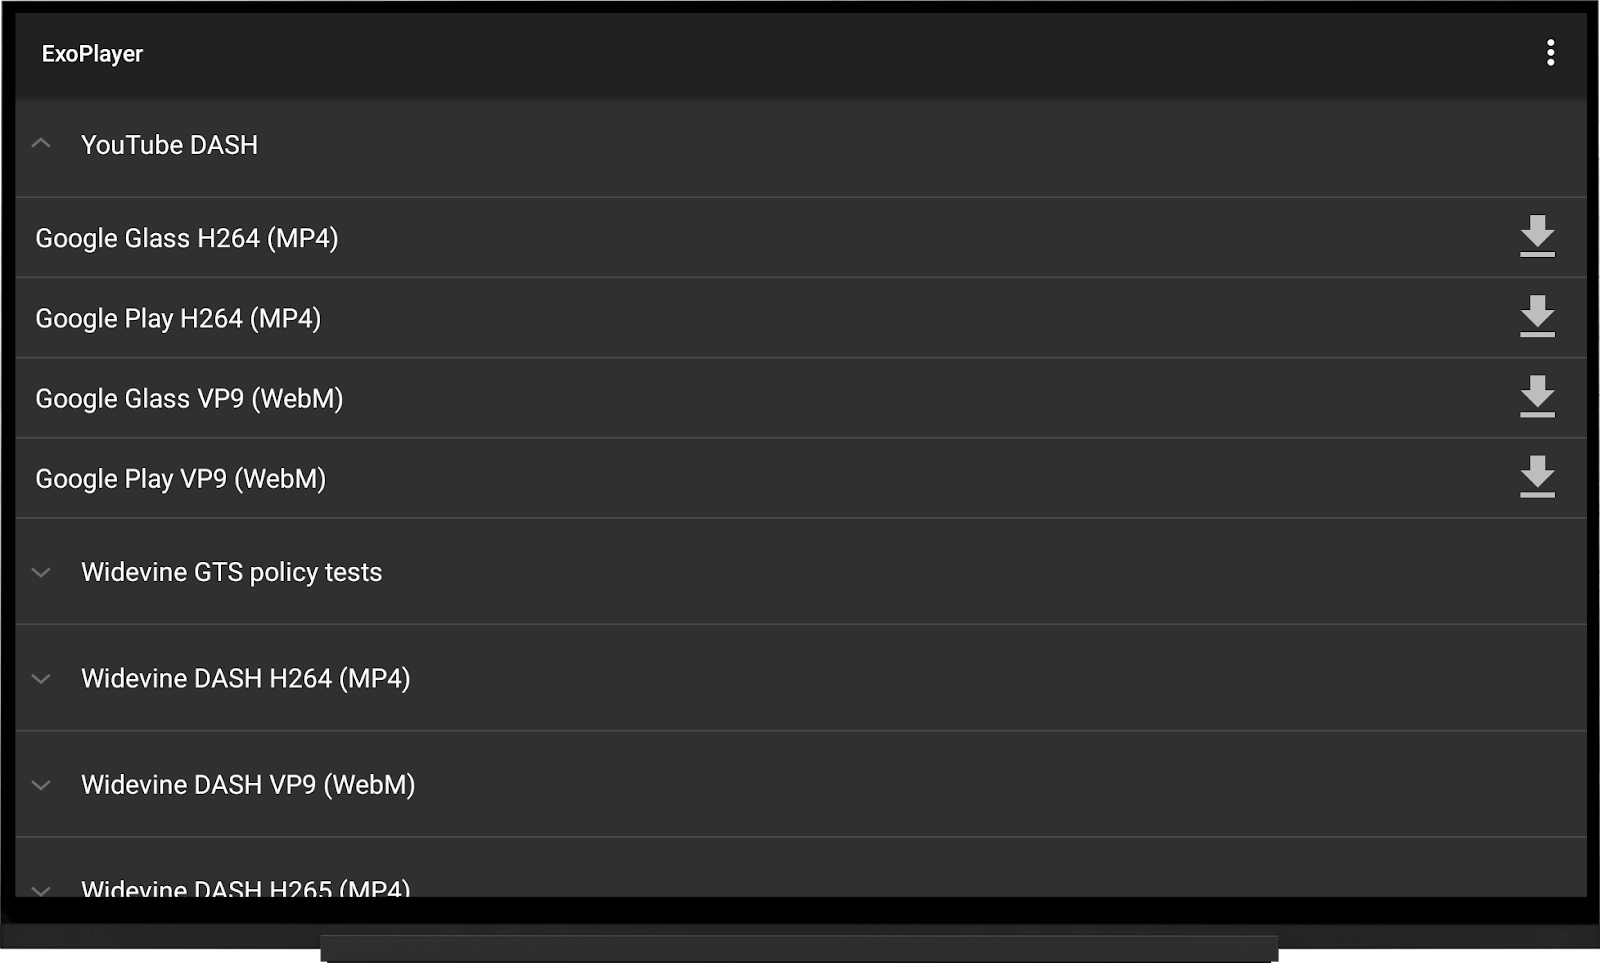
 - Once the app launches on your device, select a video stream to play.
- Once playback starts, explore using the following
adbcommands to control the media session:adb shell media dispatch pauseadb shell media dispatch playadb shell media dispatch play-pauseadb shell media dispatch fast-forwardadb shell media dispatch rewind
- Also explore how Android sees your media session by executing:
adb shell dumpsys media_session - If you're using a physical device with a microphone, try invoking the Google Assistant and issuing voice commands, such as:
"Pause."
"Resume."
"Fast-forward 1 minute."

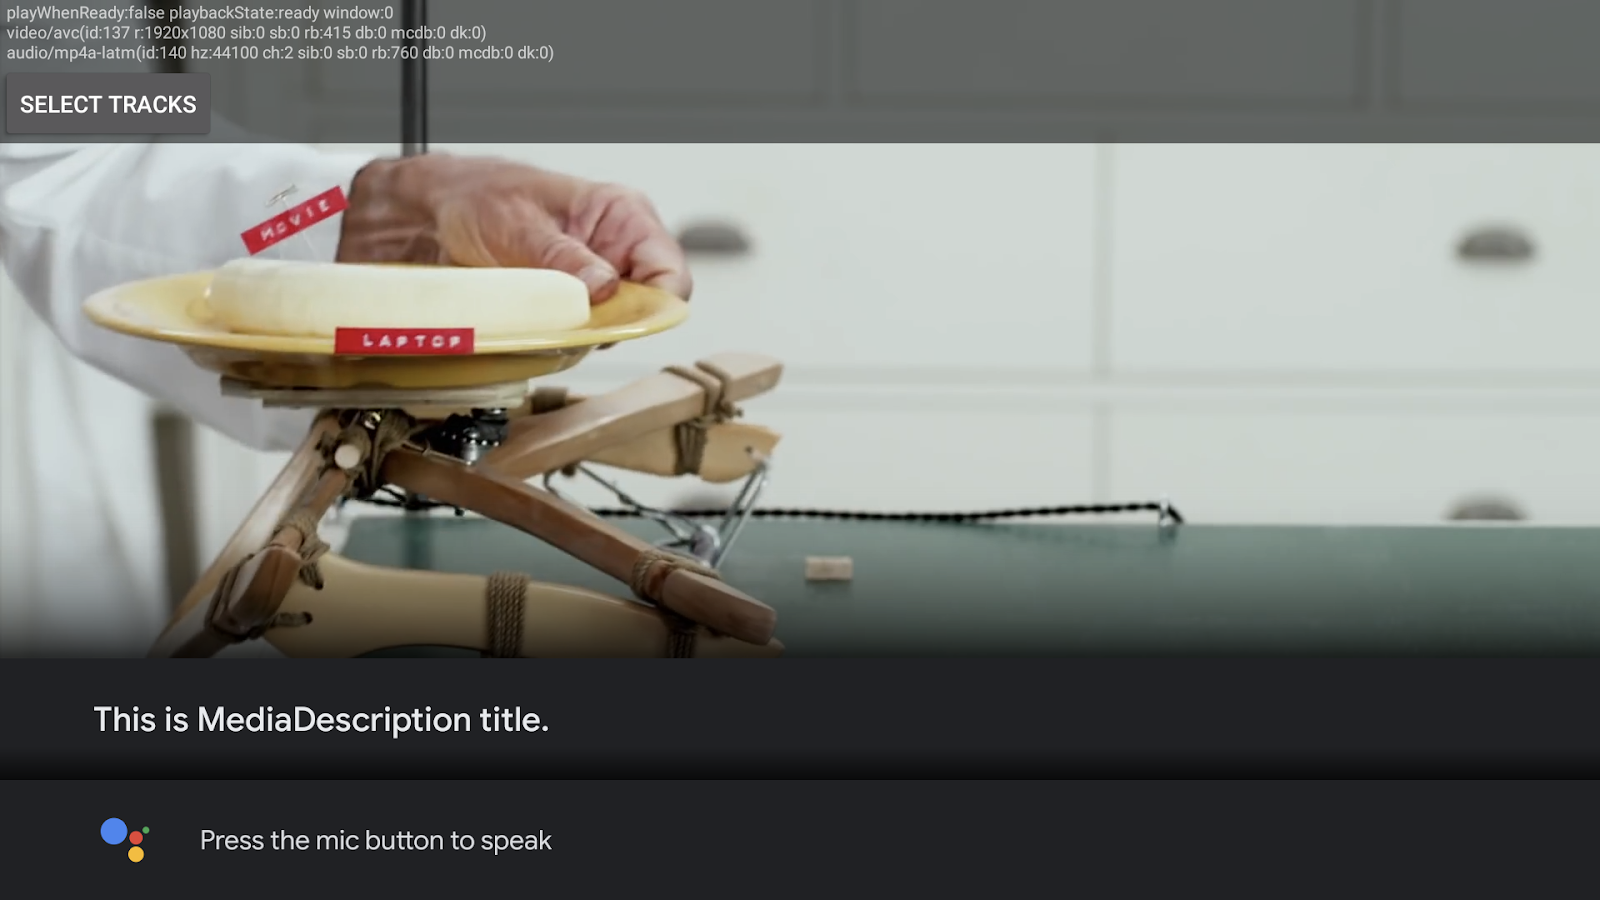
ExoPlayer sample running on Android TV.
We can now expand the supported features of our media session where we had previously created our MediaSessionConnector in initializePlayer().
Adding a TimelineQueueNavigator
ExoPlayer represents the structure of media as a timeline. For details on how this works, take a moment to read about ExoPlayer's Timeline object. By tapping into this structure, we can be informed when content changes and expose metadata of what's currently playing when asked.
To accomplish this, we'll define a TimelineQueueNavigator. Locate the instantiation of MediaSessionConnector in initializePlayer() and add an implementation of TimelineQueueNavigator after mediaSession is initialized.
mediaSessionConnector.setQueueNavigator(new TimelineQueueNavigator(mediaSession) {
  @Override
  public MediaDescriptionCompat getMediaDescription(Player player, int windowIndex) {
    return new MediaDescriptionCompat.Builder()
            .setTitle("MediaDescription title")
            .setDescription("MediaDescription description for " + windowIndex)
            .setSubtitle("MediaDescription subtitle")
            .build();
  }
});
Resolve the class imports by adding:
import android.support.v4.media.MediaDescriptionCompat;
import com.google.android.exoplayer2.ext.mediasession.TimelineQueueNavigator;
Observe that the windowIndex parameter corresponds with the item of that index in the playback queue.
Now that you've added some metadata, you can test that the Assistant understands what's playing. While playing a video on Android TV, invoke the Assistant and ask "What's playing?"

Perhaps your player doesn't support some actions, or you would like to include support for more? Let's now dig a bit deeper into the media session where we had previously created our MediaSessionConnector in initializePlayer().
Declaring supported actions
Try using mediaSessionConnector.setEnabledPlaybackActions() to customize which actions you wish the media session to support.
Note that the complete set is:
mediaSessionConnector.setEnabledPlaybackActions(
        PlaybackStateCompat.ACTION_PLAY_PAUSE
                | PlaybackStateCompat.ACTION_PLAY
                | PlaybackStateCompat.ACTION_PAUSE
                | PlaybackStateCompat.ACTION_SEEK_TO
                | PlaybackStateCompat.ACTION_FAST_FORWARD
                | PlaybackStateCompat.ACTION_REWIND
                | PlaybackStateCompat.ACTION_STOP
                | PlaybackStateCompat.ACTION_SET_REPEAT_MODE
                | PlaybackStateCompat.ACTION_SET_SHUFFLE_MODE
);
Let's again see how this data is exposed to the platform:
- As before, start a video.
- Explore how Android sees the metadata from your media session by executing:
adb shell dumpsys media_session - Locate the line containing metadata and observe that the title and description are included and associated with
com.google.android.exoplayer2.demo/sample.
Adding additional actions
We can expand our media session with some additional actions. In this section, we'll only add support for captions.
Supporting captions
Adding support for captions to media sessions allows users to toggle them by voice. Where you had initialized the media session connector, add the following:
mediaSessionConnector.setCaptionCallback(new MediaSessionConnector.CaptionCallback() {
      @Override
      public void onSetCaptioningEnabled(Player player, boolean enabled) {
        Log.d("MediaSession", "onSetCaptioningEnabled: enabled=" + enabled);
      }

      @Override
      public boolean hasCaptions(Player player) {
        return true;
      }

      @Override
      public boolean onCommand(Player player, ControlDispatcher controlDispatcher, String command, Bundle extras, ResultReceiver cb) {
        return false;
      }
    }
);
Finally, resolve any missing imports.
You can test this by invoking the Google Assistant on Android TV and saying "Enable captions." Check Logcat for messages to see how this calls into your code.
Congratulations, you've successfully added media sessions to the sample!
You've gotten a tremendous amount of functionality by:
- adding a media session,
- connecting media sessions to an instance of ExoPlayer,
- adding metadata and additional actions.
You now know the key steps required to enrich a media app and offer users a more versatile experience!
A final remark
This codelab was built on top of a sample from the ExoPlayer source code. There's no need to use ExoPlayer from source, and it's recommended that you instead pull the dependencies for ExoPlayer and MediaSessionConnector so it's easier to stay up to date with the latest releases.
To do so, simply replace the project dependencies such as:
implementation project(modulePrefix + 'library-core')
implementation project(path: ':extension-mediasession')
to pull from Maven repositories, such as:
implementation 'com.google.android.exoplayer:exoplayer-core:2.+'
implementation 'com.google.android.exoplayer:extension-mediasession:2.+'