Setup Eclipse (DEPRECATED)
Stay organized with collections
Save and categorize content based on your preferences.
The Eclipse ADT plugin is no longer supported. We recommend migrating to Android Studio to compile,
build, and package your app's native sources using ndk-build or CMake. Compatibility with ndk-build makes it easy
to migrate your native projects from Eclipse to Android Studio. To learn more
about native development with the official IDE for Android, read Add C and C++ Code to Your
Project.
Installation
To install and configure the NDK, follow these steps:
- Get and install the Android SDK command line tools.
- Download the NDK,
making sure to download the correct version for your development platform. You may place the
unzipped directory anywhere on your local drive.
- Update your
PATH
environment variable with the location of the directory that
contains the NDK.
Eclipse must know where the NDK is in order to use it when building your app. Follow these steps
to set the location of the NDK.
- Launch Eclipse, which is installed as part of the Android SDK.
- Open Window > Preferences.
- In the pane on the left side of the Preferences window, select Android.
The Android section expands, revealing a number of subsections.
- Select NDK. In the pane on the right side of the Preferences window, browse to
the directory that contains the NDK.
- Click OK to return to the Package Explorer display.
Verification
Eclipse
To confirm that you have installed the NDK, set it up correctly, and properly configured Eclipse,
follow these steps:
- Import the hello-jni sample from
<ndk>/samples/
, as you would any other Android
project.
- In the Project Explorer pane, right-click the project name (HelloJni). A
context menu appears.
- From the context menu, select Android Tools > Add Native Support. The
Add Android Native Support window appears.
- Accept the default library name (“hello-jni”), and click Finish.
- Build and execute the application.
Command line
Follow these steps to build from the command line:
- Change to the root directory of your project.
- Execute ndk-build to build the native component of your app. do this by
typing
ndk-build
at the command prompt.
- Build and install your project as you would a regular Android app written in Java. For more
information, see
Configure Your Build and
Run Gradle from the Command Line.
If you have successfully installed and configured the NDK, the screen on your target device looks
as shown in Figure 1.
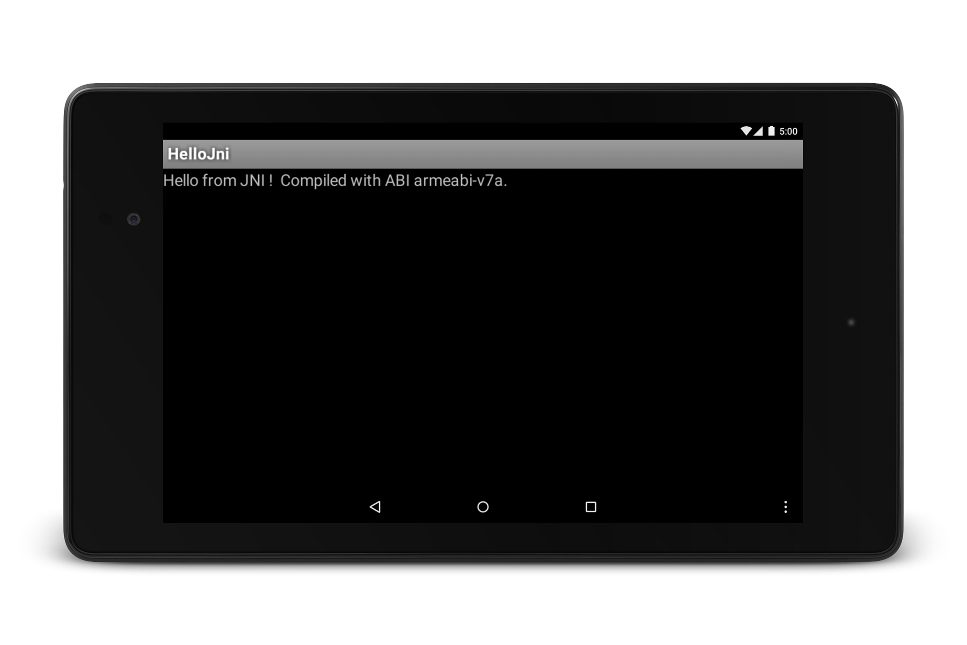
Figure 1. Target-device screen after successful launch.
Except as otherwise noted, the content of this page is licensed under the Creative Commons Attribution 4.0 License, and code samples are licensed under the Apache 2.0 License. For details, see the Google Developers Site Policies. Java is a registered trademark of Oracle and/or its affiliates.
Last updated 2019-12-27 UTC.
[[["Easy to understand","easyToUnderstand","thumb-up"],["Solved my problem","solvedMyProblem","thumb-up"],["Other","otherUp","thumb-up"]],[["Missing the information I need","missingTheInformationINeed","thumb-down"],["Too complicated / too many steps","tooComplicatedTooManySteps","thumb-down"],["Out of date","outOfDate","thumb-down"],["Samples / code issue","samplesCodeIssue","thumb-down"],["Other","otherDown","thumb-down"]],["Last updated 2019-12-27 UTC."],[],[],null,["# Setup Eclipse (DEPRECATED)\n\n**The Eclipse ADT plugin is no longer supported** . We recommend [migrating to Android Studio](/studio/intro/migrate) to compile,\nbuild, and package your app's native sources using [ndk-build](/ndk/guides/ndk-build) or [CMake](https://cmake.org/). Compatibility with ndk-build makes it easy\nto migrate your native projects from Eclipse to Android Studio. To learn more\nabout native development with the official IDE for Android, read [Add C and C++ Code to Your\nProject](/studio/projects/add-native-code).\n\nInstallation\n------------\n\nTo install and configure the NDK, follow these steps:\n\n1. Get and install the [Android SDK command line tools](/studio#downloads).\n2. [Download the NDK](/ndk/downloads), making sure to download the correct version for your development platform. You may place the unzipped directory anywhere on your local drive.\n3. Update your `PATH` environment variable with the location of the directory that contains the NDK.\n\nConfiguring Eclipse\n-------------------\n\nEclipse must know where the NDK is in order to use it when building your app. Follow these steps\nto set the location of the NDK.\n\n1. Launch Eclipse, which is installed as part of the Android SDK.\n2. Open **Window** \\\u003e **Preferences**.\n3. In the pane on the left side of the *Preferences* window, select *Android* . The *Android* section expands, revealing a number of subsections.\n4. Select **NDK** . In the pane on the right side of the *Preferences* window, browse to the directory that contains the NDK.\n5. Click **OK** to return to the *Package Explorer* display.\n\nVerification\n------------\n\n### Eclipse\n\nTo confirm that you have installed the NDK, set it up correctly, and properly configured Eclipse,\nfollow these steps:\n\n1. Import the hello-jni sample from `\u003cndk\u003e/samples/`, as you would any other Android project.\n2. In the *Project Explorer* pane, right-click the project name (*HelloJni*). A context menu appears.\n3. From the context menu, select **Android Tools** \\\u003e **Add Native Support** . The *Add Android Native Support* window appears.\n4. Accept the default library name (\"hello-jni\"), and click **Finish**.\n5. Build and execute the application.\n\n### Command line\n\nFollow these steps to build from the command line:\n\n1. Change to the root directory of your project.\n2. Execute ndk-build to build the native component of your app. do this by typing `ndk-build` at the command prompt.\n3. Build and install your project as you would a regular Android app written in Java. For more information, see [Configure Your Build](/studio/build) and [Run Gradle from the Command Line](/studio/build/building-cmdline).\n\nIf you have successfully installed and configured the NDK, the screen on your target device looks\nas shown in Figure 1.\n\n\n**Figure 1.** Target-device screen after successful launch."]]