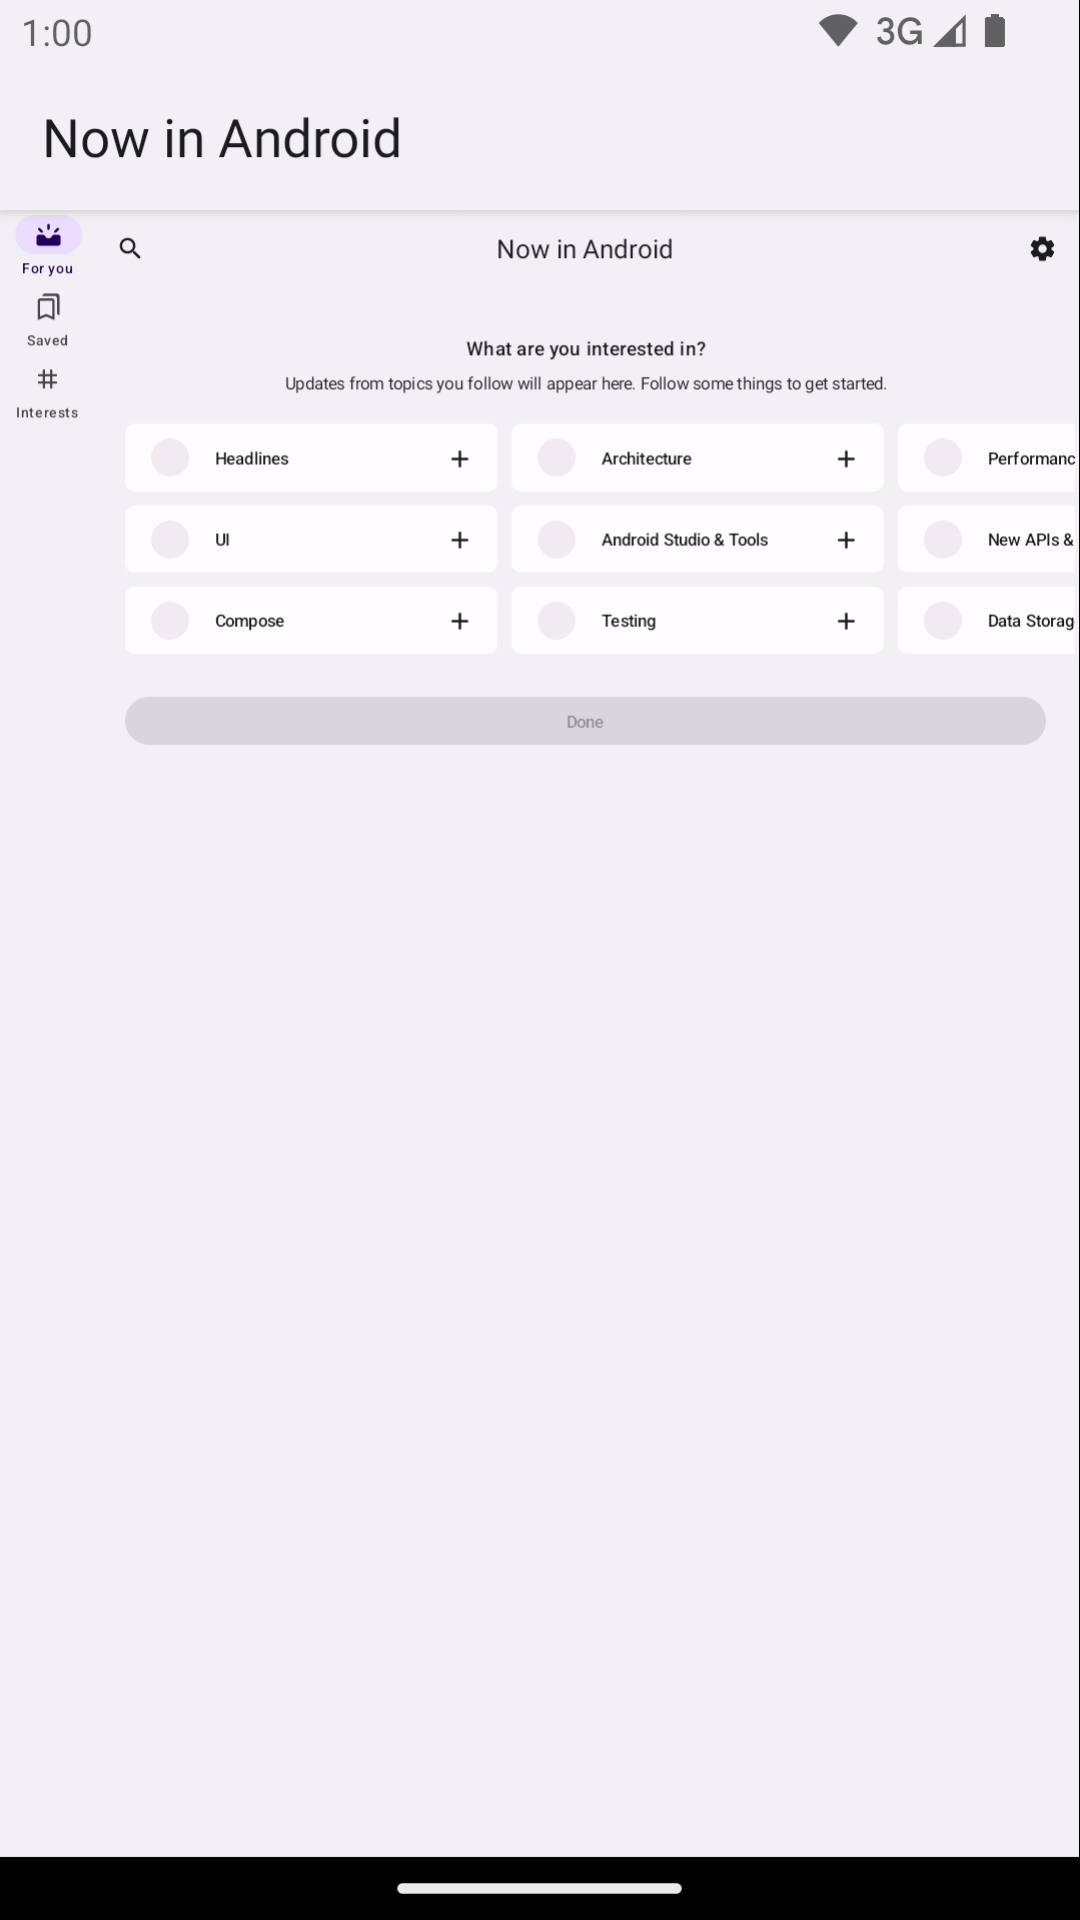
Android には、さまざまな画面サイズやウィンドウ サイズのテストを作成するのに役立つさまざまなツールと API が用意されています。
DeviceConfigurationOverride
DeviceConfigurationOverride コンポーザブルを使用すると、構成属性をオーバーライドして、Compose レイアウトで複数の画面サイズとウィンドウ サイズをテストできます。ForcedSize オーバーライドは、利用可能なスペースのあらゆるレイアウトに適合するため、あらゆる画面サイズで UI テストを実行できます。たとえば、小型のスマートフォン フォーム ファクタを使用して、大型のスマートフォン、折りたたみ式デバイス、タブレットの UI テストを含むすべての UI テストを実行できます。
   DeviceConfigurationOverride(
        DeviceConfigurationOverride.ForcedSize(DpSize(1280.dp, 800.dp))
    ) {
        MyScreen() // Will be rendered in the space for 1280dp by 800dp without clipping.
    }

また、このコンポーザブルを使用して、さまざまなウィンドウ サイズでテストするフォント スケール、テーマ、その他のプロパティを設定することもできます。
Robolectric
Robolectric を使用して、Compose またはビューベースの UI テストを JVM でローカルに実行します。デバイスやエミュレータは必要ありません。Robolectric を構成して、特定の画面サイズなどの便利なプロパティを使用できます。
Now in Android の次の例では、Robolectric は、解像度 480 dpi の画面サイズ 1000x1000 dp をエミュレートするように構成されています。
@RunWith(RobolectricTestRunner::class)
// Configure Robolectric to use a very large screen size that can fit all of the test sizes.
// This allows enough room to render the content under test without clipping or scaling.
@Config(qualifiers = "w1000dp-h1000dp-480dpi")
class NiaAppScreenSizesScreenshotTests { ... }
Now in Android の例の次のスニペットのように、テスト本文から修飾子を設定することもできます。
val (width, height, dpi) = ...

// Set qualifiers from specs.
RuntimeEnvironment.setQualifiers("w${width}dp-h${height}dp-${dpi}dpi")
なお、RuntimeEnvironment.setQualifiers() は新しい構成でシステムとアプリのリソースを更新しますが、アクティブなアクティビティや他のコンポーネントでアクションをトリガーすることはありません。
詳しくは、Robolectric のデバイス構成に関するドキュメントをご覧ください。
Gradle で管理されているデバイス
Gradle で管理されているデバイス(GMD)Android Gradle プラグインを使用すると、インストルメンテーション テストを実行するエミュレータと実際のデバイスの仕様を定義できます。特定のテストを特定の画面サイズで実行する必要があるテスト戦略を実装するために、さまざまな画面サイズのデバイスの仕様を作成します。GMD を継続的インテグレーション(CI)で使用すると、必要なときに適切なテストを実行し、エミュレータのプロビジョニングと起動を行い、CI の設定を簡素化できます。
android {
    testOptions {
        managedDevices {
            devices {
                // Run with ./gradlew nexusOneApi30DebugAndroidTest.
                nexusOneApi30(com.android.build.api.dsl.ManagedVirtualDevice) {
                    device = "Nexus One"
                    apiLevel = 30
                    // Use the AOSP ATD image for better emulator performance
                    systemImageSource = "aosp-atd"
                }
                // Run with ./gradlew  foldApi34DebugAndroidTest.
                foldApi34(com.android.build.api.dsl.ManagedVirtualDevice) {
                    device = "Pixel Fold"
                    apiLevel = 34
                    systemImageSource = "aosp-atd"
                }
            }
        }
    }
}
GMD の例は、testing-samples プロジェクトで確認できます。
Firebase Test Lab
Firebase Test Lab(FTL)または同様のデバイス ファーム サービスを使用して、さまざまなサイズの折りたたみ式デバイスやタブレットなど、アクセスできない可能性のある特定の実際のデバイスでテストを実行します。Firebase Test Lab は、無料枠のある有料サービスです。FTL は、エミュレータでのテストの実行もサポートしています。これらのサービスは、デバイスとエミュレータを事前にプロビジョニングできるため、インストルメンテーション テストの信頼性と速度を向上させます。
GMD で FTL を使用する方法については、Gradle で管理されているデバイスを使用したテストのスケーリングをご覧ください。
テストランナーでテストをフィルタリングする
最適なテスト戦略では同じことを 2 回検証しないため、ほとんどの UI テストは複数のデバイスで実行する必要はありません。通常、UI テストは、スマートフォン フォーム ファクタでテストのすべてまたはほとんどを実行し、画面サイズの異なるデバイスでテストのサブセットのみを実行することでフィルタリングします。
特定のデバイスでのみ実行されるように特定のテストにアノテーションを付け、テストを実行するコマンドを使用して AndroidJUnitRunner に引数を渡すことができます。
たとえば、次のようなアノテーションを作成できます。
annotation class TestExpandedWidth
annotation class TestCompactWidth
別のテストで使用します。
class MyTestClass {

    @Test
    @TestExpandedWidth
    fun myExample_worksOnTablet() {
        ...
    }

    @Test
    @TestCompactWidth
    fun myExample_worksOnPortraitPhone() {
        ...
    }

}
テストを実行するときに android.testInstrumentationRunnerArguments.annotation プロパティを使用して、特定のテストをフィルタできます。たとえば、Gradle 管理デバイスを使用している場合は、次のようになります。
$ ./gradlew pixelTabletApi30DebugAndroidTest -Pandroid.testInstrumentationRunnerArguments.annotation='com.sample.TestExpandedWidth'
GMD を使用せずに CI でエミュレータを管理する場合は、まず正しいエミュレータまたはデバイスが準備され、接続されていることを確認してから、パラメータを Gradle コマンドのいずれかに渡して、インストルメンテーション テストを実行します。
$ ./gradlew connectedAndroidTest -Pandroid.testInstrumentationRunnerArguments.annotation='com.sample.TestExpandedWidth'
Espresso Device(次のセクションを参照)でも、デバイス プロパティを使用してテストをフィルタできます。
Espresso デバイス
Espresso Device を使用すると、Espresso、Compose、UI Automator テストなどのあらゆる種類のインストルメンテーション テストを使用して、テストでエミュレータに対してアクションを実行できます。これらのアクションには、画面サイズの変更や、折りたたみ式デバイスの状態や姿勢の切り替えなどがあります。たとえば、折りたたみ式エミュレータを制御して、卓上モードに設定できます。Espresso Device には、特定の機能を必要とする JUnit ルールとアノテーションも含まれています。
@RunWith(AndroidJUnit4::class)
class OnDeviceTest {

    @get:Rule(order=1) val activityScenarioRule = activityScenarioRule<MainActivity>()

    @get:Rule(order=2) val screenOrientationRule: ScreenOrientationRule =
        ScreenOrientationRule(ScreenOrientation.PORTRAIT)

    @Test
    fun tabletopMode_playerIsDisplayed() {
        // Set the device to tabletop mode.
        onDevice().setTabletopMode()
        onView(withId(R.id.player)).check(matches(isDisplayed()))
    }
}
なお、Espresso Device はまだアルファ版であり、次の要件があります。
- Android Gradle プラグイン 8.3 以降
- Android Emulator 33.1.10 以降
- API レベル 24 以上を実行する Android 仮想デバイス
テストをフィルタリングする
Espresso Device は、接続されたデバイスのプロパティを読み取って、アノテーションを使用してテストをフィルタリングできるようにします。アノテーション付きの要件が満たされていない場合、テストはスキップされます。
RequiresDeviceMode アノテーション
RequiresDeviceMode アノテーションは、デバイスでDeviceMode 値がすべてサポートされている場合にのみ実行されるテストを示すために、複数回使用できます。
class OnDeviceTest {
    ...
    @Test
    @RequiresDeviceMode(TABLETOP)
    @RequiresDeviceMode(BOOK)
    fun tabletopMode_playerIdDisplayed() {
        // Set the device to tabletop mode.
        onDevice().setTabletopMode()
        onView(withId(R.id.player)).check(matches(isDisplayed()))
    }
}
RequiresDisplay アノテーション
RequiresDisplay アノテーションを使用すると、公式のウィンドウ サイズクラスに沿ってディメンション バケットを定義するサイズクラスを使用して、デバイス画面の幅と高さを指定できます。
class OnDeviceTest {
    ...
    @Test
    @RequiresDisplay(EXPANDED, COMPACT)
    fun myScreen_expandedWidthCompactHeight() {
        ...
    }
}
ディスプレイのサイズを変更する
setDisplaySize() メソッドを使用して、実行時に画面のサイズを変更します。このメソッドは DisplaySizeRule クラスと組み合わせて使用します。これにより、テスト中に加えられた変更は次のテストの前に元に戻されます。
@RunWith(AndroidJUnit4::class)
class ResizeDisplayTest {

    @get:Rule(order = 1) val activityScenarioRule = activityScenarioRule<MainActivity>()

    // Test rule for restoring device to its starting display size when a test case finishes.
    @get:Rule(order = 2) val displaySizeRule: DisplaySizeRule = DisplaySizeRule()

    @Test
    fun resizeWindow_compact() {
        onDevice().setDisplaySize(
            widthSizeClass = WidthSizeClass.COMPACT,
            heightSizeClass = HeightSizeClass.COMPACT
        )
        // Verify visual attributes or state restoration.
    }
}
setDisplaySize() でディスプレイのサイズを変更しても、デバイスの密度には影響しません。そのため、ターゲット デバイスに収まらないディメンションがある場合、テストは UnsupportedDeviceOperationException で失敗します。このケースでテストが実行されないようにするには、RequiresDisplay アノテーションを使用してテストを除外します。
@RunWith(AndroidJUnit4::class)
class ResizeDisplayTest {

    @get:Rule(order = 1) var activityScenarioRule = activityScenarioRule<MainActivity>()

    // Test rule for restoring device to its starting display size when a test case finishes.
    @get:Rule(order = 2) var displaySizeRule: DisplaySizeRule = DisplaySizeRule()

    /**
     * Setting the display size to EXPANDED would fail in small devices, so the [RequiresDisplay]
     * annotation prevents this test from being run on devices outside the EXPANDED buckets.
     */
    @RequiresDisplay(
        widthSizeClass = WidthSizeClassEnum.EXPANDED,
        heightSizeClass = HeightSizeClassEnum.EXPANDED
    )
    @Test
    fun resizeWindow_expanded() {
        onDevice().setDisplaySize(
            widthSizeClass = WidthSizeClass.EXPANDED,
            heightSizeClass = HeightSizeClass.EXPANDED
        )
        // Verify visual attributes or state restoration.
    }
}
StateRestorationTester
StateRestorationTester クラスは、アクティビティを再作成せずにコンポーザブル コンポーネントの状態復元をテストするために使用されます。アクティビティの再作成は複数の同期メカニズムを伴う複雑なプロセスであるため、テストの高速化と信頼性の向上につながります。
@Test
fun compactDevice_selectedEmailEmailRetained_afterConfigChange() {
    val stateRestorationTester = StateRestorationTester(composeTestRule)

    // Set content through the StateRestorationTester object.
    stateRestorationTester.setContent {
        MyApp()
    }

    // Simulate a config change.
    stateRestorationTester.emulateSavedInstanceStateRestore()
}
Window Testing ライブラリ
Window Testing ライブラリには、アクティビティの埋め込みや折りたたみ式デバイスの機能など、ウィンドウ管理に関連する機能を検証するテストの作成に役立つユーティリティが含まれています。アーティファクトは、Google の Maven リポジトリから入手できます。
たとえば、FoldingFeature() 関数を使用してカスタム FoldingFeature を生成し、Compose プレビューで使用できます。Java では、createFoldingFeature() 関数を使用します。
Compose プレビューでは、次のように FoldingFeature を実装できます。
@Preview(showBackground = true, widthDp = 480, heightDp = 480)
@Composable private fun FoldablePreview() =
    MyApplicationTheme {
        ExampleScreen(
            displayFeatures = listOf(FoldingFeature(Rect(0, 240, 480, 240)))
        )
 }
また、TestWindowLayoutInfo() 関数を使用して、UI テストでディスプレイ機能をエミュレートすることもできます。次の例では、画面の中央の垂直ヒンジが HALF_OPENED である場合の FoldingFeature をシミュレートして、レイアウトが想定どおりであるかを確認します。
作成
import androidx.window.layout.FoldingFeature.Orientation.Companion.VERTICAL
import androidx.window.layout.FoldingFeature.State.Companion.HALF_OPENED
import androidx.window.testing.layout.FoldingFeature
import androidx.window.testing.layout.TestWindowLayoutInfo
import androidx.window.testing.layout.WindowLayoutInfoPublisherRule

@RunWith(AndroidJUnit4::class)
class MediaControlsFoldingFeatureTest {

    @get:Rule(order=1)
    val composeTestRule = createAndroidComposeRule<ComponentActivity>()

    @get:Rule(order=2)
    val windowLayoutInfoPublisherRule = WindowLayoutInfoPublisherRule()

    @Test
    fun foldedWithHinge_foldableUiDisplayed() {
        composeTestRule.setContent {
            MediaPlayerScreen()
        }

        val hinge = FoldingFeature(
            activity = composeTestRule.activity,
            state = HALF_OPENED,
            orientation = VERTICAL,
            size = 2
        )

        val expected = TestWindowLayoutInfo(listOf(hinge))
        windowLayoutInfoPublisherRule.overrideWindowLayoutInfo(expected)

        composeTestRule.waitForIdle()

        // Verify that the folding feature is detected and media controls shown.
        composeTestRule.onNodeWithTag("MEDIA_CONTROLS").assertExists()
    }
}
View
import androidx.window.layout.FoldingFeature.Orientation
import androidx.window.layout.FoldingFeature.State
import androidx.window.testing.layout.FoldingFeature
import androidx.window.testing.layout.TestWindowLayoutInfo
import androidx.window.testing.layout.WindowLayoutInfoPublisherRule

@RunWith(AndroidJUnit4::class)
class MediaControlsFoldingFeatureTest {

    @get:Rule(order=1)
    val activityRule = ActivityScenarioRule(MediaPlayerActivity::class.java)

    @get:Rule(order=2)
    val windowLayoutInfoPublisherRule = WindowLayoutInfoPublisherRule()

    @Test
    fun foldedWithHinge_foldableUiDisplayed() {
        activityRule.scenario.onActivity { activity ->
            val feature = FoldingFeature(
                activity = activity,
                state = State.HALF_OPENED,
                orientation = Orientation.VERTICAL)
            val expected = TestWindowLayoutInfo(listOf(feature))
            windowLayoutInfoPublisherRule.overrideWindowLayoutInfo(expected)
        }

        // Verify that the folding feature is detected and media controls shown.
        onView(withId(R.id.media_controls)).check(matches(isDisplayed()))
    }
}
その他のサンプルについては、WindowManager プロジェクトをご覧ください。
参考情報
ドキュメント
サンプル
- WindowManager サンプル
- Espresso Device のサンプル
- Android の今
- スクリーンショット テストを使用してさまざまな画面サイズを確認する
Codelab
