
1. Before you begin
This codelab provides practical instruction on the fundamentals of implementing drag-and-drop functionality for views. You will learn how to enable views to be dragged and dropped both within your app and across different apps. You'll learn how to implement drag-and-drop interactions within your app and even across different apps. The codelab will guide you through using DropHelper to enable dragging and dropping, customizing the visual feedback during dragging with ShadowBuilder, adding permissions for cross-app dragging, and implementing a content receiver that works universally.
Prerequisites
To complete this codelab, you need:
- Experience building Android apps.
- Experience with Activities, Fragments, View binding, and xml-layouts.
What you'll do
Create a simple app that:
- Implement Drag and Drop functionality using
DragStartHelperandDropHelper - Change the ShadowBuilder
- Add permission to Drag across apps
- Implement Reach Content Receiver for universal implementation.
What you'll need
- Android Studio Jellyfish or higher
- Android device or emulator
2. A drag and drop event
A drag-and-drop process can be viewed as the 4 staged event, stages being:
- Started : System starts the drag-and-drop operation in response to the user's drag gesture.
- Continuing : User continues to drag, dragshadow builder kicks in when entered into target view.
- Ended : User releases the drag within the bounding box of a drop target the drop target area.
- Existed : System sends the signal to end the drag-and-drop operation.
System sends the drag event in the DragEvent object. DragEvent object can contain following data
ActionType: Action value of the event based on the lifecycle event of the drag and drop event.e.g.ACTION_DRAG_STARTED,ACTION_DROPetc.ClipData: Data being dragged, encapsulated inClipDataobject.ClipDescription: Meta information about theClipDataobject.Result: Result of the drag-and-drop operation.X: x-coordinate of the dragged object's current location.Y: y-coordinate of the dragged object's current location.
3. Set up
Create a new project and select the "Empty Views Activity" template:
Leave all the parameters as their default. Let the project sync and index. You will see that MainActivity.kt has been created along with the view activity_main.xml
4. Drag and Drop Using Views
In string.xml let's add some string values
<resources>
    <string name="app_name">DragAndDropCodelab</string>
    <string name="drag_image">Drag Image</string>
    <string name="drop_image">drop image</string>
 </resources>
Open the activity_main.xml source file and modify the layout to include two ImageViews, one will act as drag source and the other will drop-target.
<?xml version="1.0" encoding="utf-8"?>
<androidx.constraintlayout.widget.ConstraintLayout xmlns:android="http://schemas.android.com/apk/res/android"
    xmlns:app="http://schemas.android.com/apk/res-auto"
    xmlns:tools="http://schemas.android.com/tools"
    android:layout_width="match_parent"
    android:layout_height="match_parent"
    tools:context=".MainActivity">

    <TextView
        android:id="@+id/tv_greeting"
        android:layout_width="wrap_content"
        android:layout_height="wrap_content"
        app:layout_constraintBottom_toTopOf="@id/iv_source"
        app:layout_constraintLeft_toLeftOf="parent"
        app:layout_constraintRight_toRightOf="parent"
        app:layout_constraintTop_toTopOf="parent" />

    <ImageView
        android:id="@+id/iv_source"
        android:layout_width="match_parent"
        android:layout_height="wrap_content"
        android:contentDescription="@string/drag_image"
        app:layout_constraintBottom_toTopOf="@id/iv_target"
        app:layout_constraintLeft_toLeftOf="parent"
        app:layout_constraintRight_toRightOf="parent"
        app:layout_constraintTop_toBottomOf="@id/tv_greeting" />

    <ImageView
        android:id="@+id/iv_target"
        android:layout_width="match_parent"
        android:layout_height="wrap_content"
        android:contentDescription="@string/drop_image"
        app:layout_constraintBottom_toBottomOf="parent"
        app:layout_constraintLeft_toLeftOf="parent"
        app:layout_constraintRight_toRightOf="parent"
        app:layout_constraintTop_toBottomOf="@id/iv_source" />
</androidx.constraintlayout.widget.ConstraintLayout>
In build.gradle.kts, enable the view binding
buildFeatures{
   viewBinding = true
}
In build.gradle.kts, add dependency for Glide
dependencies {
    implementation("com.github.bumptech.glide:glide:4.16.0")
    annotationProcessor("com.github.bumptech.glide:compiler:4.16.0")

    //other dependencies
}
Add image urls and greeting text in string.xml
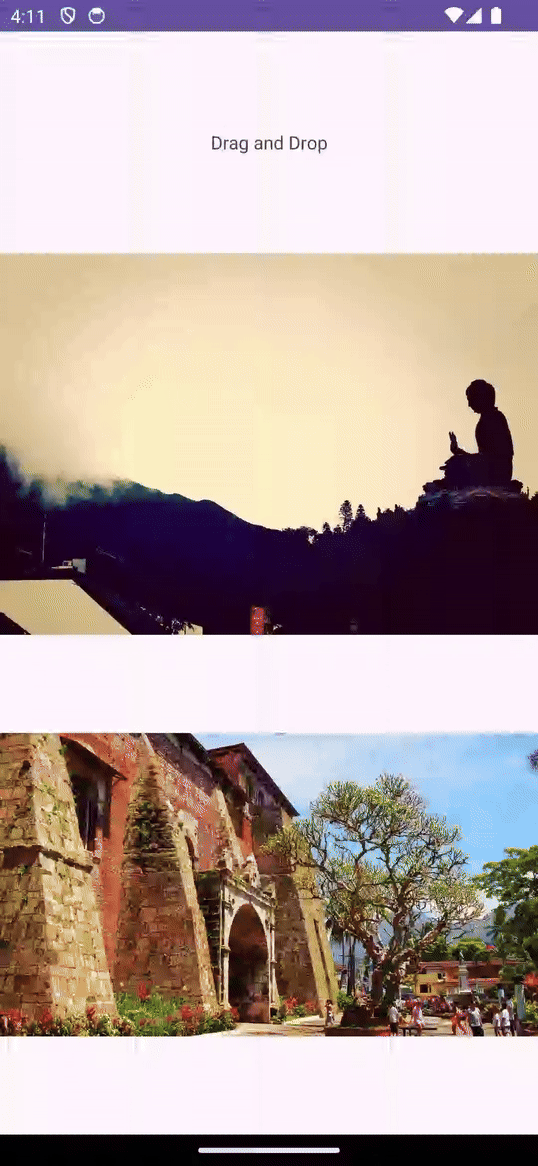
<string name="greeting">Drag and Drop</string>
<string name="target_url">https://services.google.com/fh/files/misc/qq2.jpeg</string>
<string name="source_url">https://services.google.com/fh/files/misc/qq10.jpeg</string>
In MainActivity.kt , let's initialize the views.
class MainActivity : AppCompatActivity() {
   val binding by lazy(LazyThreadSafetyMode.NONE) {
       ActivityMainBinding.inflate(layoutInflater)
   }

   override fun onCreate(savedInstanceState: Bundle?) {
       super.onCreate(savedInstanceState)
       setContentView(binding.root)
       binding.tvGreeting.text = getString(R.string.greeting)
       Glide.with(this).asBitmap()
           .load(getString(R.string.source_url))
           .into(binding.ivSource)
       Glide.with(this).asBitmap()
           .load(getString(R.string.target_url))
           .into(binding.ivTarget)
   }
}
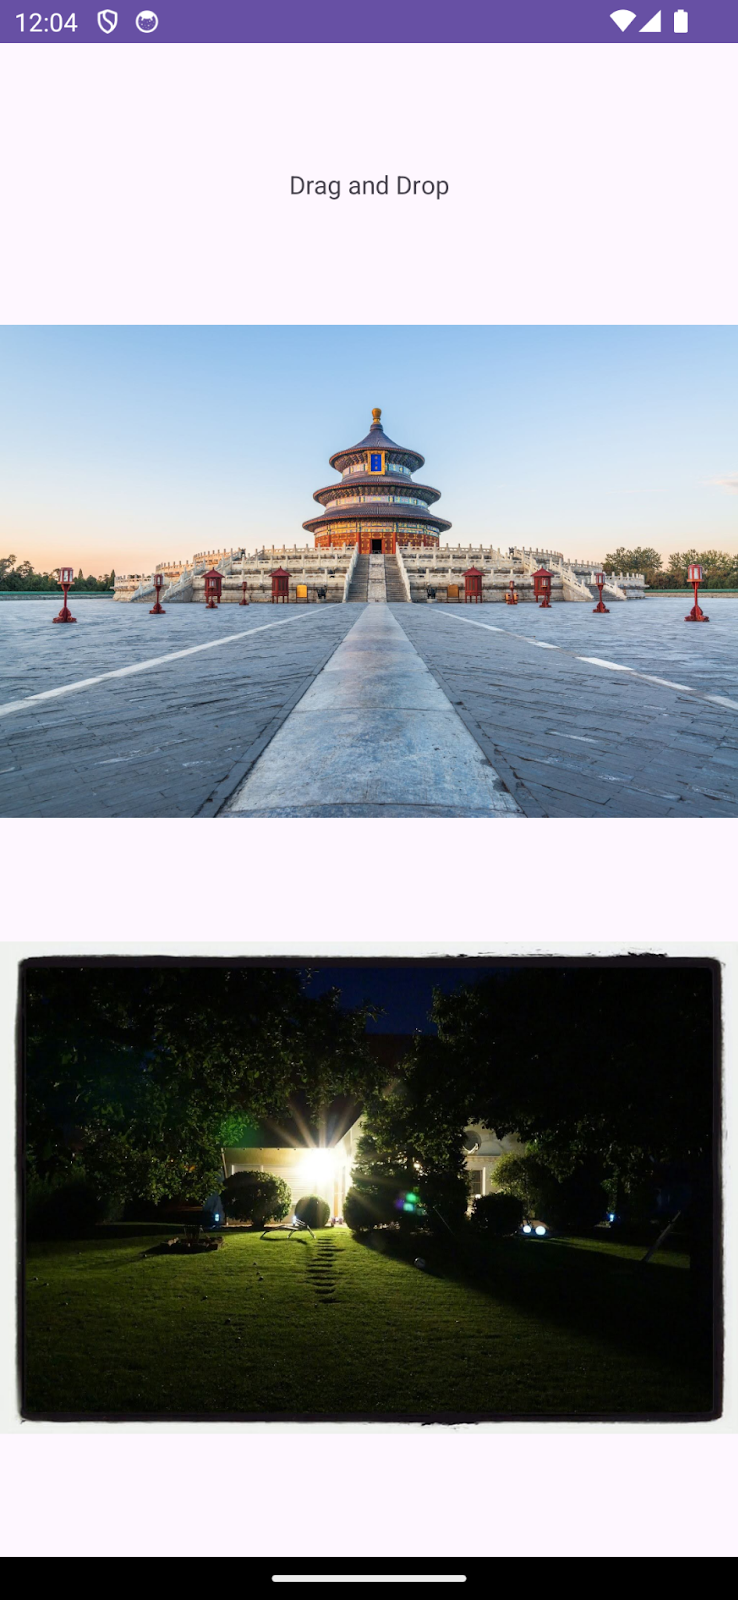
Your App should at this state show greeting text, and two images in vertical orientation.
5. Make View Draggable
To make a particular view draggable, the view must implement the startDragAndDrop() method on drag gesture.
Let us implement a callback for onLongClickListener as User initiates the drag on the view.
draggableView.setOnLongClickListener{ v ->
   //drag logic here
   true
}
Even if the view is not long clickable this callback makes it longclickable. A return value is boolean. True signifies that drag is consumed by the callback.
Prepare ClipData : Data to be dragged
Let's define the data which we want to drop. Data can be of any type from simple text to video. This data is encapsulated in the ClipData object. ClipData object hold one or more complex ClipItem
With different mime types defined in ClipDescription.
We are dragging the image url of the source view. There are 3 main component of the ClipData
- Label : simple text to display to user what is being dragged
- Mime type: MimeType of the items being dragged.
- ClipItem: Item to be dragged encapsulated in
ClipData.Itemobject
Let's create ClipData.
val label = "Dragged Image Url"
val clipItem = ClipData.Item(v.tag as? CharSequence)
val mimeTypes = arrayOf(ClipDescription.MIMETYPE_TEXT_PLAIN)
val draggedData = ClipData(
   label, mimeTypes, clipItem
)
Start Drag and Drop
Now we are ready with the data to be dragged, let us initiate the drag. For this we will be using startDragAndDrop
startDragAndDrop method takes 4 arguments
- data: Data being dragged in the form of
ClipData. - shadowBuilder: DragShadowBuilder to build the shadow for the view.
- myLocalState: An Object containing local data about the drag and drop operation. When dispatching drag events to views in the same activity this object will be available through DragEvent.getLocalState()..
- Flags: Flags to control the drag and drop operations.
Once this function is called, based on the View.DragShadowBuilder class, drag shadow is drawn. Once the system has the drag shadow, drag-and-drop operation gets started by sending the event to the visible view which has implemented the OnDragListener interface.
v.startDragAndDrop(
   draggedData,
   View.DragShadowBuilder(v),
   null,
   0
)
With this we have configured our view for the dragging and the set the data to be dragged. Final implementation looks like this.
fun setupDrag(draggableView: View) {
   draggableView.setOnLongClickListener { v ->
       val label = "Dragged Image Url"
       val clipItem = ClipData.Item(v.tag as? CharSequence)
       val mimeTypes = arrayOf(ClipDescription.MIMETYPE_TEXT_PLAIN)
       val draggedData = ClipData(
           label, mimeTypes, clipItem
       )
       v.startDragAndDrop(
           draggedData,
           View.DragShadowBuilder(v),
           null,
           0
       )
   }
}
At this stage you should be able to drag the view on long click.
Let us move on to configure the dropped view.
6. Configure View for DropTarget
View can act as target for the drop given it has implemented the OnDragListener interface.
Let us configure our second image view to make it a drop target.
private fun setupDrop(dropTarget: View) {
   dropTarget.setOnDragListener { v, event ->
       // handle drag events here
       true
   }
}
We are overriding the onDrag method of the OnDragListener interface. The onDrag method has 2 arguments.
- View that received the drag event
- Event object for the drag event
This method returns true if the drag event is handled successfully else false.
DragEvent
It signifies a data package transmitted by the system at different stages of a drag-and-drop operation. This data package encapsulates vital information regarding the operation itself and the data involved.
DragEvent has different drag action based on the stage of the drag-and-drop operation
ACTION_DRAG_STARTED: it signals the start of Drag and Drop operation.ACTION _DRAG_LOCATION: It signifies the user has released the drag in the entered state, i.e. not in the bound of the target drop area.ACTION_DRAG_ENTERED: It signifies the dragged view is in bounds of target drop view.ACTION_DROP: It signifies that the user has released the drag in the target drop area.ACTION_DRAG_ENDED: It signifies that the drag and drop operation has concluded.ACTION_DRAG_EXITED: It signifies the end of drag and drop operation.
Validate DragEvent
You can choose to proceed with the drag and drop operation if all of your constraints are satisfied in ACTION_DRAG_STARTED event. E.g. In this example we can check if the incoming data is of the correct type or not.
DragEvent.ACTION_DRAG_STARTED -> {
   Log.d(TAG, "ON DRAG STARTED")
   if (event.clipDescription.hasMimeType(ClipDescription.MIMETYPE_TEXT_PLAIN)) {
       (v as? ImageView)?.alpha = 0.5F
       v.invalidate()
       true
   } else {
       false
   }
}
In this example we have checked whether the ClipDescription from the event has the acceptable mime type or not. If yes we are providing the visual signal to signify the same and return true, saying dragged data is being handled. Else we are returning false to signify that drag is being discarded by the drop target view.
Handle Drop Data
In the ACTION_DROP event we can choose what to do with the dropped data. Here in this example we are extracting the url we have added to the ClipData as text. We are putting this image from url to our target image view
DragEvent.ACTION_DROP -> {
   Log.d(TAG, "On DROP")
   val item: ClipData.Item = event.clipData.getItemAt(0)
   val dragData = item.text
   Glide.with(this).load(item.text).into(v as ImageView)
   (v as? ImageView)?.alpha = 1.0F
   true
}
In addition to handling drop, we can configure what happens when a user drags the view in the bounding box of the target drop view, and what happens when the user drags the view out of the target area.
Let's add some visual cues when dragged item entered the target area
DragEvent.ACTION_DRAG_ENTERED -> {
   Log.d(TAG, "ON DRAG ENTERED")
   (v as? ImageView)?.alpha = 0.3F
   v.invalidate()
   true
}
Also, add more visual cues when the user drags the view out of the bounding box of the target drop view.
DragEvent.ACTION_DRAG_EXITED -> {
   Log.d(TAG, "ON DRAG EXISTED")
   (v as? ImageView)?.alpha = 0.5F
   v.invalidate()
   true
}
Add some more visual cues to signify the end of the drag and drop operation
DragEvent.ACTION_DRAG_ENDED -> {
   Log.d(TAG, "ON DRAG ENDED")
   (v as? ImageView)?.alpha = 1.0F
   true
}
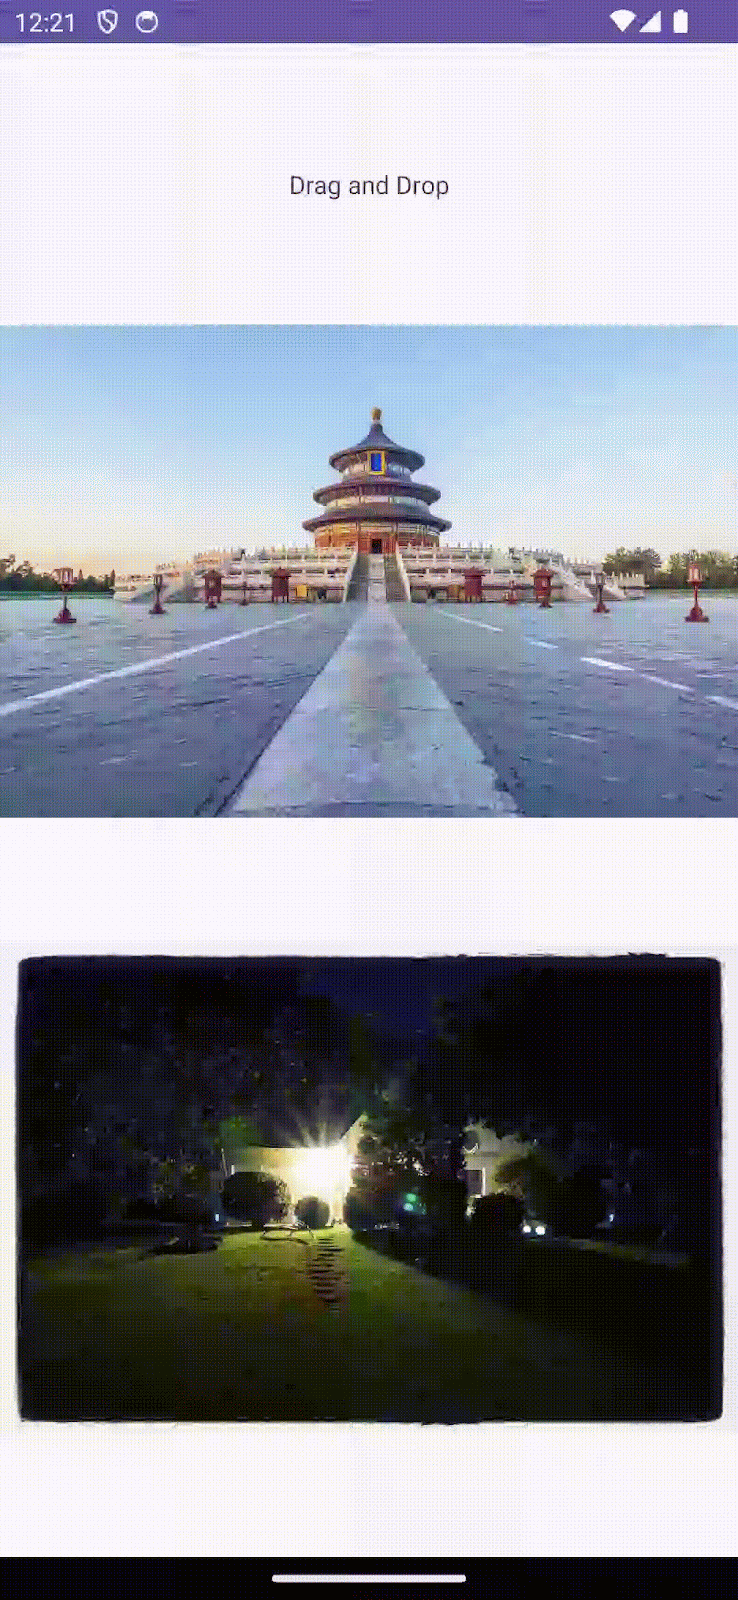
At this stage you should be able to drag an image to target image view, once dropped the image of the target ImageView will reflect the change
7. Drag and Drop in Multi-Window Mode
Items can be dragged from one app to another given, apps are sharing screen via multi-window mode. Implementation to enable drag-and-drop across apps is the same except we have to add flags during drag and permission during drop
Configure flags during the Drag
As we recall, startDragAndDrop has one argument to specify the flags, which in term controls the drag-and-drop operation.
v.startDragAndDrop(
   draggedData,
   View.DragShadowBuilder(v),
   null,
   View.DRAG_FLAG_GLOBAL or View.DRAG_FLAG_GLOBAL_URI_READ
)
View.DRAG_FLAG_GLOBAL signifies that the drag can cross the window boundaries and View.DRAG_FLAG_GLOBAL_URI_READ signifies that the drag recipient is able to read the content uri/s.
For Drop Target to read dragged data from other apps, drop target view has to declare the permission to read.
val dropPermission = requestDragAndDropPermissions(event)
And also release the permission once the dragged data has been handled.
dropPermission.release()
Final handling of the dragged item looks like this
DragEvent.ACTION_DROP -> {
   Log.d(TAG, "On DROP")
   val dropPermission = requestDragAndDropPermissions(event)
   val item: ClipData.Item = event.clipData.getItemAt(0)
   val dragData = item.text
   Glide.with(this).load(item.text).into(v as ImageView)
   (v as? ImageView)?.alpha = 1.0F
   dropPermission.release()
   true
}
At this stage you should be able to drag this image to another app, also data dragged from another app can be handled correctly.
8. Drag and Drop Library
Jetpack provides a DragAndDrop library to simplify the implementation of the drag-and-drop operation.
Let us add dependency in the build.gradle.kts to make use of the DragAndDrop Library
implementation("androidx.draganddrop:draganddrop:1.0.0")
For this exercise create a separate Activity called DndHelperActivity.kt which has 2 ImageViews in vertical fashion , one of them will act as drag source and another will be drop target.
Modify strings.xml to add string resources.
<string name="greeting_1">DragStartHelper and DropHelper</string>
<string name="target_url_1">https://services.google.com/fh/files/misc/qq9.jpeg</string>
<string name="source_url_1">https://services.google.com/fh/files/misc/qq8.jpeg</string>
Update activity_dnd_helper.xml to include ImageViews
<?xml version="1.0" encoding="utf-8"?>
<androidx.constraintlayout.widget.ConstraintLayout xmlns:android="http://schemas.android.com/apk/res/android"
   xmlns:app="http://schemas.android.com/apk/res-auto"
   xmlns:tools="http://schemas.android.com/tools"
   android:layout_width="match_parent"
   android:layout_height="match_parent"
   android:padding="24dp"
   tools:context=".DnDHelperActivity">

   <TextView
       android:id="@+id/tv_greeting"
       android:layout_width="wrap_content"
       android:layout_height="wrap_content"
       app:layout_constraintBottom_toTopOf="@id/iv_source"
       app:layout_constraintLeft_toLeftOf="parent"
       app:layout_constraintRight_toRightOf="parent"
       app:layout_constraintTop_toTopOf="parent" />

   <ImageView
       android:id="@+id/iv_source"
       android:layout_width="match_parent"
       android:layout_height="wrap_content"
       android:contentDescription="@string/drag_image"
       app:layout_constraintBottom_toTopOf="@id/iv_target"
       app:layout_constraintLeft_toLeftOf="parent"
       app:layout_constraintRight_toRightOf="parent"
       app:layout_constraintTop_toBottomOf="@id/tv_greeting" />

   <ImageView
       android:id="@+id/iv_target"
       android:layout_width="match_parent"
       android:layout_height="wrap_content"
       android:contentDescription="@string/drop_image"
       app:layout_constraintBottom_toBottomOf="parent"
       app:layout_constraintLeft_toLeftOf="parent"
       app:layout_constraintRight_toRightOf="parent"
       app:layout_constraintTop_toBottomOf="@id/iv_source" />
</androidx.constraintlayout.widget.ConstraintLayout>
Finally initialize views in DnDHelperActivity.kt
class DnDHelperActivity : AppCompatActivity() {
   private val binding by lazy(LazyThreadSafetyMode.NONE) {
       ActivityMainBinding.inflate(layoutInflater)
   }

   override fun onCreate(savedInstanceState: Bundle?) {
       super.onCreate(savedInstanceState)
       setContentView(binding.root)
       binding.tvGreeting.text = getString(R.string.greeting)
       Glide.with(this).asBitmap()
           .load(getString(R.string.source_url_1))
           .into(binding.ivSource)
       Glide.with(this).asBitmap()
           .load(getString(R.string.target_url_1))
           .into(binding.ivTarget)
       binding.ivSource.tag = getString(R.string.source_url_1)
   }
}
Make sure to update AndroidManifest.xml to make DndHelperActivity as Launcher Activity
<activity
   android:name=".DnDHelperActivity"
   android:exported="true">
   <intent-filter>
       <action android:name="android.intent.action.MAIN" />
       <category android:name="android.intent.category.LAUNCHER" />
   </intent-filter>
</activity>
DragStartHelper
Previously we have configured the view to be draggable by implementing onLongClickListener and calling startDragAndDrop. DragStartHelper simplifies the implementation by providing utility methods
DragStartHelper(draggableView)
{ view: View, _: DragStartHelper ->
   // prepare clipData

   // startDrag and Drop
}.attach()
DragStartHelper takes the view to be dragged as an argument. Here we have implemented the OnDragStartListener method where we will prepare the clipdata and start the drag and drop operation.
Final implementation looks like this.
DragStartHelper(draggableView)
{ view: View, _: DragStartHelper ->
   val item = ClipData.Item(view.tag as? CharSequence)
   val dragData = ClipData(
       view.tag as? CharSequence,
       arrayOf(ClipDescription.MIMETYPE_TEXT_PLAIN),
       item
   )
   view.startDragAndDrop(
       dragData,
       View.DragShadowBuilder(view),
       null,
       0
   )
}.attach()
DropHelper
DropHelper simplifies the configuring the target drop view by providing a utility method called configureView.
configureView takes 4 arguments
- Activity : the current activity
- dropTarget : the view which is being configured
- mimeTypes : the mimeTypes of the data items being dropped
OnReceiveContentListenerInterface to handle the dropped data
Customize Drop Target highlights.
DropHelper.configureView(
   This, // Current Activity
   dropTarget,
   arrayOf("text/*"),
   DropHelper.Options.Builder().build()
) {
   // handle the dropped data
}
OnRecieveContentListener receives the dropped content. This has two parameters
- View: where the content is being dropped
- Payload: the actual content to be dropped
private fun setupDrop(dropTarget: View) {
   DropHelper.configureView(
       this,
       dropTarget,
       arrayOf("text/*"),
   ) { _, payload: ContentInfoCompat ->
       // TODO: step through clips if one cannot be loaded
       val item = payload.clip.getItemAt(0)
       val dragData = item.text
       Glide.with(this)
           .load(dragData)
           .centerCrop().into(dropTarget as ImageView)
       // Consume payload by only returning remaining items
       val (_, remaining) = payload.partition { it == item }
       remaining
   }
}
At this stage you should be able to drag and drop data using DragStartHelper and DropHelper.
Configure the Drop area highlights
As you have seen when a dragged item enters the drop area, the drop area gets highlighted. With DropHelper.Options we can customize how the drop area gets highlighted when a dragged item enters the bound of the view.
DropHelper.Options can be used to configure the Highlight color and highlight corner radius of the drop target area.
DropHelper.Options.Builder()
   .setHighlightColor(getColor(R.color.green))
   .setHighlightCornerRadiusPx(16)
   .build()
These options should be passed as arguments to the configureView method from DropHelper.
private fun setupDrop(dropTarget: View) {
   DropHelper.configureView(
       this,
       dropTarget,
       arrayOf("text/*"),
       DropHelper.Options.Builder()
           .setHighlightColor(getColor(R.color.green))
           .setHighlightCornerRadiusPx(16)
           .build(),
   ) { _, payload: ContentInfoCompat ->
       // TODO: step through clips if one cannot be loaded
       val item = payload.clip.getItemAt(0)
       val dragData = item.text
       Glide.with(this)
           .load(dragData)
           .centerCrop().into(dropTarget as ImageView)
       // Consume payload by only returning remaining items
       val (_, remaining) = payload.partition { it == item }
       remaining
   }
}
You should be able to see the highlight color and radius while drag and drop.

9. Receive Rich Content
OnReceiveContentListener is the unified API to receive rich content including text, html, images, videos etc. Content can be inserted to the views either from Keyboard, dragging or clipboard. Maintaining callback for each input mechanism can be bothersome. OnReceiveContentListener can be used to receive content like text, markup,audio, video, images and other using a single API. The OnReceiveContentListener API consolidates these different code paths by creating a single API to implement, so you can focus on your app-specific logic and let the platform handle the rest.
For this exercise create a separate Activity called ReceiveRichContentActivity.kt which has 2 ImageViews in vertical fashion , one of them will act as drag source and another will be drop target.
Modify strings.xml to add string resources.
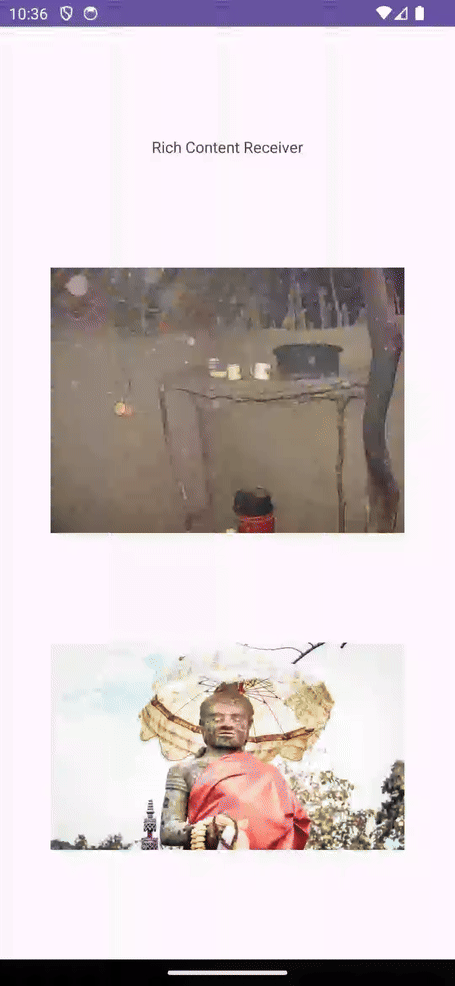
<string name="greeting_2">Rich Content Receiver</string>
<string name="target_url_2">https://services.google.com/fh/files/misc/qq1.jpeg</string>
<string name="source_url_2">https://services.google.com/fh/files/misc/qq3.jpeg</string>
Update activity_receive_rich_content.xml to include ImageViews
<?xml version="1.0" encoding="utf-8"?>
<androidx.constraintlayout.widget.ConstraintLayout xmlns:android="http://schemas.android.com/apk/res/android"
   xmlns:app="http://schemas.android.com/apk/res-auto"
   xmlns:tools="http://schemas.android.com/tools"
   android:layout_width="match_parent"
   android:layout_height="match_parent"
   tools:context=".ReceiveRichContentActivity">

   <TextView
       android:id="@+id/tv_greeting"
       android:layout_width="wrap_content"
       android:layout_height="wrap_content"
       app:layout_constraintBottom_toTopOf="@id/iv_source"
       app:layout_constraintLeft_toLeftOf="parent"
       app:layout_constraintRight_toRightOf="parent"
       app:layout_constraintTop_toTopOf="parent" />

   <ImageView
       android:id="@+id/iv_source"
       android:layout_width="320dp"
       android:layout_height="wrap_content"
       android:contentDescription="@string/drag_image"
       app:layout_constraintBottom_toTopOf="@id/iv_target"
       app:layout_constraintLeft_toLeftOf="parent"
       app:layout_constraintRight_toRightOf="parent"
       app:layout_constraintTop_toBottomOf="@id/tv_greeting" />

   <ImageView
       android:id="@+id/iv_target"
       android:layout_width="320dp"
       android:layout_height="wrap_content"
       android:contentDescription="@string/drop_image"
       app:layout_constraintBottom_toBottomOf="parent"
       app:layout_constraintLeft_toLeftOf="parent"
       app:layout_constraintRight_toRightOf="parent"
       app:layout_constraintTop_toBottomOf="@id/iv_source" />
</androidx.constraintlayout.widget.ConstraintLayout>
Finally initialize views in ReceiveRichContentActivity.kt
class ReceiveRichContentActivity : AppCompatActivity() {
   private val binding by lazy(LazyThreadSafetyMode.NONE) {
       ActivityReceiveRichContentBinding.inflate(layoutInflater)
   }
   override fun onCreate(savedInstanceState: Bundle?) {
       super.onCreate(savedInstanceState)
       setContentView(binding.root)
       binding.tvGreeting.text = getString(R.string.greeting_2)
       Glide.with(this).asBitmap()
           .load(getString(R.string.source_url_2))
           .into(binding.ivSource)
       Glide.with(this).asBitmap()
           .load(getString(R.string.target_url_2))
           .into(binding.ivTarget)
       binding.ivSource.tag = getString(R.string.source_url_2)
   }
}
Make sure to update AndroidManifest.xml to make DndHelperActivity as Launcher Activity
<activity
   android:name=".ReceiveRichContentActivity"
   android:exported="true">
   <intent-filter>
       <action android:name="android.intent.action.MAIN" />
       <category android:name="android.intent.category.LAUNCHER" />
   </intent-filter>
</activity>
Let us first create a callback which implements the OnReceiveContentListener.
val listener = OnReceiveContentListener { view, payload ->
   val (textContent, remaining) =
       payload.partition { item: ClipData.Item -> item.text != null }
   if (textContent != null) {
       val clip = textContent.clip
       for (i in 0 until clip.itemCount) {
           val currentText = clip.getItemAt(i).text
           Glide.with(this)
               .load(currentText)
               .centerCrop().into(view as ImageView)
       }
   }
   remaining
}
Here we have implemented the interface OnRecieveContentListener. The method onRecieveContent has 2 arguments
- Current view which is receiving the data
- Payload of data either from keyboard, dragging or clipboard in the form of
ContentInfoCompat
This method returns the payload which is not handled.
Here we have segregated the payload into text content and other content using the Partition method. We are handling the text data as per our needs and return the remaining payload
Let us handle what we want to do with dragged data.
val listener = OnReceiveContentListener { view, payload ->
   val (textContent, remaining) =
       payload.partition { item: ClipData.Item -> item.text != null }
   if (textContent != null) {
       val clip = textContent.clip
       for (i in 0 until clip.itemCount) {
           val currentText = clip.getItemAt(i).text
           Glide.with(this)
               .load(currentText)
               .centerCrop().into(view as ImageView)
       }
   }
   remaining
}
Now our listener is ready. Let's add this listener to the target view.
ViewCompat.setOnReceiveContentListener(
   binding.ivTarget,
   arrayOf("text/*"),
   listener
)
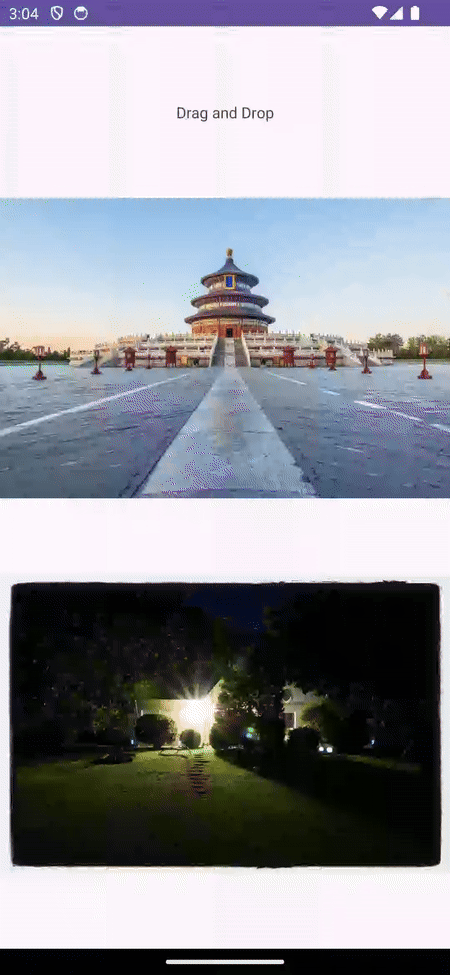
At this stage you should be able to drag and image and drop to the target area. Once dropped , the dragged image should replace the original image in the drop target view.
10. Congratulations!
Now you are adept in implementing drag-and-drop for your android app. By following this codelab, you have learned how to create interactive drag-and-drop interactions within your Android app and across different apps, enhancing user experience and functionality. You have learned
- Fundamentals of Drag and Drop: Understanding the 4 stages of a drag-and-drop event (started, continuing, ended, exited) and the key data within the DragEvent object.
- Enabling Drag and Drop: Making view draggable and handling drop in target view by handling DragEvent
- Drag and Drop in Multi-Window Mode: Enabling cross-app drag and drop by setting appropriate flags and permissions.
- Using the DragAndDrop Library: Simplifying drag and drop implementation using jetpack library
- Receiving Rich Content: Implementing to handle diverse content types (text, images, videos, etc.) from various input methods using unified API.