
1. Before you begin
What is a work profile?
A work profile is a secondary profile that can be enabled on a user's personal device, when a company allows its employees to use their personal devices for work.
Work profiles can be controlled by an IT admin and the functionality available to it is set separately from the functionality of the user's primary profile. This approach lets organizations control the environment where company-specific apps and data are running on a user's device, while still letting users use their personal apps and profiles.
How does that affect your app? Any app can be installed under a work profile, meaning the app can face runtime restrictions and behavioral changes. You also want to make sure that your app is secure if it is to be used for work purposes. Even if your app is running in a personal profile, a work profile might still affect how your app should behave.
Prerequisites
This codelab has been designed for Android developers with basic to intermediate skills.
It assumes you've built an app before, used Android Studio, and tested your app on a device or emulator.
What you'll do
In this codelab, you're going to modify an app to deliver the best user experience when installed on a device with a work profile. You'll learn how to make your app:
- Process both personal & work contacts at the same time.
- Switch between work and personal profiles from within the app itself.
What you'll need
- An unmanaged Android device (not belonging to - or managed by - an organization).
2. Get set up
Set up a test device
We recommend that you use a physical device for this codelab. However, you can still perform the same setup below on an emulator using an image that includes Google Play Store.
TestDPC
Google builds the TestDPC app to help you simulate and test a managed environment on your own device. It will set up a work profile and provide you with controls to enable/disable certain features on the device, just like an IT admin can.
Install the TestDPC app
From your device, open the Google Play Store and download the TestDPC app
Setup a work profile
Once the TestDPC app is installed, you should see 2 icons appear on the device, a setup icon and the TestDPC app icon. Tap the setup icon and follow the steps.
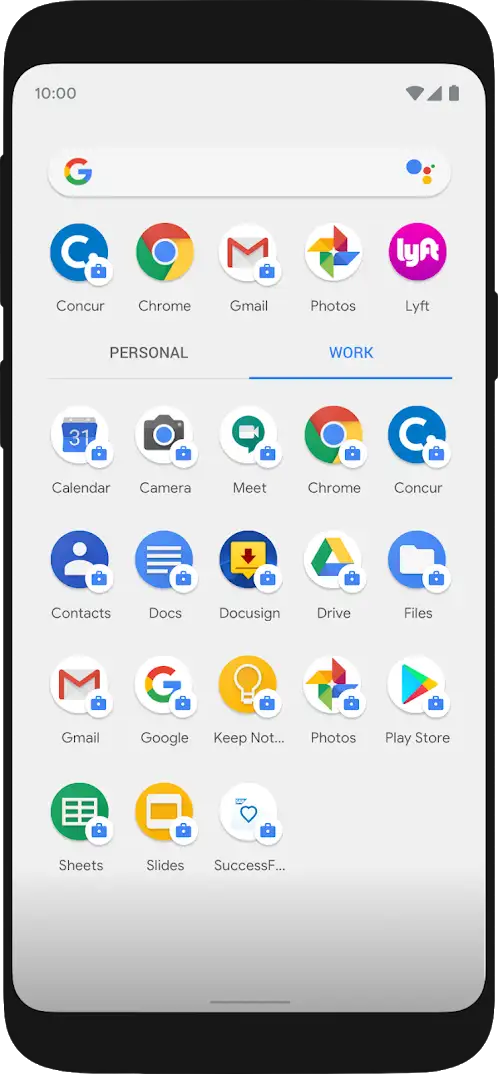
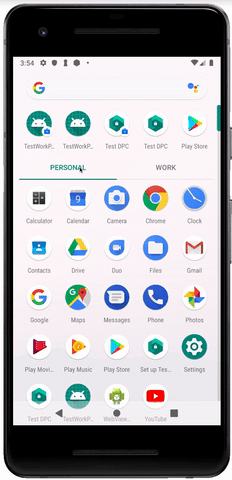
Now you have two separate profiles, one for personal apps and one for work apps. You can switch between them through the tabs at the top of the app list.
Notice that each profile has its own Play Store app. You can identify work apps from the tiny briefcase picture on top of the launcher icon.
You can install apps through the Play Store as you normally would, and depending on which Play Store you launch (personal vs work) the app will be installed only in that profile. Apps can also exist in both profiles when installed from both Play Stores. In that case, each version of the app will have totally isolated storage and configuration spaces.
How to install the app on specific profile
In the following paragraphs, we are going to check how we can switch between default profile and work profile with CrossProfileApps class. To confirm that behavior, the app needs to be installed in both profiles
You can confirm the id number of the profile with the adb command below.
$ adb shell pm list users
You can install an app into a designated profile with the adb command below.
$ adb install --user [id number of profile] [path of apk file]
You can have the same results, configuring the Run/Debug Configuration in your project inside selecting the option "Install for all users".
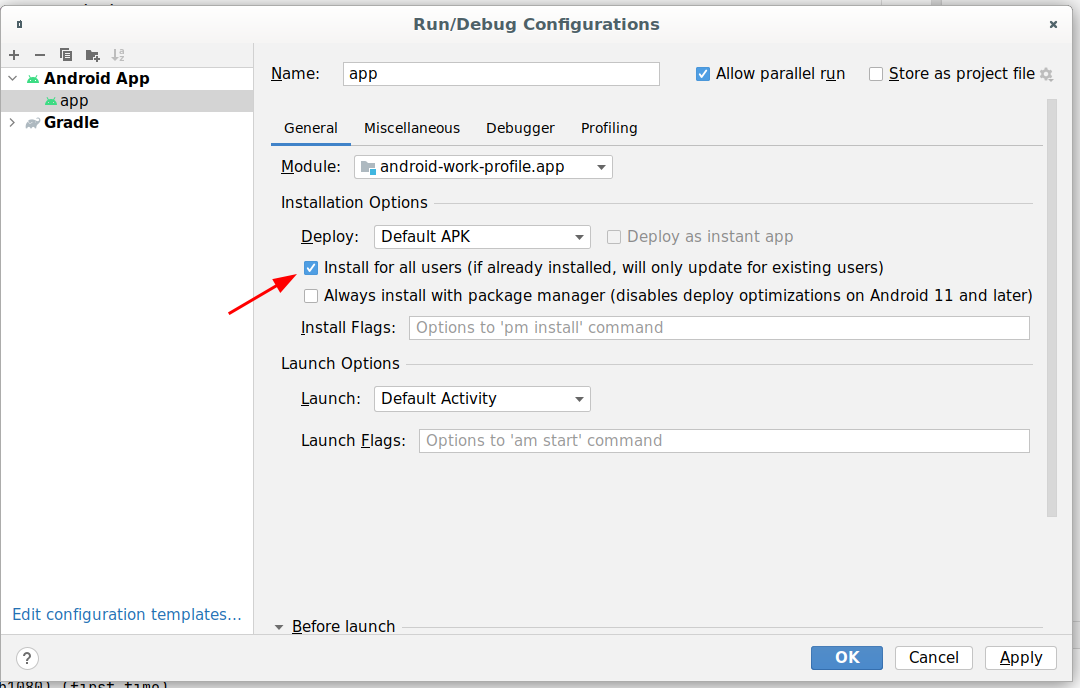
When updating the app by running it from Android Studio, the app will get installed in both profiles.
3. Load contacts
Set up some test contacts to use in the demo app:
- Launch the device's Contacts app from the personal profile.
- Add some test contacts that you can identify as personal contacts.
- Launch the contacts app from the work profile. (You won't see any of the personal contacts you just added.)
- Add some test contacts that you can identify as work contacts.
Once you're happy with the contacts you've set up, try out the starter code of the demo app.
4. Get the starter code
- To get the sample app, either:
- clone the repository from GitHub,
$ git clone https://github.com/android/enterprise-samples.git


$ cd enterprise-samples/Work-profile-codelab
- Or you can download the project from the link below.
- Open and run the app in Android Studio.
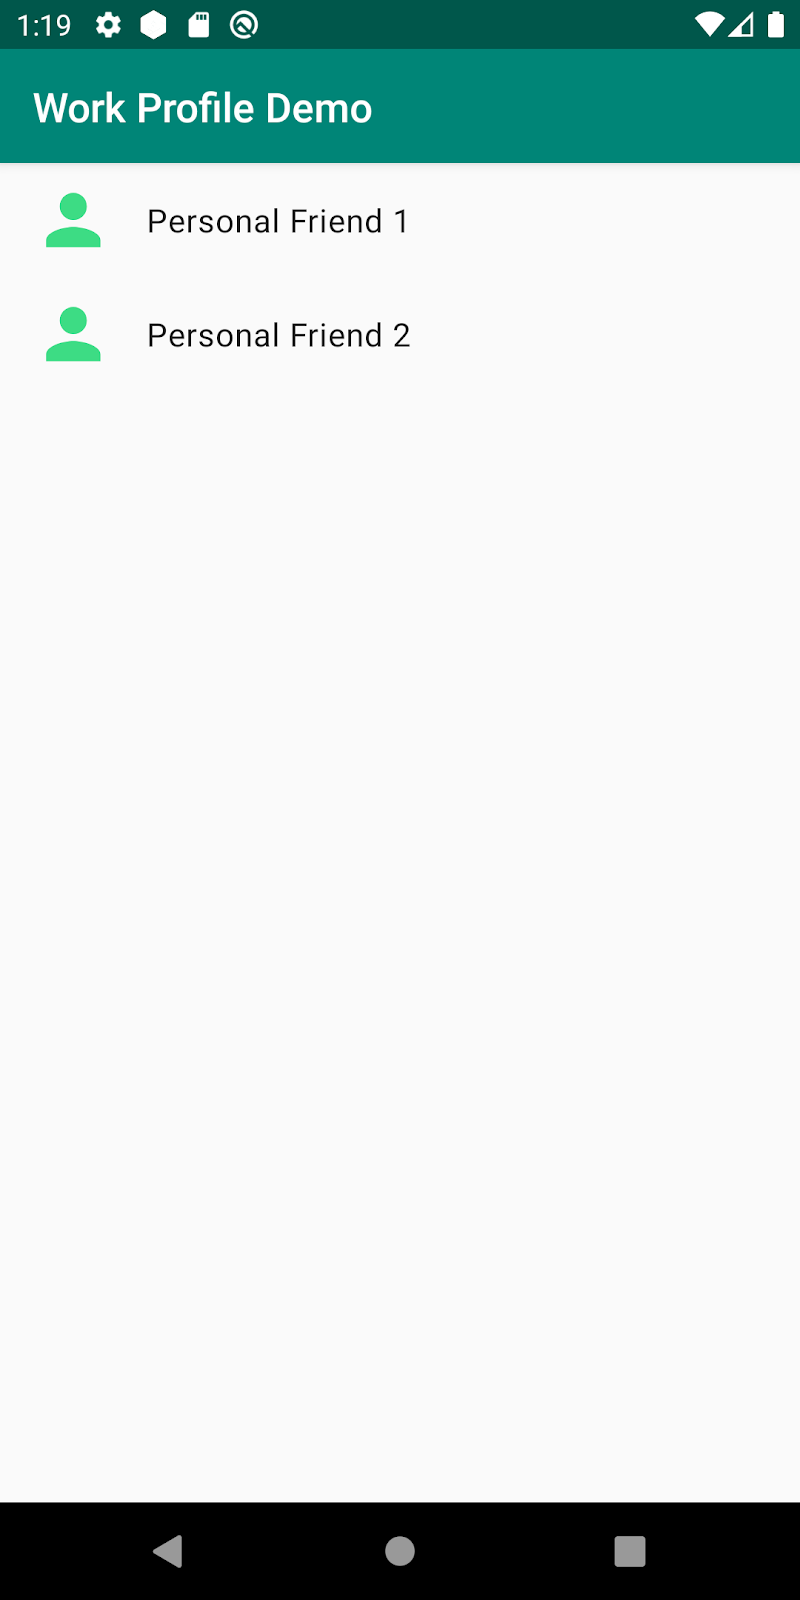
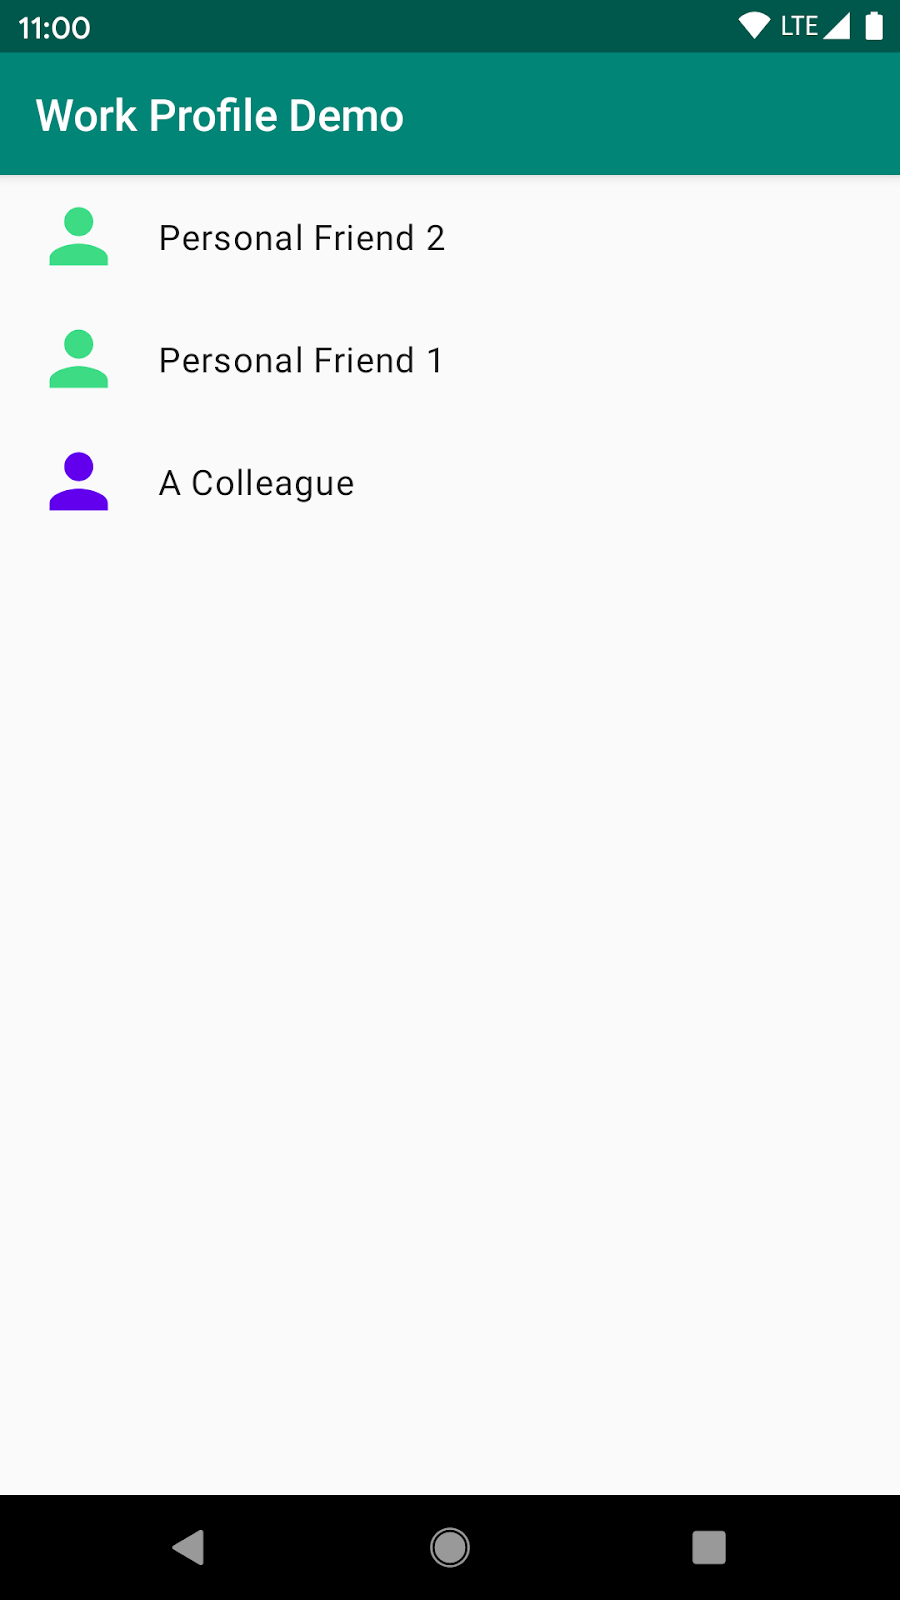
This is what the app looks like when you first launch it:
Try it out
By the end of this codelab your app will show work and personal contacts together when run in the personal profile. You'll also be able to switch between profiles by launching another instance of the app in the other profile from within the app itself.
5. Show both work and personal contacts
When loading contacts using the ContactsContract.Contacts.CONTENT_URI, the app will decide which contacts to display depending on which profile it is running in. However, in many cases, you may want the app to load both contact lists at the same time. For example, your user might want to share a personal item (photo, document) with a work colleague. To do so, you'll need to retrieve both contact lists.
Open MainActivity.kt
The method onCreateLoader() is responsible for creating the cursor loader for retrieving and loading the contacts. Currently it only returns a CursorLoader using the default ContentURI. You will be calling this method twice, once for personal contacts and the other for work contacts. To differentiate between them we will be passing a different ID to onCreateLoader()for each case.You will need to check the ID passed into the method to decide which ContentURI to use.
First, change the value of the ContentURI variable depending on the value of the ID passed to the method. In the case of PERSONAL_CONTACTS_LOADER_ID, assign it to the default ContactsContract.Contacts.CONTENT_URI, otherwise you'll be building a ENTERPRISE_CONTENT_FILTER_URI as described here.
ContactsContract.Contacts.ENTERPRISE_CONTENT_FILTER_URI
                    .buildUpon()
                    .appendPath(nameFilter)
                    .appendQueryParameter(
                        ContactsContract.DIRECTORY_PARAM_KEY,
                        ContactsContract.Directory.ENTERPRISE_DEFAULT.toString()
                    )
                    .build()
You'll notice that since this is a Content Filter URI, the builder requires a search filter (search phrase) to use when searching/loading the contacts.
For now, hardcode the search phrase to be any name that starts with the letter "a".
val nameFilter = Uri.encode("a") // names that start with a
You also need to specify the contacts directory to search in. You'll use the ENTERPRISE_DEFAULT directory which searches for contacts stored locally on the device.
Your onCreateLoader() method should look like this:
override fun onCreateLoader(id: Int, args: Bundle?): Loader<Cursor> {
        val nameFilter = Uri.encode("a") // names that start with a
        val contentURI = when (id) {
            PERSONAL_CONTACTS_LOADER_ID -> ContactsContract.Contacts.CONTENT_URI
            else -> {
                ContactsContract.Contacts.ENTERPRISE_CONTENT_FILTER_URI
                    .buildUpon()
                    .appendPath(nameFilter)
                    .appendQueryParameter(
                        ContactsContract.DIRECTORY_PARAM_KEY,
                        ContactsContract.Directory.ENTERPRISE_DEFAULT.toString()
                    )
                    .build()
            }
        }
        return CursorLoader(
            this, contentURI, arrayOf(
                ContactsContract.Contacts.DISPLAY_NAME_PRIMARY
            ), null, null, null
        )
    }
Now you'll need to initialize another Loader with a new ID value to trigger the method above.
First, create a new constant ID value for work contacts at the top of MainActivity:
const val WORK_CONTACTS_LOADER_ID = 1
Then, in initLoaders(), use the LoaderManager to initialize a new Loader with the new ID created above:
private fun initLoaders() {
        LoaderManager.getInstance(this).
            initLoader(PERSONAL_CONTACTS_LOADER_ID, null, this)
        LoaderManager.getInstance(this).
            initLoader(WORK_CONTACTS_LOADER_ID, null, this)
    }
All other methods should work the same way since the data Cursor from both Loaders have the same structure.
Try it
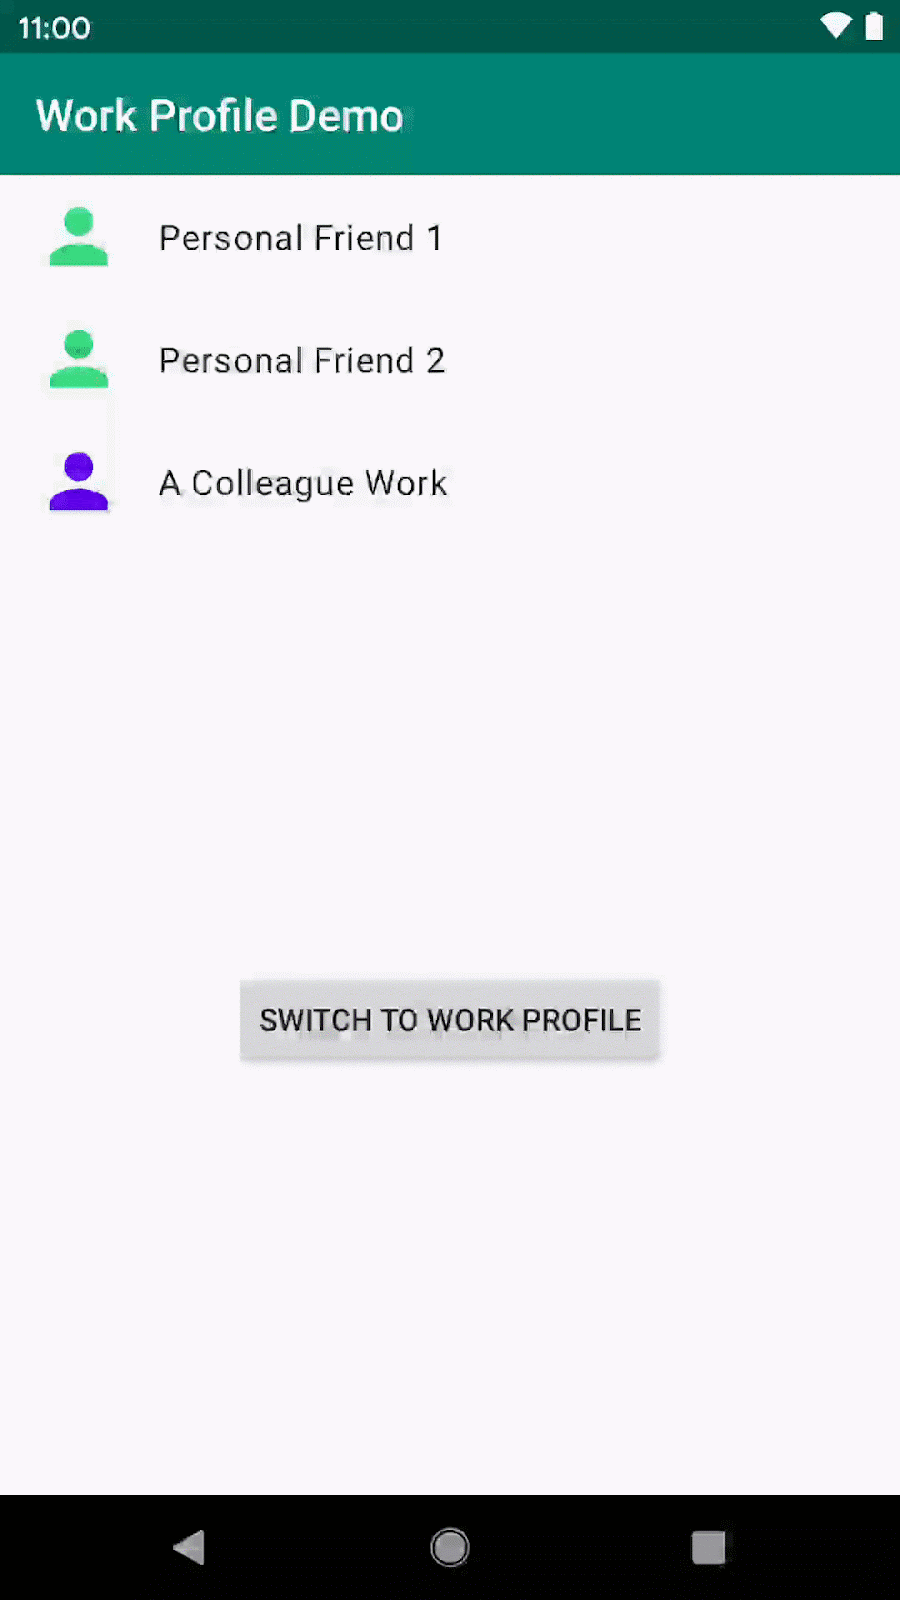
Run the app in the personal profile and now you see both work and personal contacts!
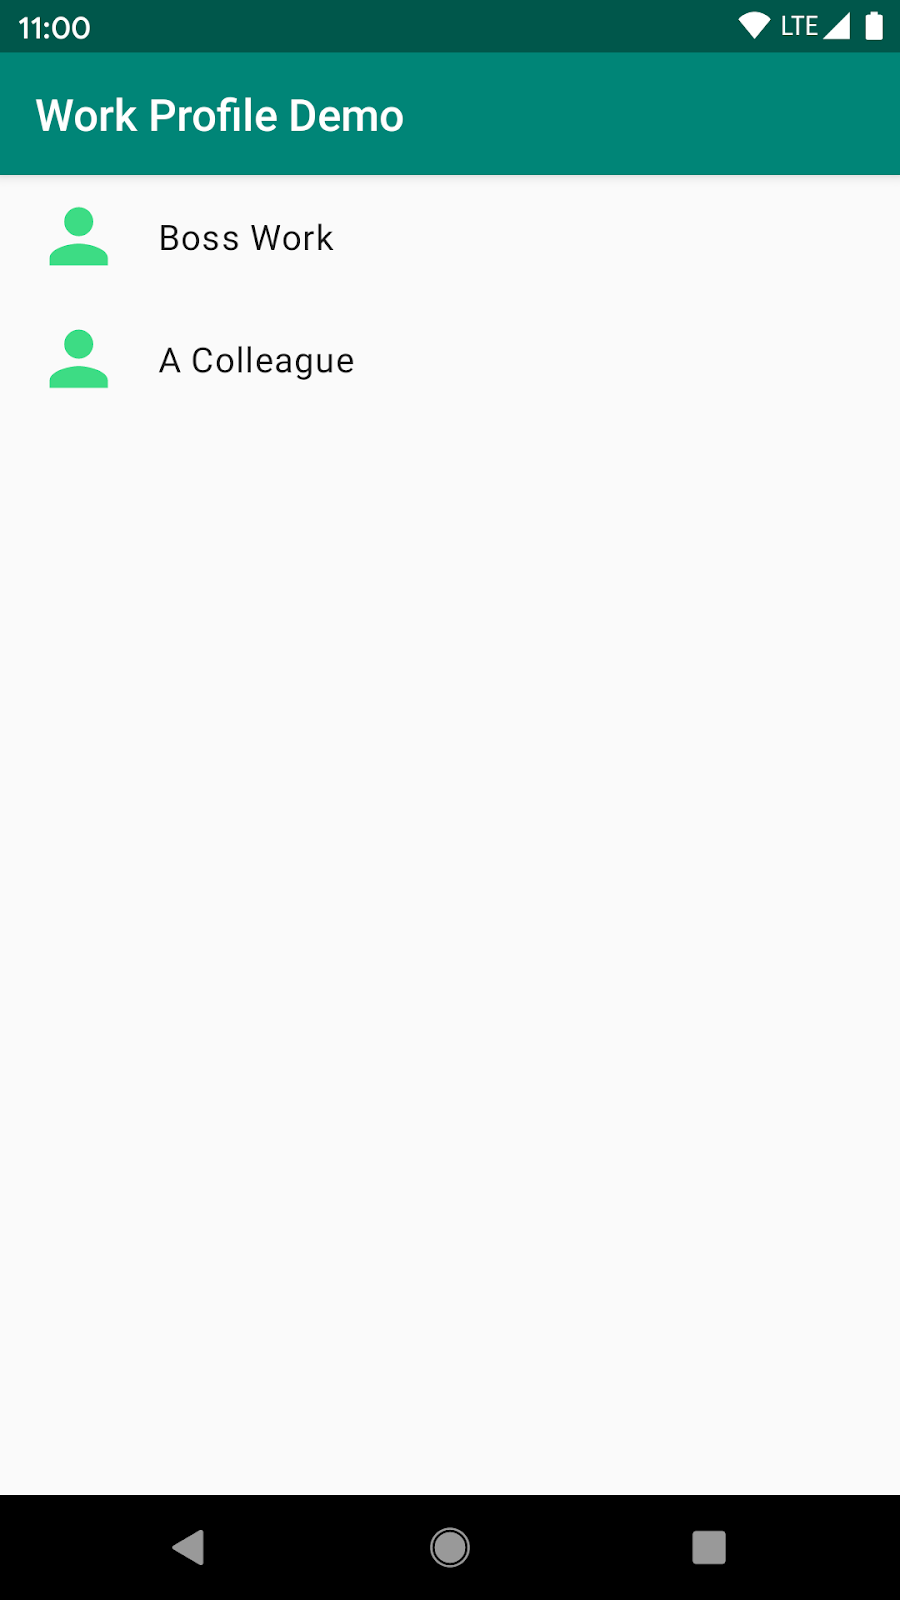
What about the work profile?
If you run the app in the work profile, you'll still only see the work contacts, and none of the personal ones. That's because one of the main goals of work profiles is to protect the user's privacy, hence work apps generally cannot access any personal information from the personal profile.
6. Switch profiles within an app
Android includes APIs to launch another instance of your app in a different profile, helping users switch between accounts. For example, an email app can provide a UI that lets the user switch between the personal profile and the work profile to access two email accounts.
All apps can call these APIs to launch the main activity of the same app if it's already installed in the other profile.
To add cross-profile account switching to your app, first we need to add a button to our main activity layout, allowing users to switch profiles.
Open activity_main.xml and add a button widget underneath the recycler-view widget:
<androidx.appcompat.widget.AppCompatButton
        android:id="@+id/button"
        app:layout_constraintTop_toBottomOf="@+id/contacts_rv"
        app:layout_constraintBottom_toBottomOf="parent"
        app:layout_constraintLeft_toLeftOf="parent"
        app:layout_constraintRight_toRightOf="parent"
        android:layout_width="wrap_content"
        android:layout_height="wrap_content"
        />
Back in MainActivity.kt, set the button's click event to switch profiles in the onCreate method.
To do so, first get the CrossProfileApps system service:
val crossProfileApps = getSystemService(CrossProfileApps::class.java)
This class provides all the APIs you need to implement a profile-switch feature. You can retrieve the list of user profiles by calling targetUserProfiles which will return all other profiles in which this app is installed.
val userHandles = crossProfileApps.targetUserProfiles
You can now use the returned userHandle first item and launch the app in the other profile.
crossProfileApps.startMainActivity(
                    componentName,
                    userHandles.first()
                )
You can even get a localized text that prompts the user to switch profiles, and use that to set the button's text value.
val label = crossProfileApps.getProfileSwitchingLabel(userHandles.first())
Now, putting all these parts together, this is what you'll add at the tail of onCreate method at MainActivity.kt:
override fun onCreate(savedInstanceState: Bundle?) {

     ...

     val crossProfileApps = getSystemService(CrossProfileApps::class.java)
       val userHandles = crossProfileApps.targetUserProfiles
       val label = crossProfileApps.getProfileSwitchingLabel(userHandles.first())
        binding.button.apply {
            text = label
            setOnClickListener {
                crossProfileApps.startMainActivity(
                    componentName,
                    userHandles.first()
                )
            }
        }
}
Try it
If you run the app now, you'll see the button at the bottom indicate that it's ready to switch between Work Profile or Personal Profile, depending on where you launched the app from.
Clicking that button will launch the app in the other profile.
7. Congratulations!
You've successfully modified an app that works both in personal and work profiles, and that is aware when there's a work profile installed and retrieves work contacts even when running in personal mode.
You've also implemented a way for users to switch between work and personal profiles of the same app while running the app without having to close it and relaunch it from the appropriate profile. That's a good practice to help users who use your app differently in different profiles.