
1. Overview
In this codelab, you will learn how to show your notifications in the Conversations section of the notification shade. You will also learn how to show those notifications as Bubbles.
Conversations are real-time communications that are bidirectional among two people or more. These conversations are presented in their own area in the system notifications shade. They can also be promoted as Bubbles. Bubbles are round icons that float on top of other app content and follow the user wherever they go. Bubbles are great for showing ongoing events and actions that users want to keep easy access to.
Bubbles are a great way to notify users of important ongoing information. You should, however, be mindful of when and when not to use Bubbles. They take up screen real estate and cover other app content. Use them only when it is important enough to draw the user's attention. Keep in mind that users can easily opt out of Bubbles and use normal notifications instead.
This codelab uses a proof-of-concept chat app as its starting point. The app shows new incoming messages, which we'll assume for the purposes of this codelab that users will want to keep in mind for a while.
|
|
 Bubbles
What we'll learn
- How to show a conversational notification.
- How to support Bubbles.
- How to show a Bubble while the app is running in the foreground.
Prerequisites
- Basic Kotlin knowledge (this codelab is in Kotlin)
- Basic notification knowledge. You can learn more about notifications here and by taking the Using Android Notifications codelab.
- A device or emulator running Android 11 Beta 1 or later.
- Android Studio 4.0.0 or above.
2. Get the sample code
Download the codelab code:
$ git clone https://github.com/android/codelab-android-people.git
Import the project in Android Studio.
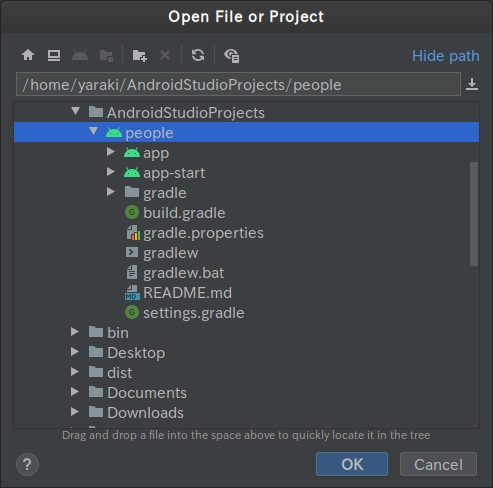
Gradle will begin syncing. Depending on the internet connection speed and what other recent projects you have opened, this might take a few minutes.
The project has multiple modules in it:
app-startis the starting state for the codelab.appis the final state of the app after completing this codelab.
Make sure that app-start is selected in the combobox for the run configuration.

3. Check out how the app works now
The app we will work on is a chat app. Run the app from Android Studio, and you will see a list of chat contacts you can talk to.
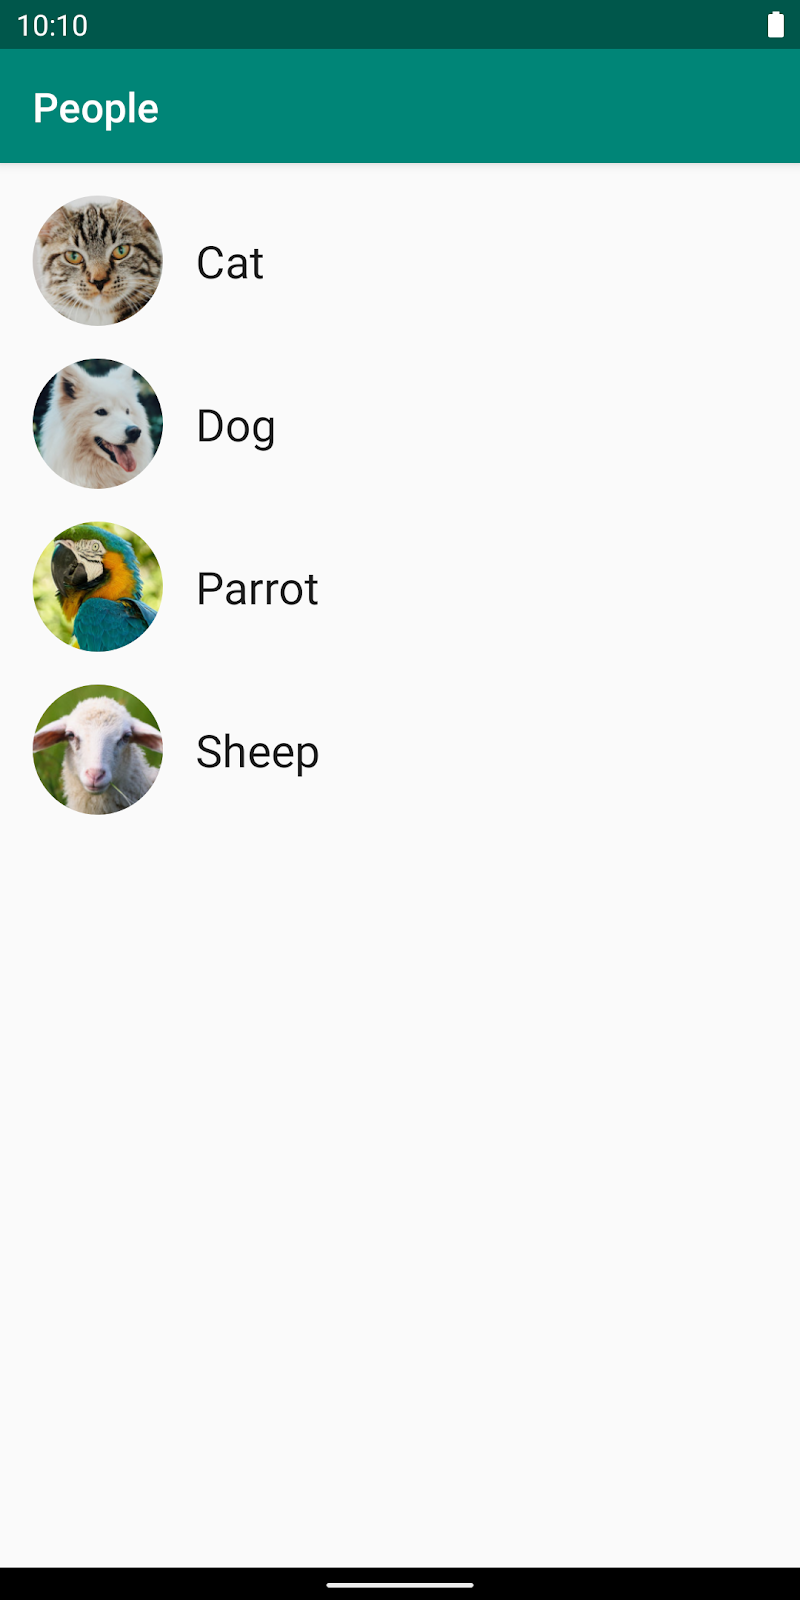
Pick one of the contacts and try sending a message. You will receive a reply in 5 seconds. If the chat screen is not in the foreground, the reply will be shown as a notification. Try sending a message and quickly navigating to the home screen.
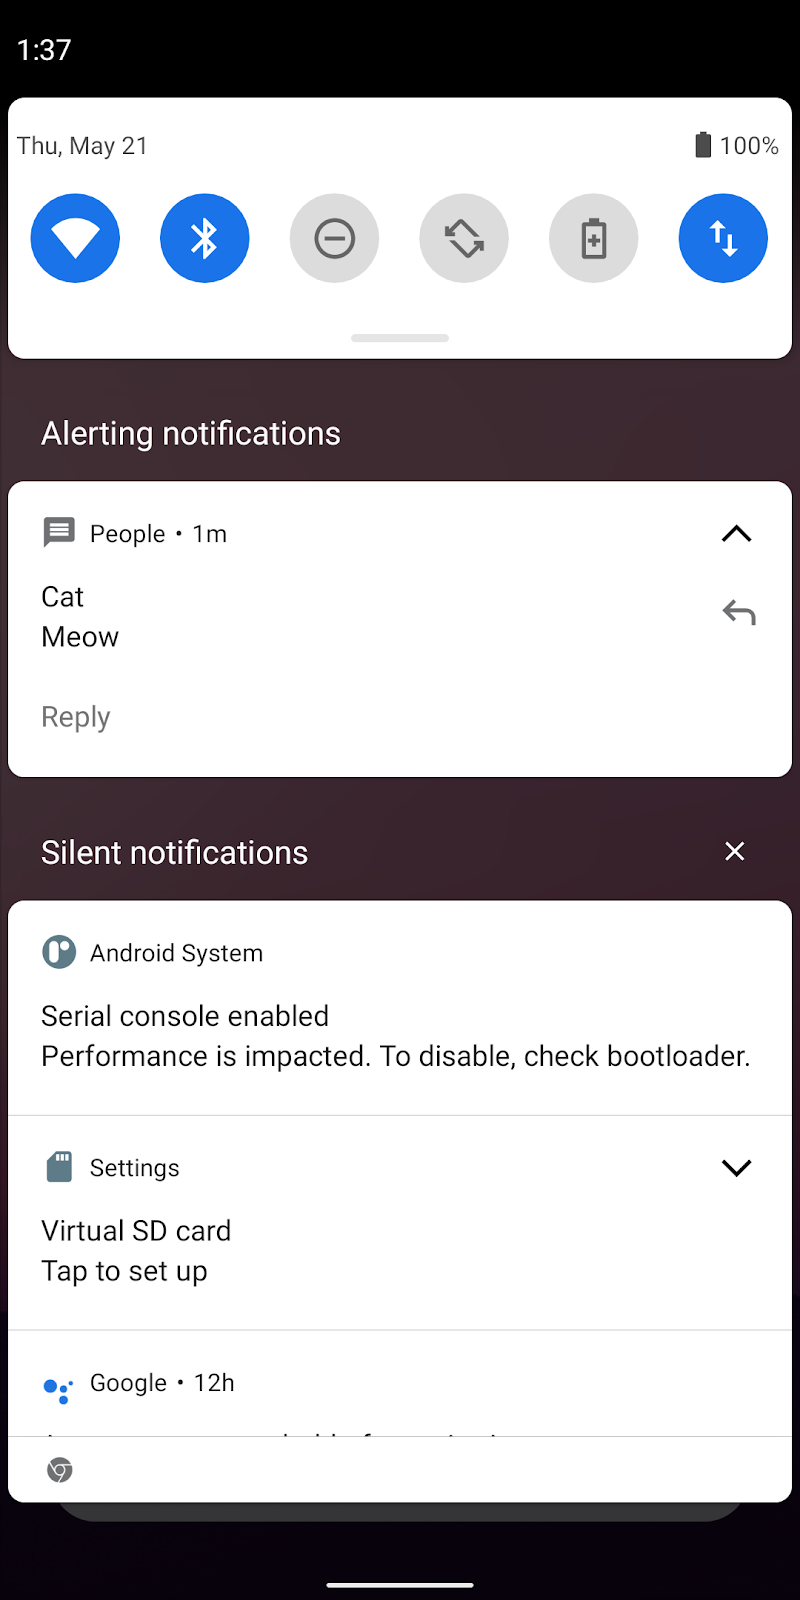
4. Conversational notifications
Now that you know how the app works, let's start by showing our notifications in the Conversations section of the notification shade.
In order to make a notification considered as a conversation by the system, it has to meet these criteria:
- It uses
MessagingStyle. - It is associated with a conversation shortcut. A conversation shortcut is a Sharing Shortcut which works as a direct share target, and it is long-lived.
MessagingStyle
- Open
NotificationHelper.kt. It is located atdata/NotificationHelper.kt. The methodshowNotificationis where the app shows all of its notifications. The notification currently uses the simple call ofsetContentTextto set the notification content. Find TODO 1 and replace it with MessagingStyle.
.setStyle(
    Notification.MessagingStyle(user)
        .apply {
            val lastId = chat.messages.last().id
            for (message in chat.messages) {
                val m = Notification.MessagingStyle.Message(
                    message.text,
                    message.timestamp,
                    if (message.isIncoming) person else null
                ).apply {
                    if (message.photoUri != null) {
                        setData(message.photoMimeType, message.photoUri)
                    }
                }
                if (message.id < lastId) {
                    addHistoricMessage(m)
                } else {
                    addMessage(m)
                }
            }
        }
        .setGroupConversation(false)
)
.setWhen(chat.messages.last().timestamp)
Conversation Shortcuts
- In the same
NotificationHelper.kt, there's a method calledupdateShortcuts. This method is called everytime a new notification is shown. We will create our dynamic shortcuts and register them toShortcutManager. Find TODO 2 and add this implementation.
var shortcuts = Contact.CONTACTS.map { contact ->
    val icon = Icon.createWithAdaptiveBitmap(
        context.resources.assets.open(contact.icon).use { input ->
            BitmapFactory.decodeStream(input)
        }
    )
    ShortcutInfo.Builder(context, contact.shortcutId)
        .setLocusId(LocusId(contact.shortcutId))
        .setActivity(ComponentName(context, MainActivity::class.java))
        .setShortLabel(contact.name)
        .setIcon(icon)
        .setLongLived(true)
        .setCategories(setOf("com.example.android.bubbles.category.TEXT_SHARE_TARGET"))
        .setIntent(
            Intent(context, MainActivity::class.java)
                .setAction(Intent.ACTION_VIEW)
                .setData(
                    Uri.parse(
                        "https://android.example.com/chat/${contact.id}"
                    )
                )
        )
        .setPerson(
            Person.Builder()
                .setName(contact.name)
                .setIcon(icon)
                .build()
        )
        .build()
}
if (importantContact != null) {
    shortcuts = shortcuts.sortedByDescending { it.id == importantContact.shortcutId }
}
val maxCount = shortcutManager.maxShortcutCountPerActivity
if (shortcuts.size > maxCount) {
    shortcuts = shortcuts.take(maxCount)
}
shortcutManager.addDynamicShortcuts(shortcuts)
In this implementation, we are converting all of our contacts into ShortcutInfo, and setting them as our dynamic shortcuts by calling addDynamicShortcuts at the end.
The shortcuts have a category of "com.example.android.bubbles.category.TEXT_SHARE_TARGET". This category is defined in res/xml/shortcuts.xml and it is used as our Direct Share targets.
- If you check out
MainActivity.kt, you can see that it can already handleACTION_SENDintent for our contacts. We want to specify that this activity should handle intents coming from Direct Share. Find TODO 3 inAndroidManifest.xmland add the following element in MainActivity. This associates the activity with the dynamic shortcuts we created above.
    <activity
        android:name="com.example.android.people.MainActivity"
        ...>
        <!-- ... -->
        <meta-data
            android:name="android.app.shortcuts"
            android:resource="@xml/shortcuts" />
    </activity>
- The last step in this section is to associate the notification with the dynamic shortcut we just created. Find TODO 4 in
NotificationHelper.ktand add the following configurations toNotification.Builder.
            // ...
            .setCategory(Notification.CATEGORY_MESSAGE)
            .setShortcutId(chat.contact.shortcutId)
            .setLocusId(LocusId(chat.contact.shortcutId))
With this setShortcutId, the system can know that this notification corresponds to the specified dynamic shortcut. It is also recommended that you set LocusId so that the system can accurately rank conversations based on app usage.
|
|
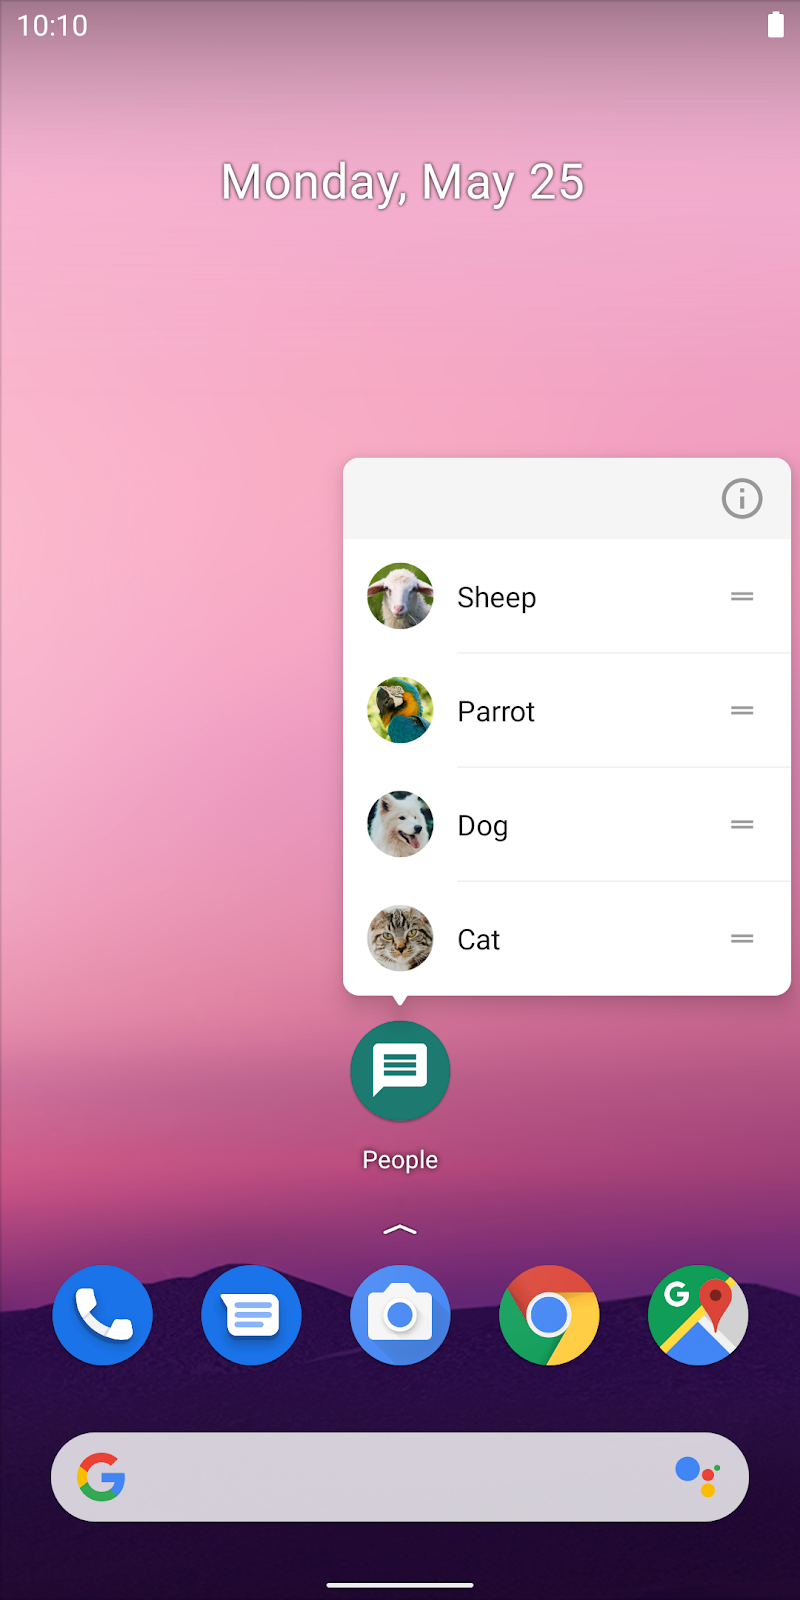 Dynamic shortcuts
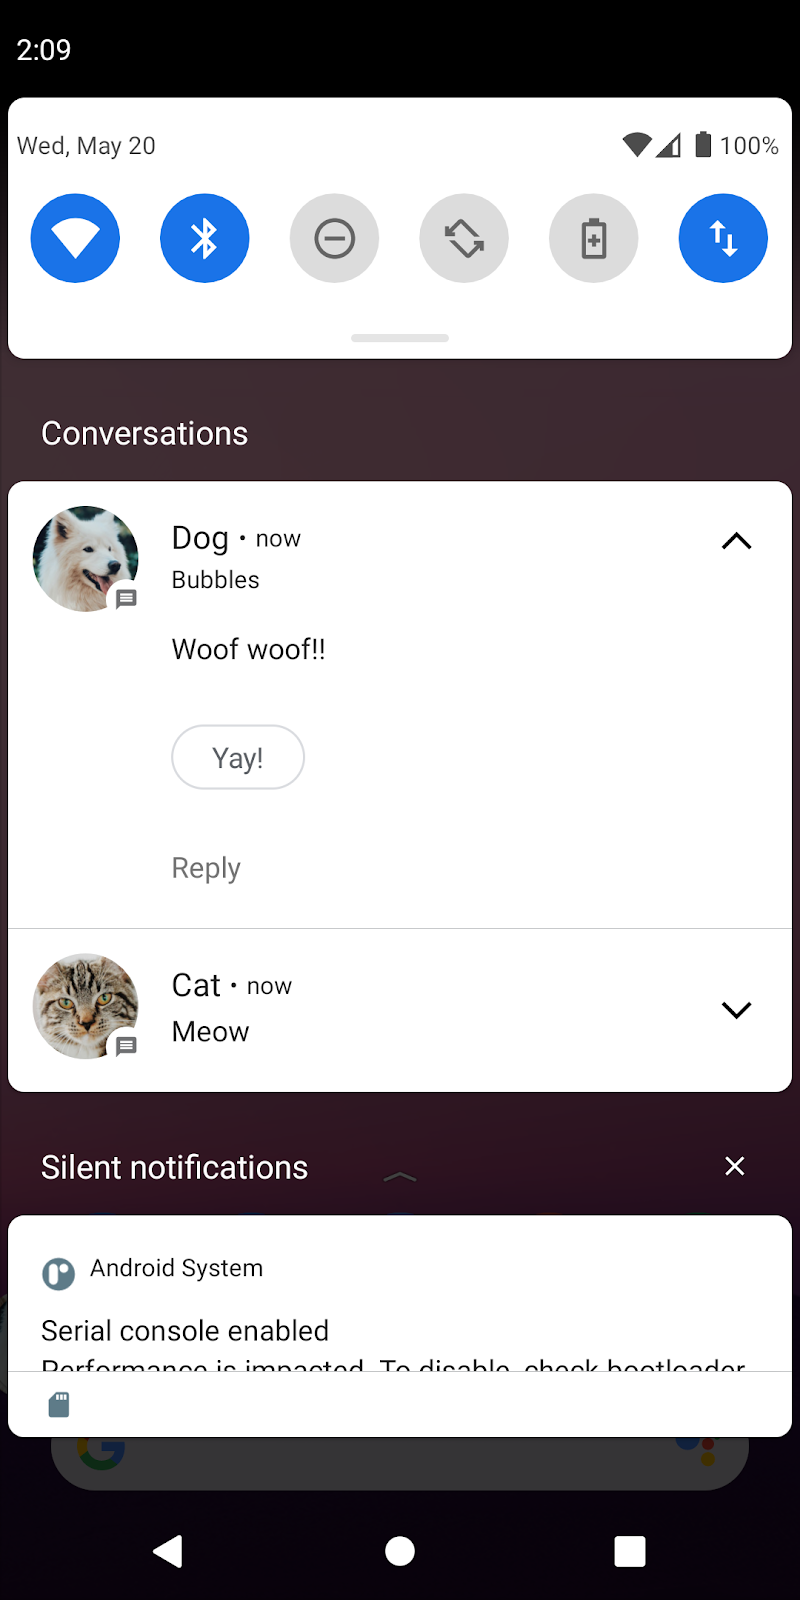
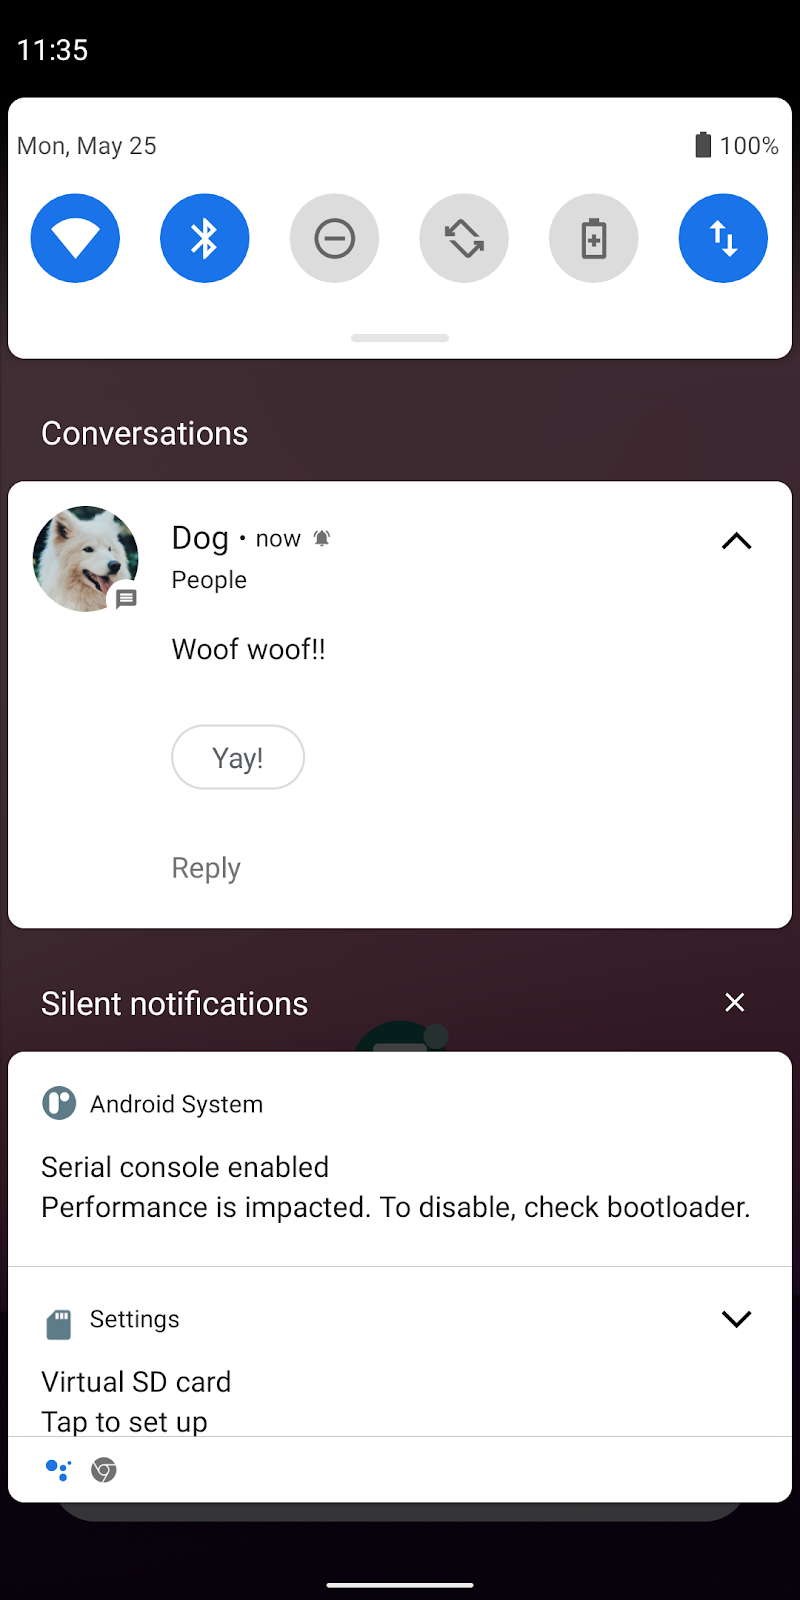 Conversation Notification
5. Show a Bubble
A notification has to be sent to a notification channel. This app uses one notification channel. Notice that the importance is set to IMPORTANCE_HIGH in the setUpNotificationChannels method. In order to show a notification as a bubble, the notification channel needs to be set to IMPORTANCE_HIGH.
A notification can be shown as a bubble by adding a BubbleMetadata to it. This can be done by calling Notification.Builder#setBubbleMetadata.
- Replace TODO 5 in the
showNotificationmethod with the following code:
NotificationHelper.kt > showNotification()
.setBubbleMetadata(
    Notification.BubbleMetadata
        .Builder(
            PendingIntent.getActivity(
                context,
                REQUEST_BUBBLE,
                Intent(context, BubbleActivity::class.java)
                    .setAction(Intent.ACTION_VIEW)
                    .setData(contentUri),
                PendingIntent.FLAG_UPDATE_CURRENT
            ),
            icon
        )
        .setDesiredHeightResId(R.dimen.bubble_height)
        .build()
)
In the code above, setIcon sets the icon of the bubble.
setIntent specifies the Activity to be launched as an "expanded bubble". When the user taps on the bubble, the expanded bubble is opened and shows the corresponding chat history on top of the current screen. We use our BubbleActivity as the expanded bubble. In order to use an Activity as an expanded bubble, it has to be configured with some attributes in the manifest file.
- Open AndroidManifest.xml and find the definition of
BubbleActivitymarked with a TODO 6. Add the following attributes to the element:
AndroidManifest.xml > BubbleActivity
<activity
    android:name="com.example.android.people.BubbleActivity"
    android:allowEmbedded="true"
    android:documentLaunchMode="always"
    android:resizeableActivity="true">
    ...

</activity>
These 3 attributes are required:
allowEmbedded="true"- The expanded Bubble is embedded in the System UI.resizeableActivity="true"- The expanded Bubble is resized by the System UI.documentLaunchMode="always"- The System UI needs this attribute so it can create multiple instances of this Activity.
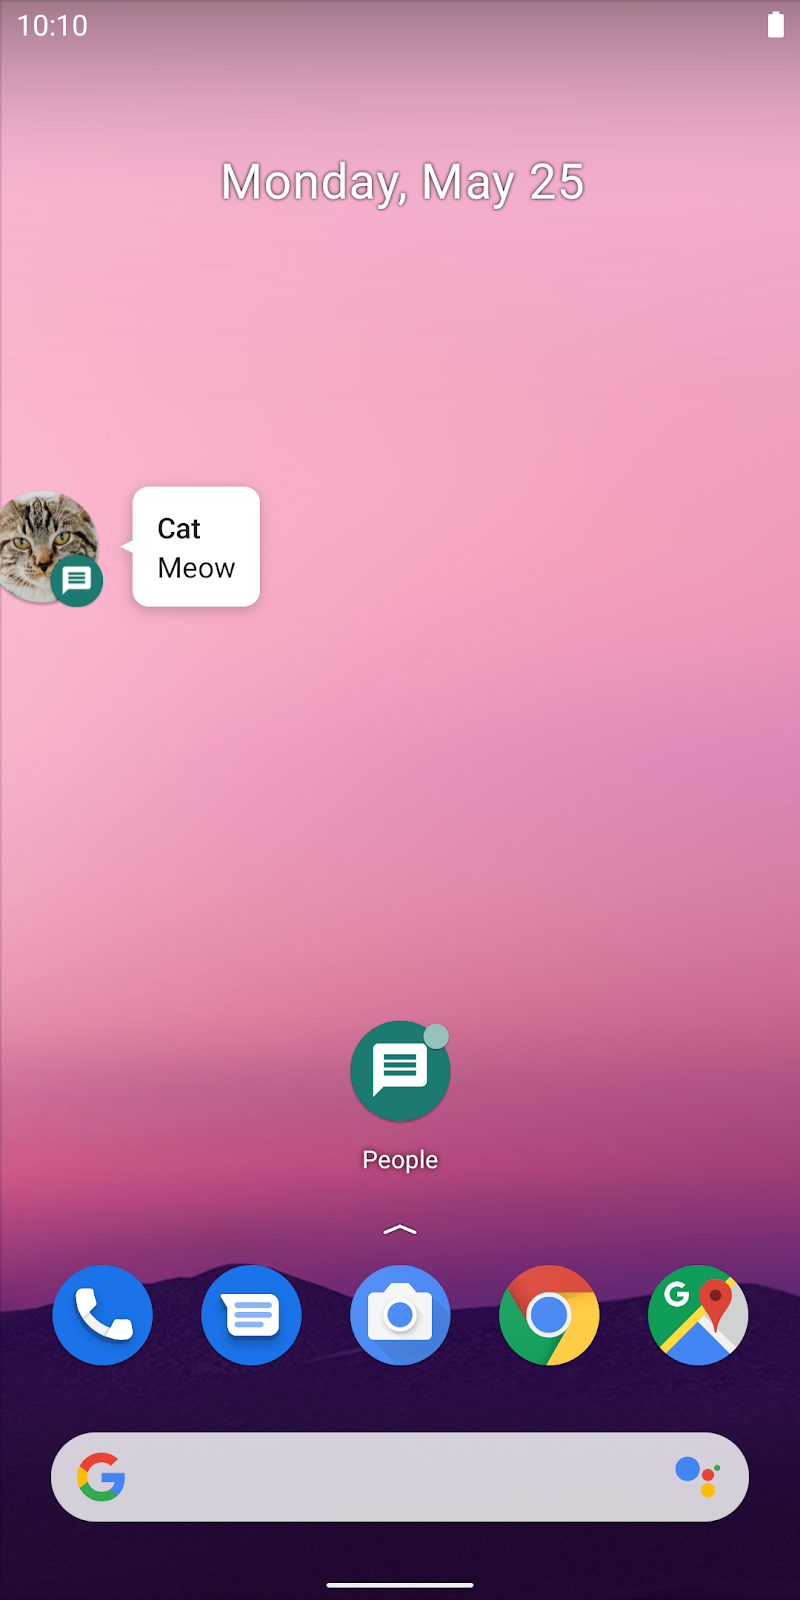
- Now run the app from Android Studio. Send a message to one of the contacts and quickly close the app. You should now see a notification with a Bubble icon at the bottom right corner.
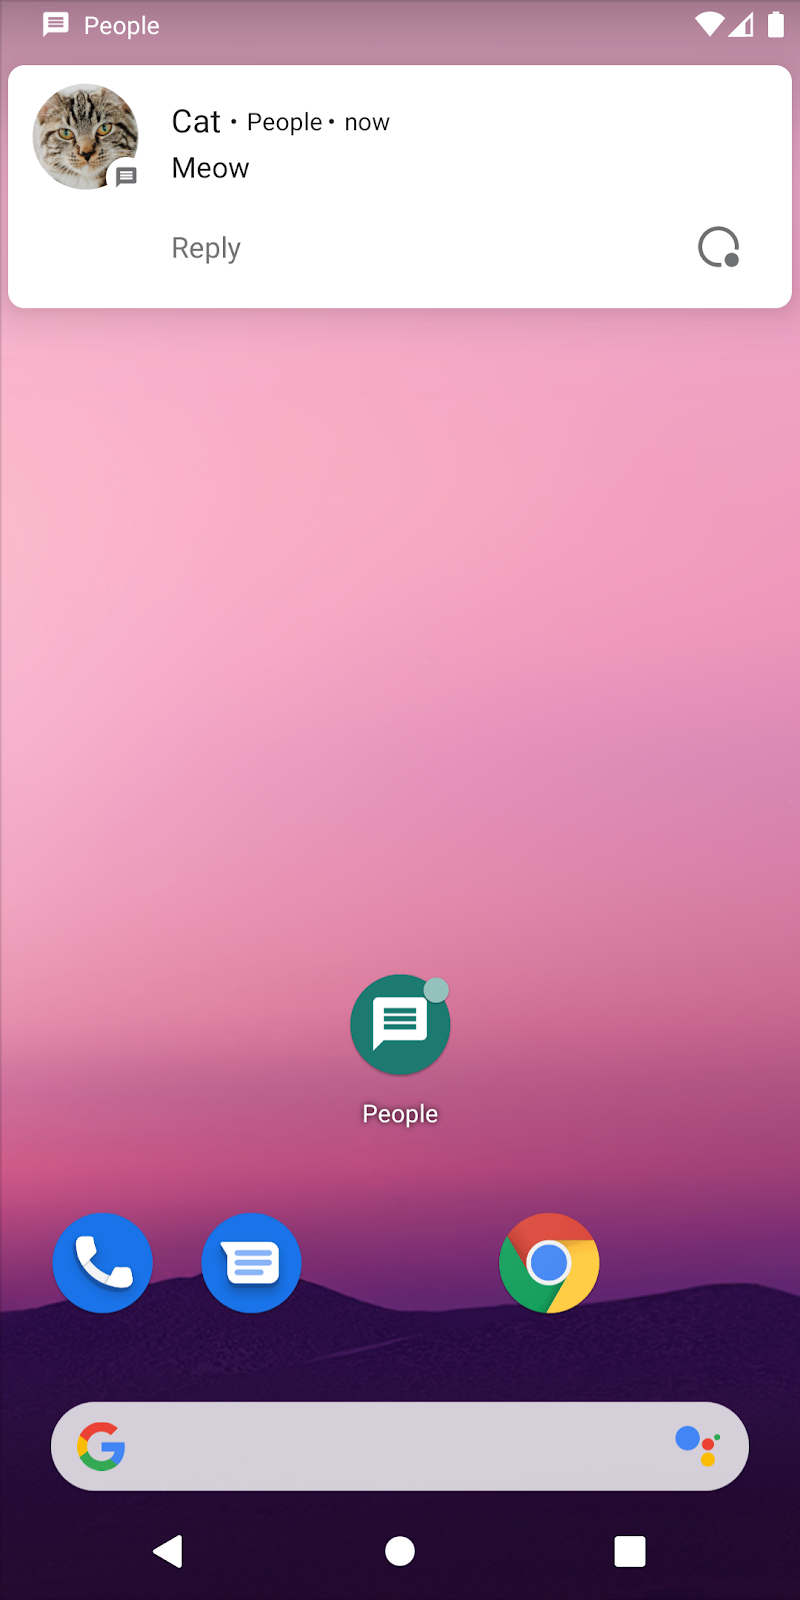
A notification with a Bubble icon
Tap on the Bubble icon, and you should be able to see the notification as a bubble. After you tap it once, notifications from the same contact will be displayed as a Bubble automatically. Tap on the bubble and it should display the expanded bubble.
|
|
 Bubble
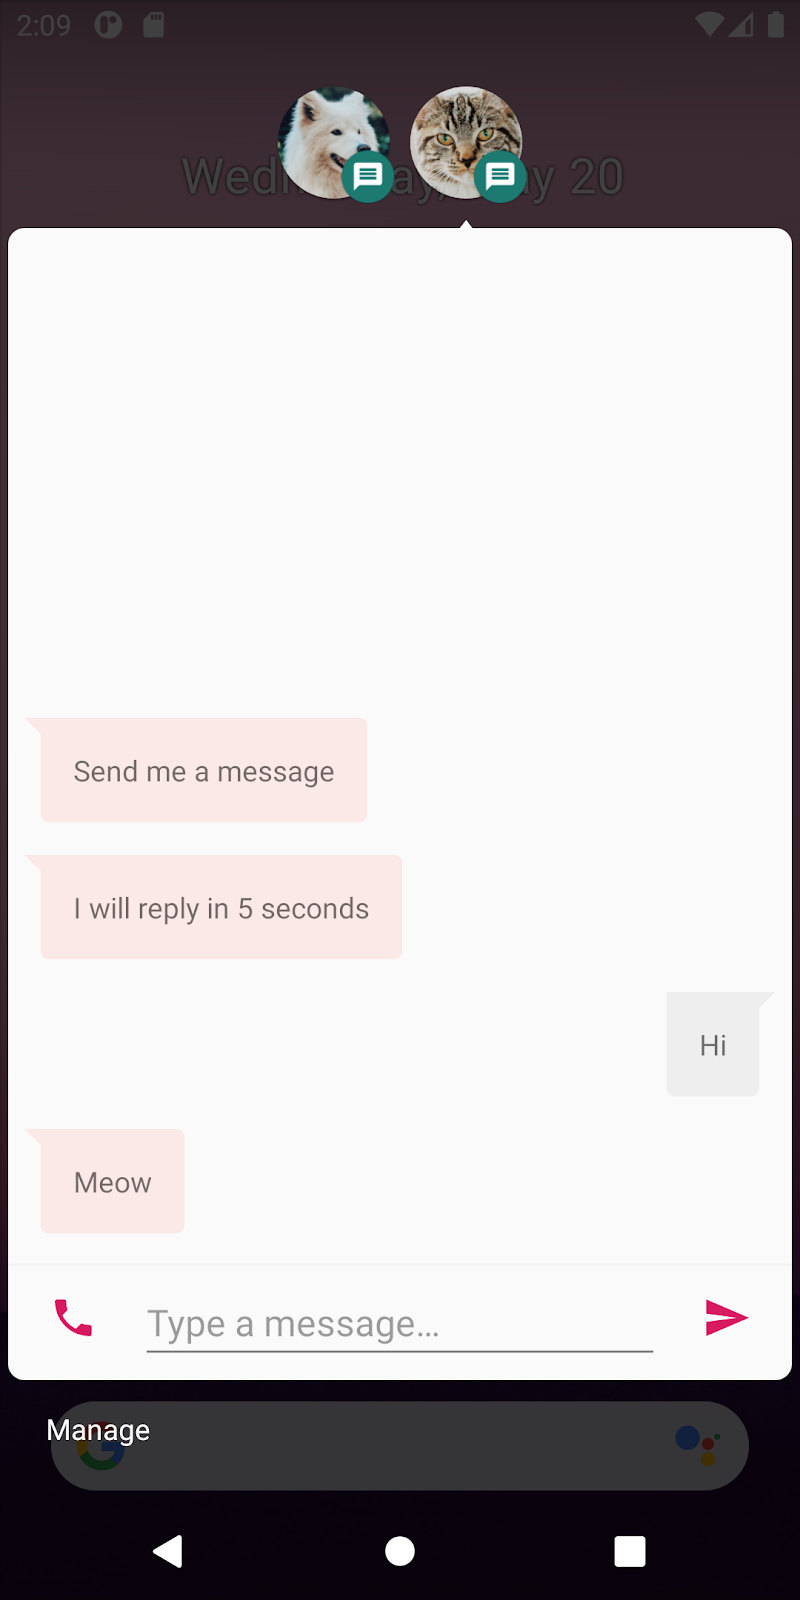
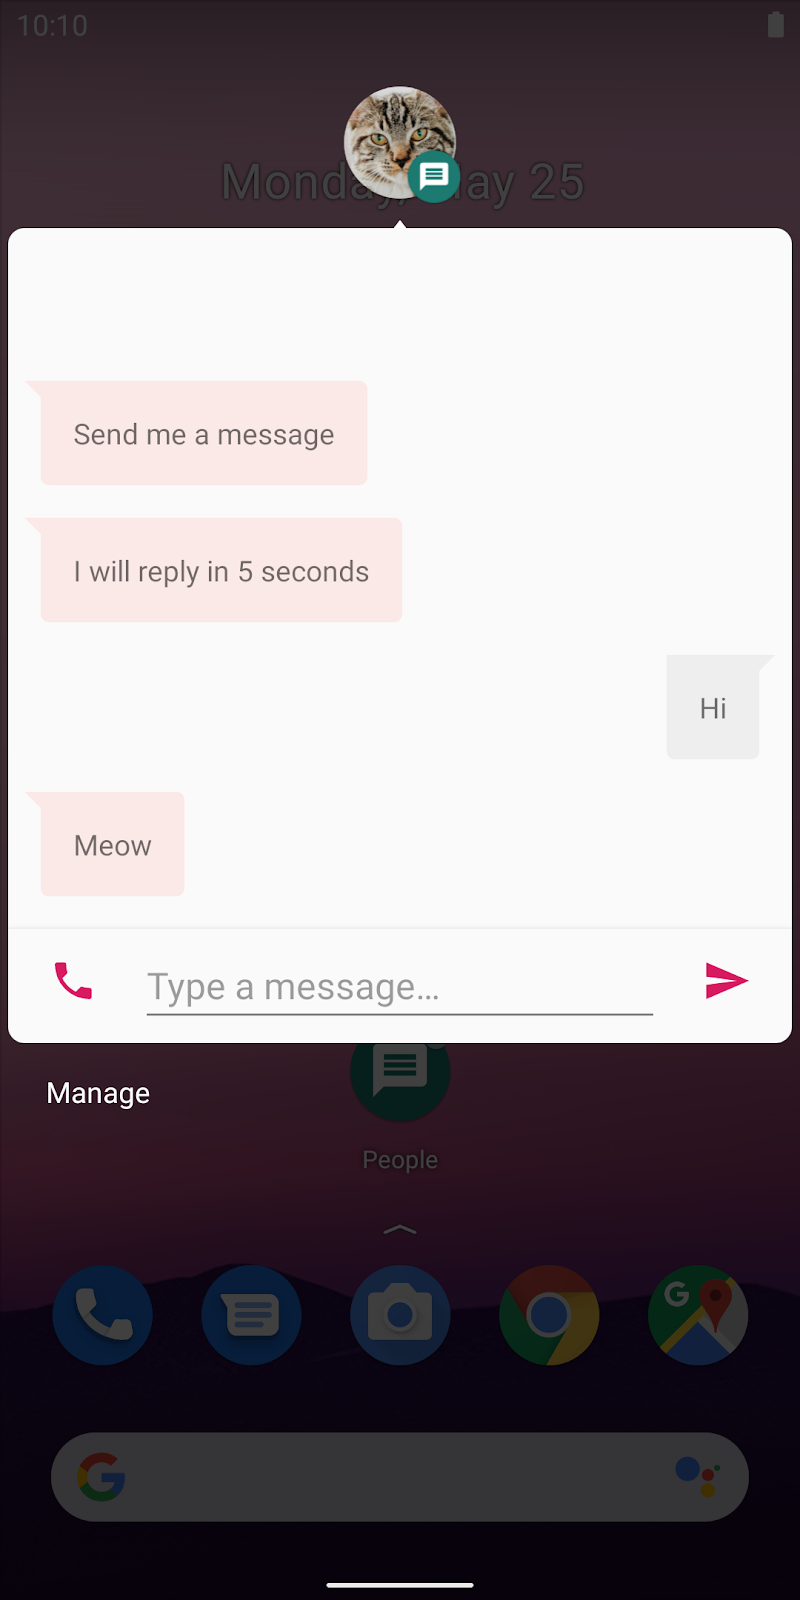 Expanded Bubble
6. Show a foreground bubble
Apps might sometimes want to show a bubble while they are in the foreground. In this app, we want to "pop" a chat screen as a bubble so that users can pin a chat they want to keep in mind for the time being. We already have a menu button for that on the chat screen.
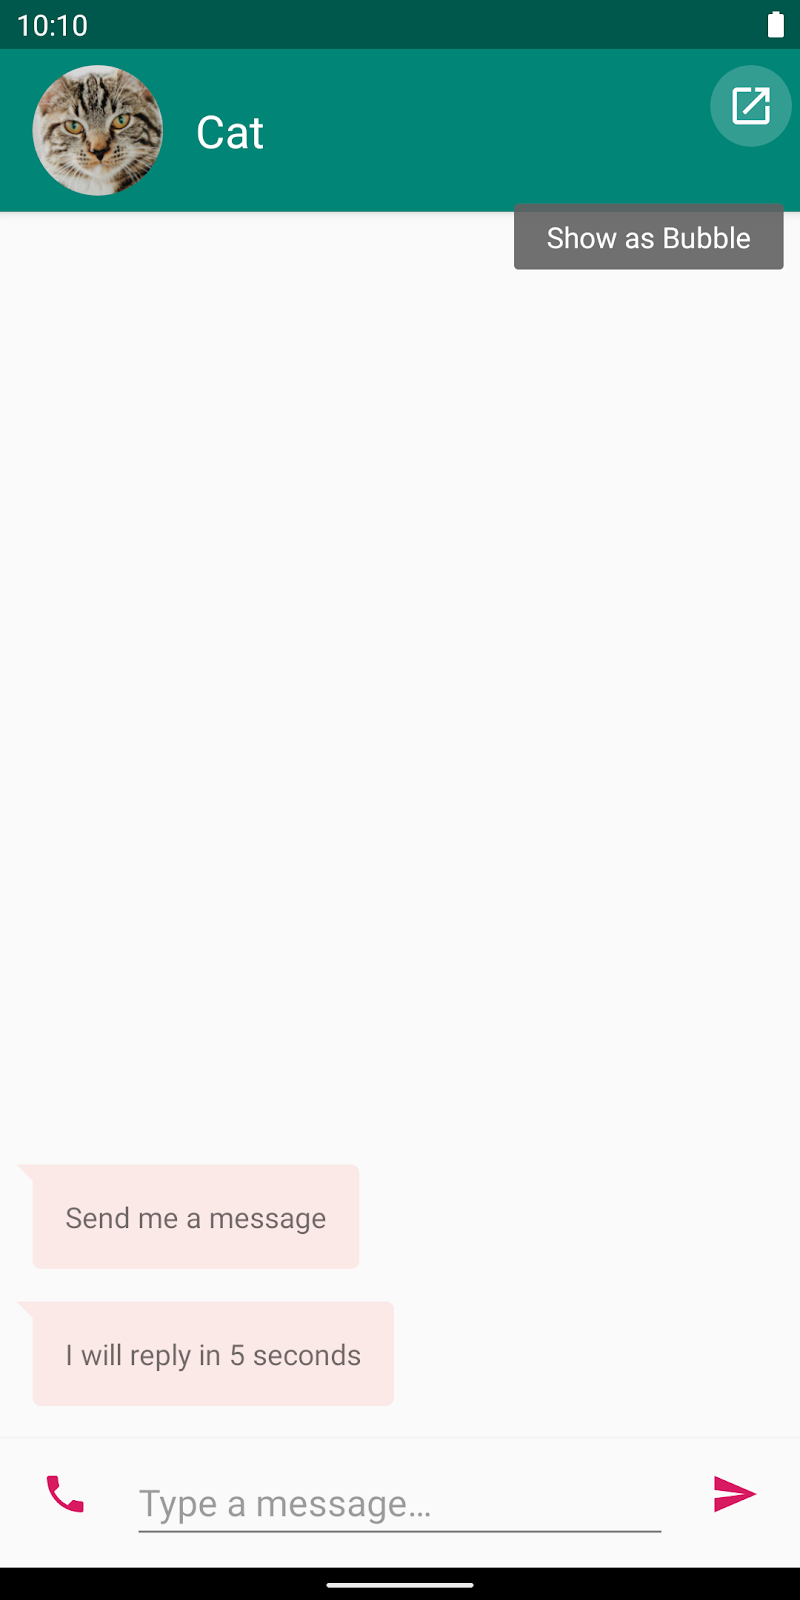
Open NotificationHelper.kt again. Tapping on the menu button calls the showNotification method with the parameter fromUser set to true. That's when we want to show this notification as a foreground bubble.
Add the following lines to the BubbleMetadata we added in the last section:
NotificationHelper.kt > showNotification()
Notification.BubbleMetadata
    // ...
    .setDesiredHeightResId(R.dimen.bubble_height)
    .apply {
        if (fromUser) {
            setAutoExpandBubble(true)
            setSuppressNotification(true)
        }
    }
    .build()
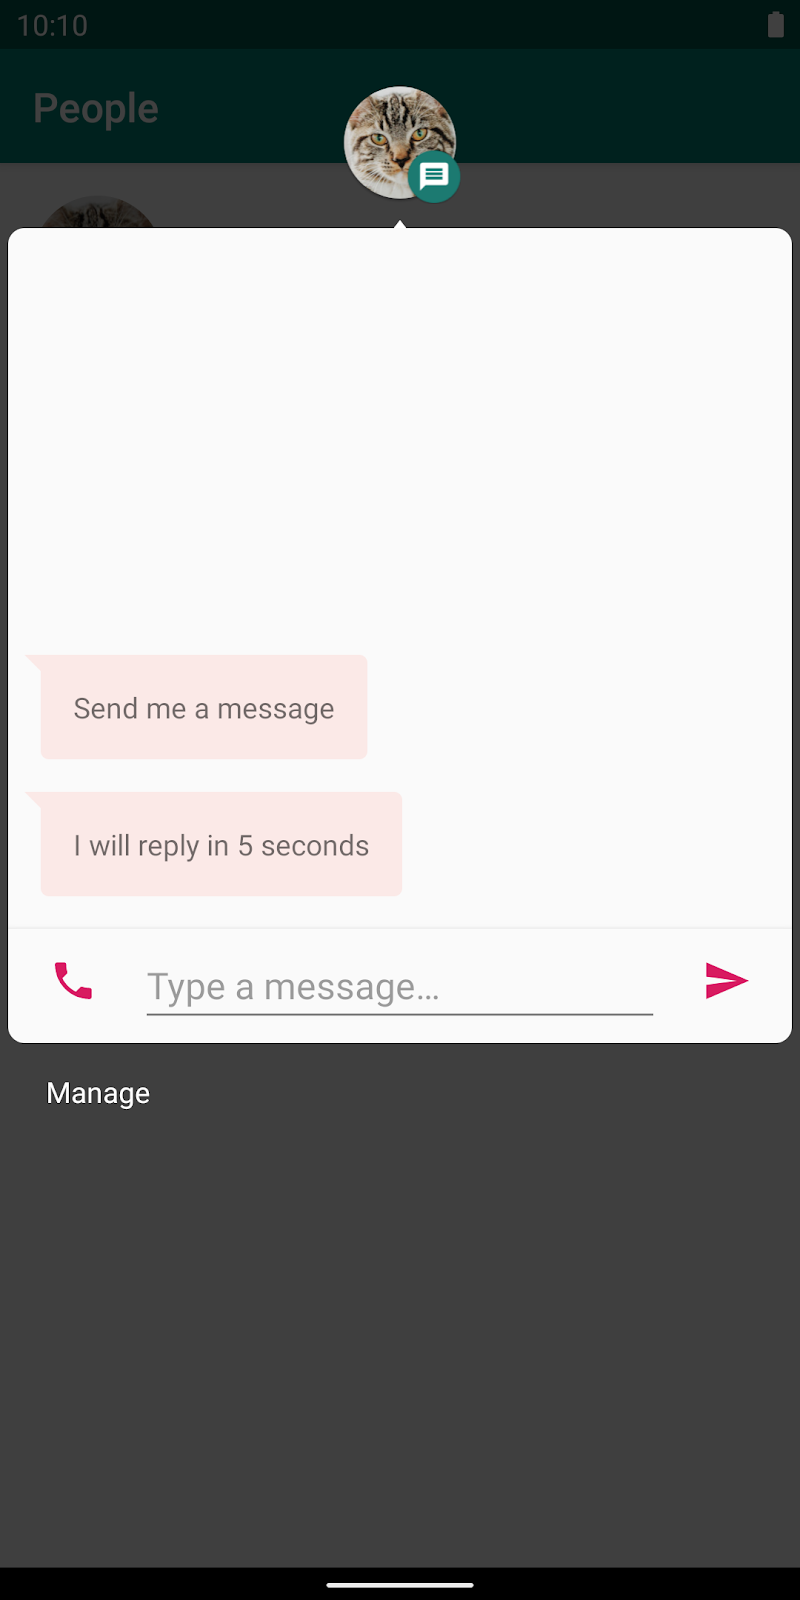
setAutoExpandBubble causes the bubble to be displayed in its expanded state by default. We also want to suppress the initial notification by calling setSuppressNotification. These flags only work when your app is in the foreground.
7. Congratulations!
Congratulations! You now know how to show a conversation notification and a bubble.
To learn more, refer to Conversations and Bubbles.