
1. Antes de começar
Introdução
Nesta unidade, você aprendeu a elevar o nível do seu app buscando dados na Internet. Agora, o app pode mostrar os dados mais recentes do servidor e não fica restrito ao que estava estaticamente disponível quando você o abriu. Essa é uma funcionalidade muito importante na maioria dos aplicativos.
Nesta série de exercícios, você vai usar os conceitos aprendidos e criar um app Amphibians, que busca dados de anfíbios da Internet e os mostra em uma lista de rolagem.
O código da solução está disponível no final desta série. Para aproveitar melhor esta experiência de aprendizado, tente fazer implementações e resolver problemas o máximo possível antes de analisar o código da solução fornecido. É durante a prática que você mais aprende.
Pré-requisitos
- Curso de noções básicas do Android com o Compose no codelab Carregar e mostrar imagens da Internet.
O que vai ser necessário
- Um computador com acesso à Internet e o Android Studio instalado.
O que você vai criar
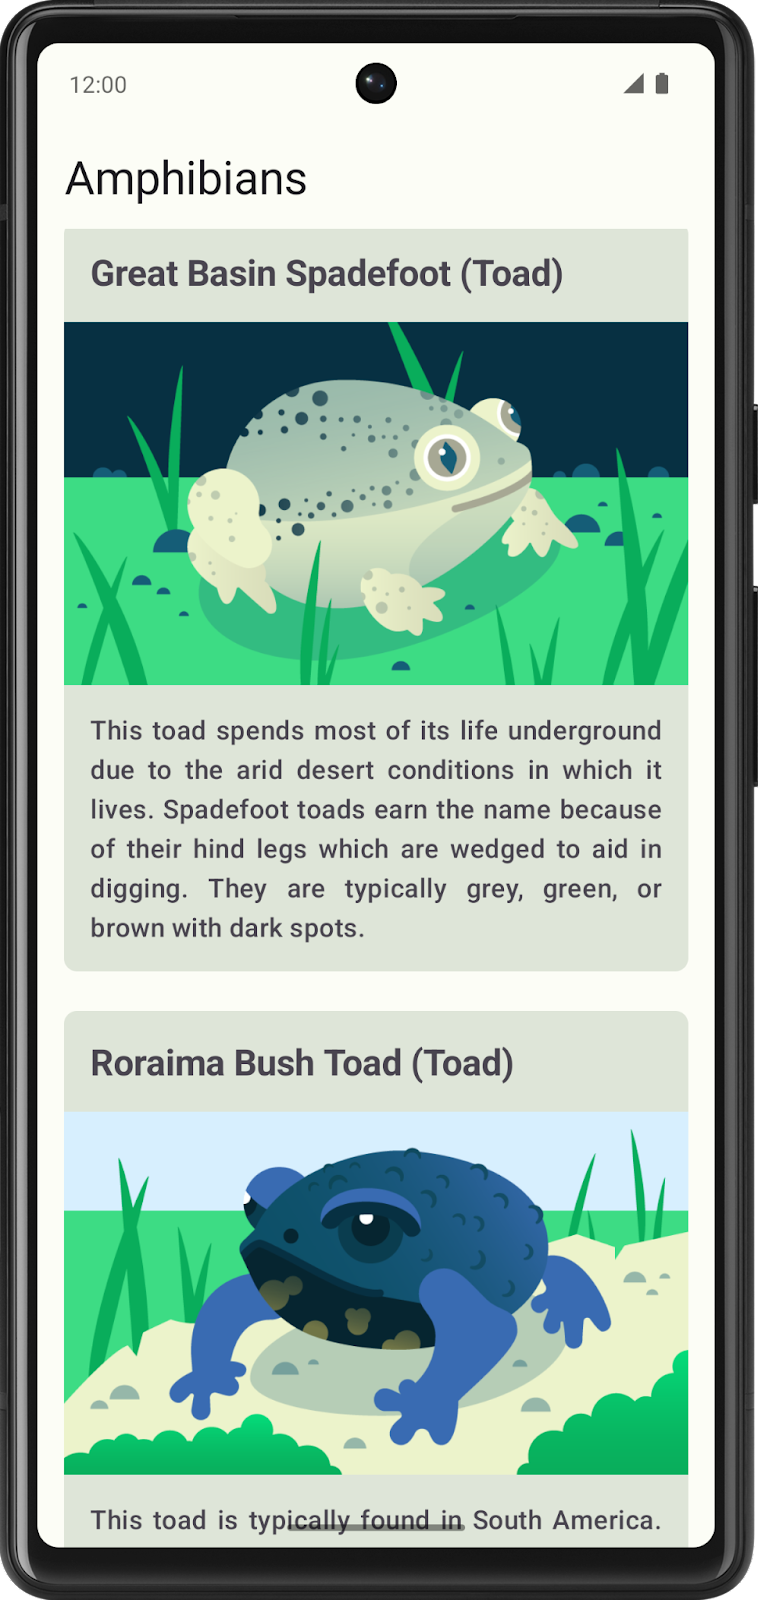
Nesta série de exercícios, você vai criar um app para mostrar uma lista de anfíbios com detalhes e imagens deles. Os dados são buscados na Internet com uma solicitação de rede e contêm o nome, o tipo, a descrição e o URL da imagem de cada anfíbio.
Os dados JSON do anfíbio ficam hospedados em https://android-kotlin-fun-mars-server.appspot.com/amphibians.
O código da solução fornecido usa este design de interface:
Confira nas seções abaixo as etapas gerais para criar o app. Elas não precisam ser seguidas, mas são fornecidas para orientar você ao longo do caminho.
2. Planejar o app
Antes de começar a programar, esboce os diferentes elementos do app e como eles se conectam.
Com essa preparação, você pode identificar o que precisa fazer, em que situações pode haver problemas e formas de resolver esses problemas.
3. Criar um projeto
Comece com um novo projeto no Android Studio:
- Abra o Android Studio e selecione New Project.
- Em "Templates", selecione Phone and Tablet.
- Selecione Empty Activity e clique em Next.
- Altere o nome para Amphibians.
- Clique em Concluir.
Você já pode começar a programar.
4. Configurar dependências
O app usa a biblioteca Retrofit para solicitações de rede, a Coil para carregamento de imagem e a kotlinx.serialization para analisar o JSON retornado pela API Amphibians.
Adicione as dependências delas a app/build.gradle.kts.
5. Criar a camada de interface
Siga as práticas recomendadas de arquitetura de apps Android e crie uma camada de interface para o app.
Essa camada contém o ViewModel e as funções de composição que mostram o UiState do ViewModel na tela. O ViewModel é responsável por expor o estado da interface da tela, processar a lógica de negócios na camada da interface e chamar essa lógica em outras camadas da hierarquia.
A camada de interface também contém os elementos visuais que são mostrados aos usuários e com os quais eles interagem. É nela que você decide como os diversos elementos se unem para criar a interface desejada. Você decide as cores, fontes e como mostrar as imagens.
6. Criar a camada de dados
A camada de dados é responsável por buscar os dados de anfíbios na API.
É provável que você queira incluir uma classe para os dados de anfíbios, um repositório para gerenciar os dados e uma classe de fonte de dados para recuperar os dados da rede.
Se precisar de ajuda para fazer chamadas de rede, consulte Serviços da Web e Retrofit no codelab Receber dados da Internet.
Se quiser ajuda para analisar a resposta da rede, consulte Analisar a resposta JSON com kotlinx.serialization.
Para carregar imagens com a Coil, acesse a documentação oficial (link em inglês) ou consulte a seção Mostrar uma imagem transferida por download do codelab Carregar e mostrar imagens da Internet.
7. Implementar a injeção de dependência
Use a injeção de dependência (DI, na sigla em inglês) para manter o app flexível, robusto e pronto para ampliação.
A DI faz com que os componentes do app fiquem acoplados com flexibilidade e sejam mais fáceis de testar.
Ao implementar a DI, você precisa criar um contêiner de aplicativo, que é usado para receber as dependências necessárias do app.
O contêiner precisa ser acessível por todo o aplicativo. Para isso, mantenha o contêiner de dependências em uma classe Application personalizada. Essa classe é herdada da classe Application.
Caso precise de ajuda para implementar essa funcionalidade:
- Para o contêiner do aplicativo, consulte Injeção de dependência e Anexar um contêiner de aplicativos ao app no codelab Adicionar repositório e DI manual.
- Para analisar o código da classe do aplicativo, consulte Anexar um contêiner de aplicativos ao app.