1. Overview
In this codelab, you'll learn how to use Android Studio CMake template to start Android C/C++ project development with a few clicks: 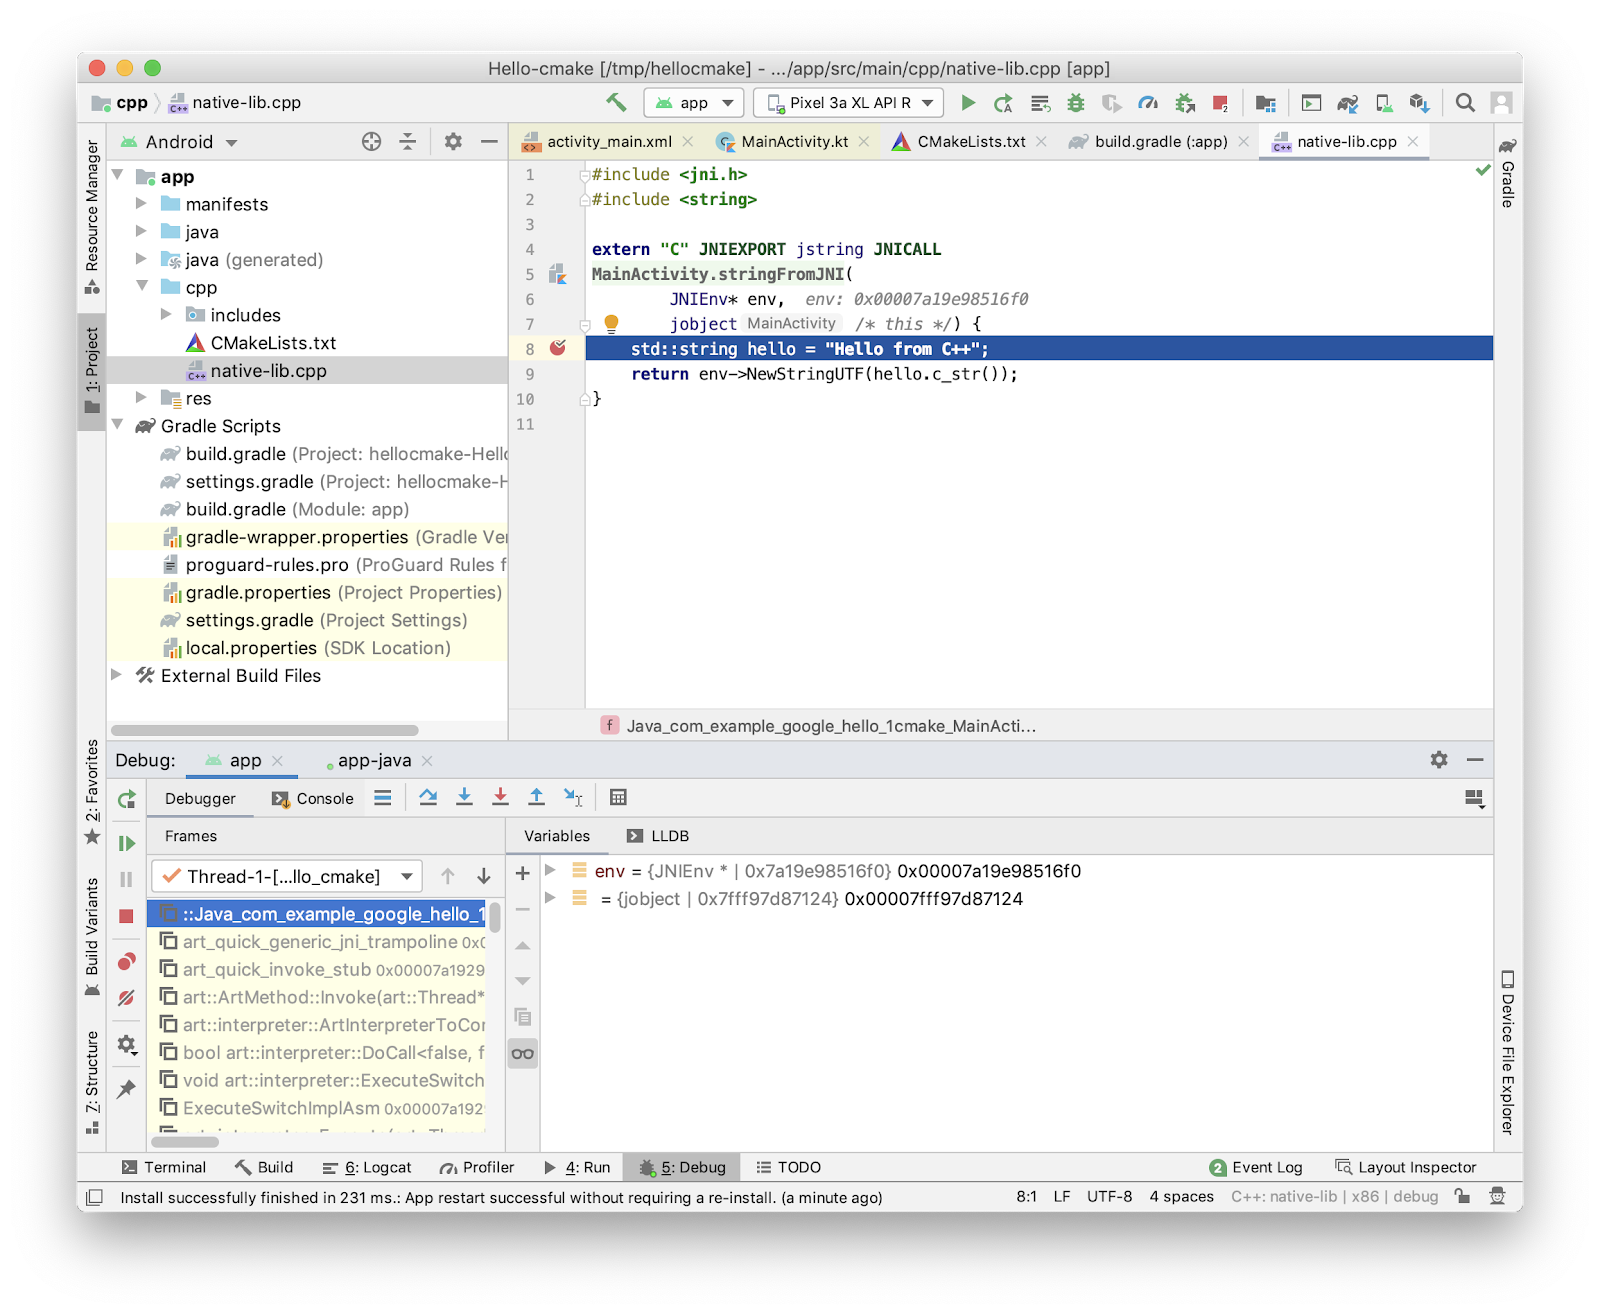
What you'll learn
- How to use Android Studio's CMake support to create a C/C++ project.
- How to explore and debug JNI code.
What you'll need
- Basic knowledge of JNI
- Android Studio 4.0 or higher
- Latest Android SDK tools.
- Android NDK and CMake
- A physical test device with debugging enabled or the Android Emulator with Android 5.0 or higher.
How will you use this tutorial?
How would you rate your experience with building Android apps?
2. Create a Sample App with the C++ Template
- Find and start Android Studio on your development system: a) On Windows, Start > All apps > Android Studio b) On Mac OS X: Double-click on Android Studio in your Application folder c) On Linux: Run
studio.shfrom your installed location
If this is the first time you are running this version of Android Studio, Android Studio will prompt you to import settings from your previous installation, either import settings from a previous installation or accept default settings only. The "Welcome to Android Studio" screen would appear as:
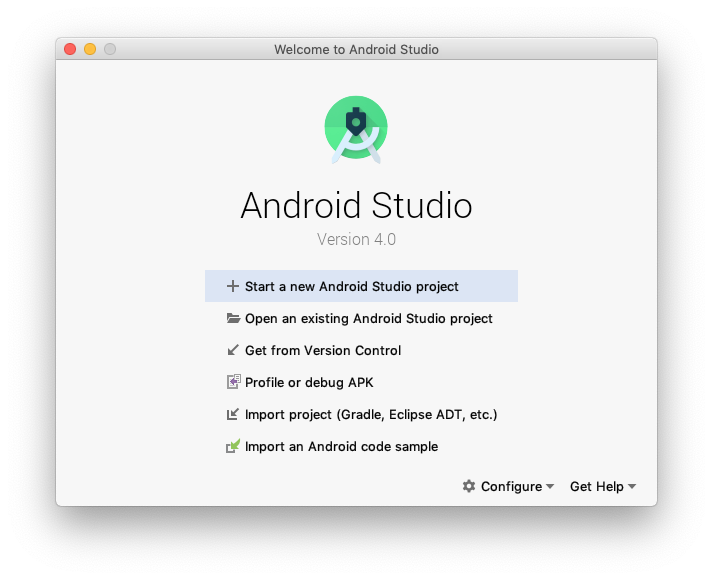
- Select "Start a new Android Studio project".
- In the "Choose your project" dialog, choose "Native C++":
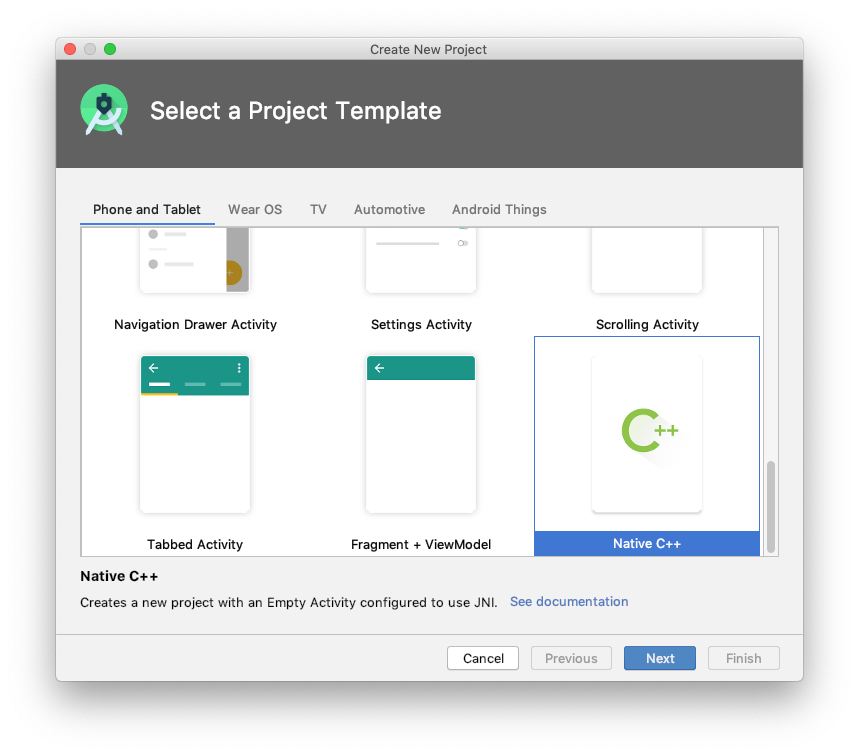
- Click "Next" to set up your first C/C++ project.
- In the "Configure your project" dialog, change "Application Name" to Hello-cmake, and leave the rest to their default settings. Your project should look similar to the following:
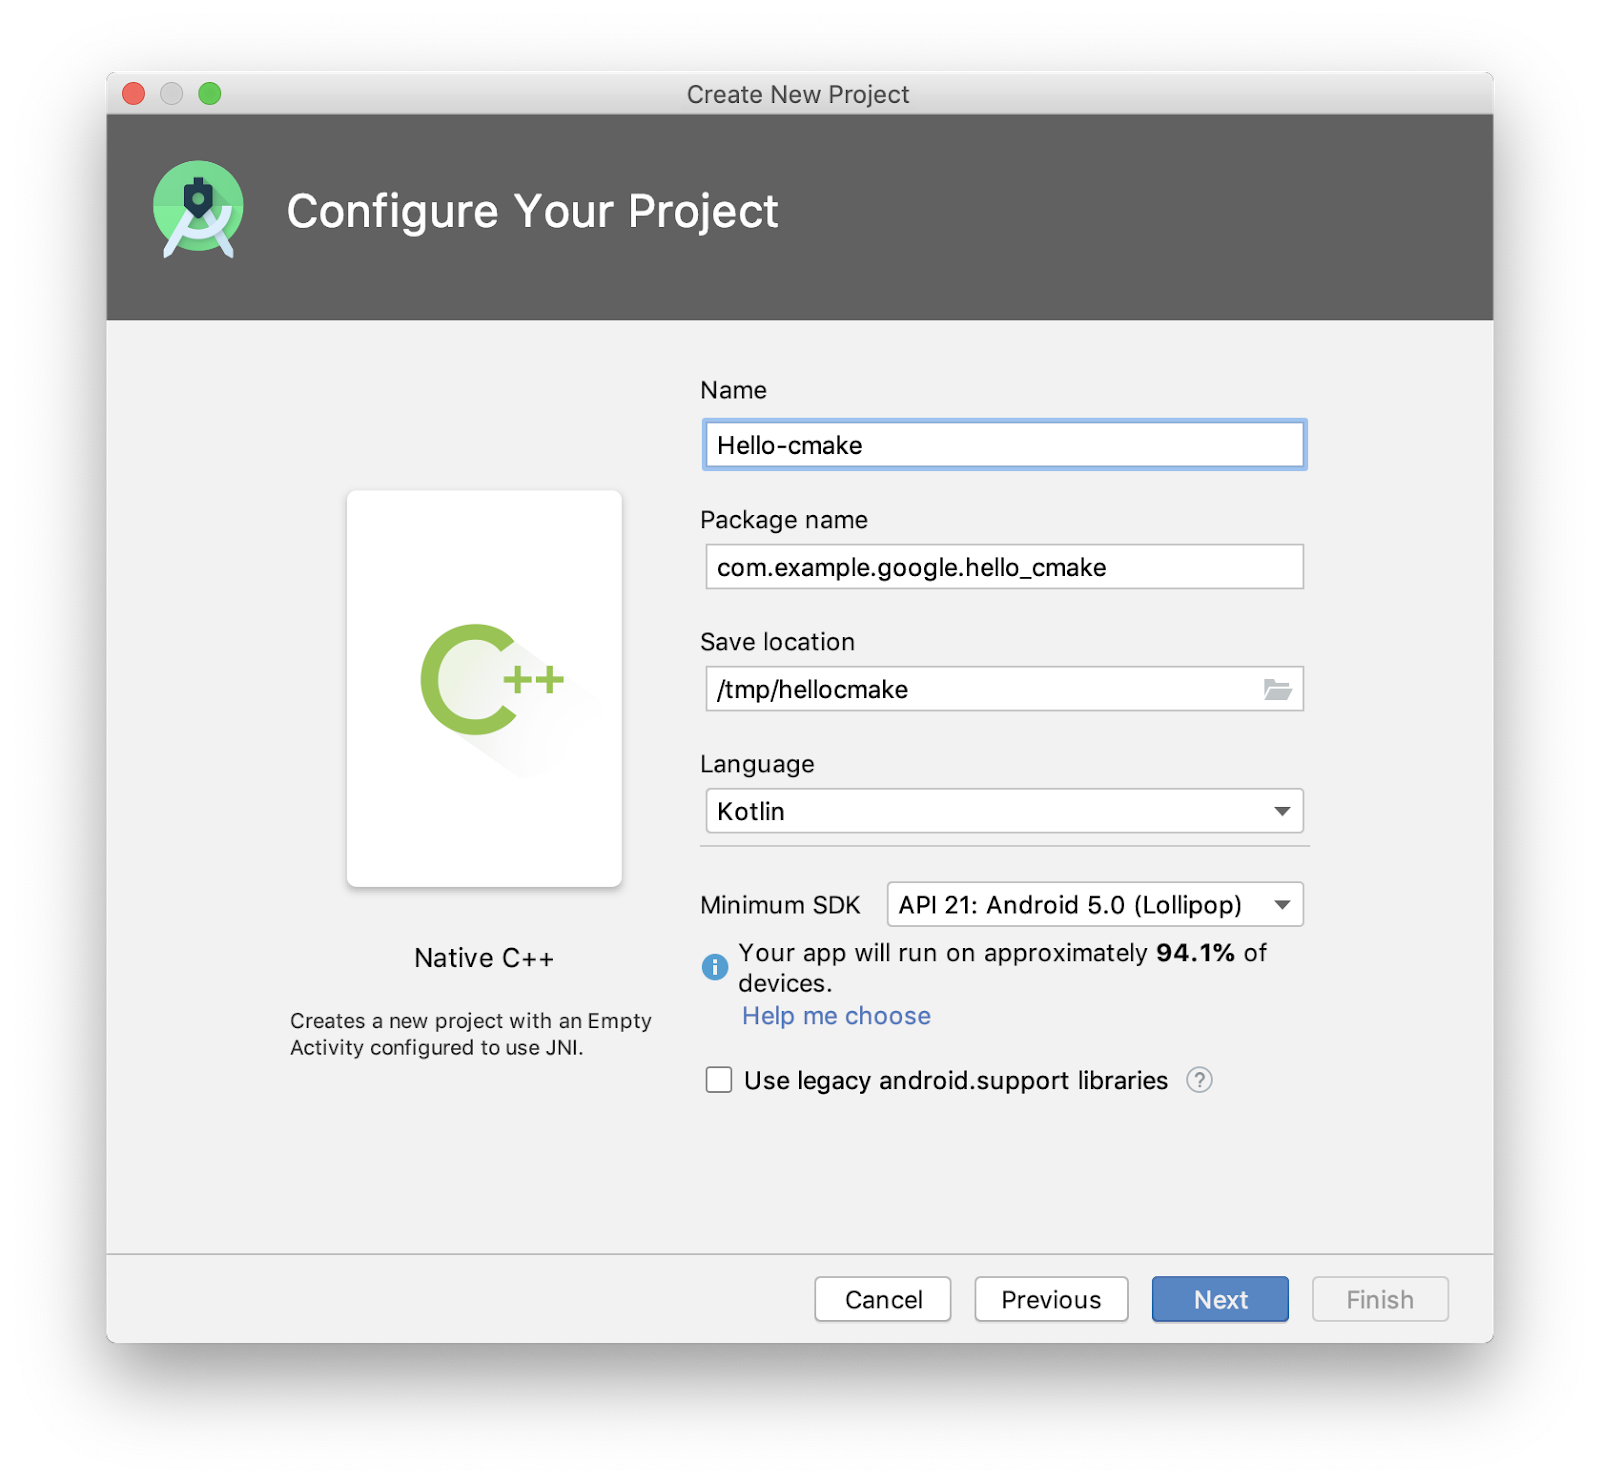
- Click "Next".
- In the "Customize C++ Support" dialog, and select "C++17" for "C++ Standard", feel free to select different language standards for the project (This sample does not use any C++17/C++14 specific features). In the later section, you would discover that this configuration creates the "
cppFlags" in the module'sbuild.gradlefile.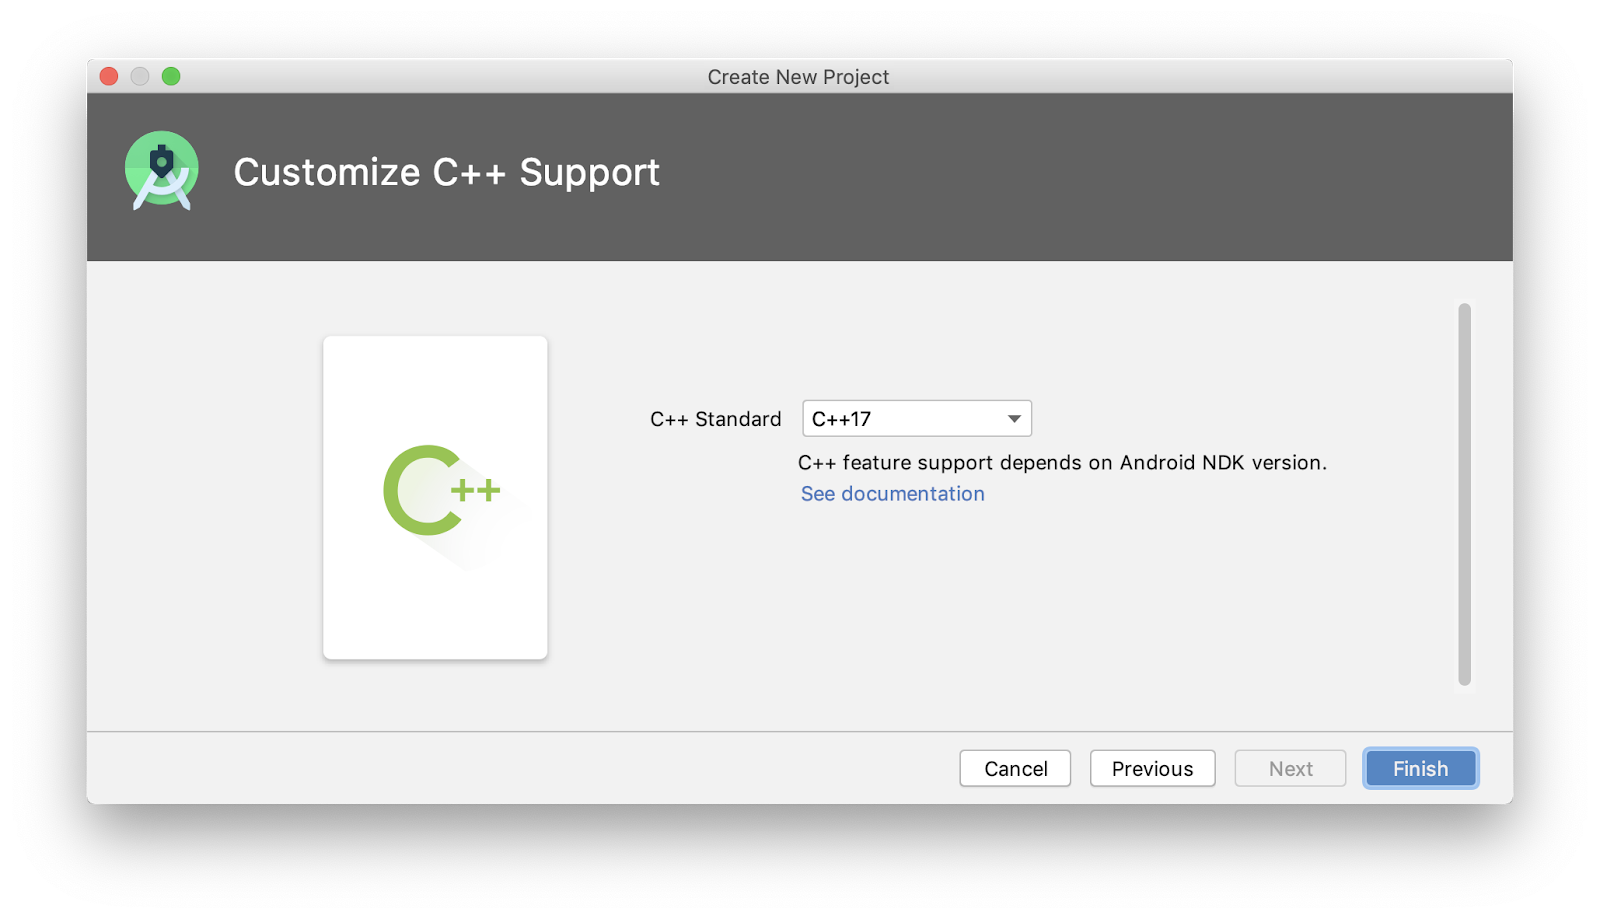
- Click "Finish" to complete application creation! Wait for Android Studio to complete the new project creation, and it should look like the following:
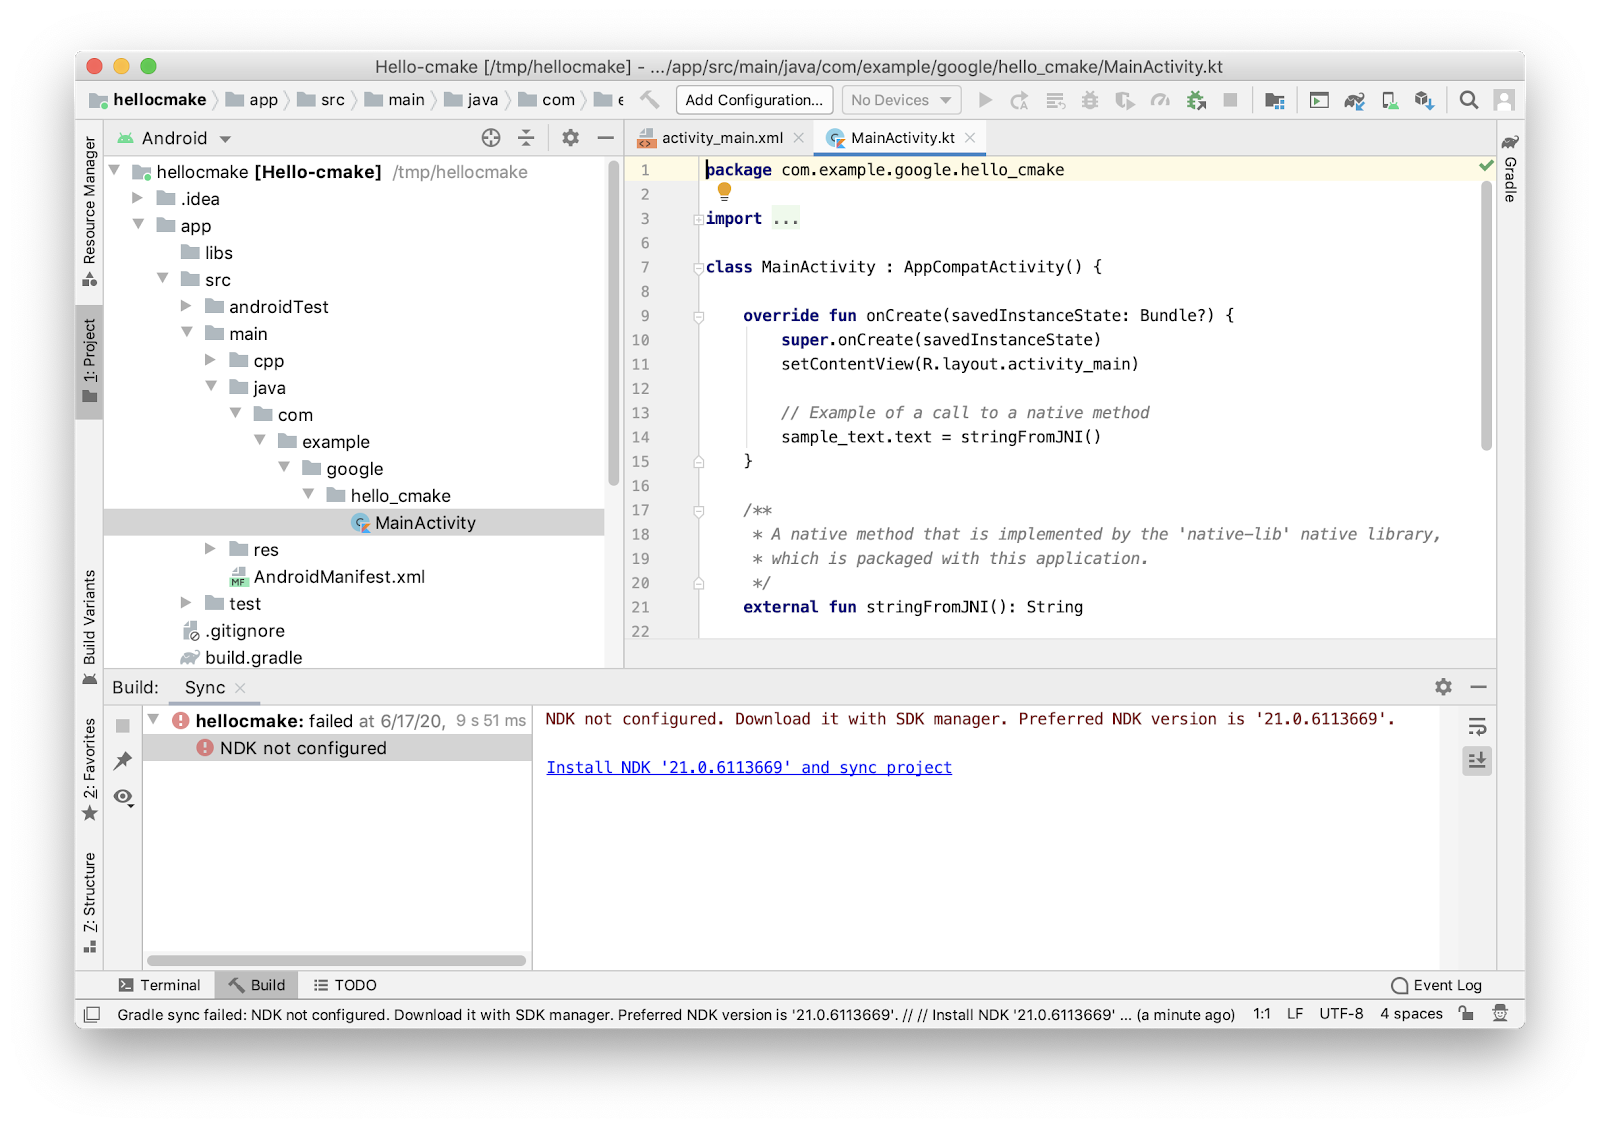
- Fix "NDK not configured" error. This is because Android does not find the required NDK version on your system. The backend of Android Studio is Android Gradle Plugin (AGP), AGP version 4.0 provides an option for you to configure the needed NDK with
ndkVersion;If you do not configure NDK version, AGP 4.0 will use its default NDK version. In this project, you have not specified which NDK to use yet, and actually this project does not care about the version of NDK: any NDK version would work, so you could simply take the given default NDK. In this case, simply click "Install NDK ‘21.0.6113669'" and follow the prompt to fix the error! When it is done, your would see something like this: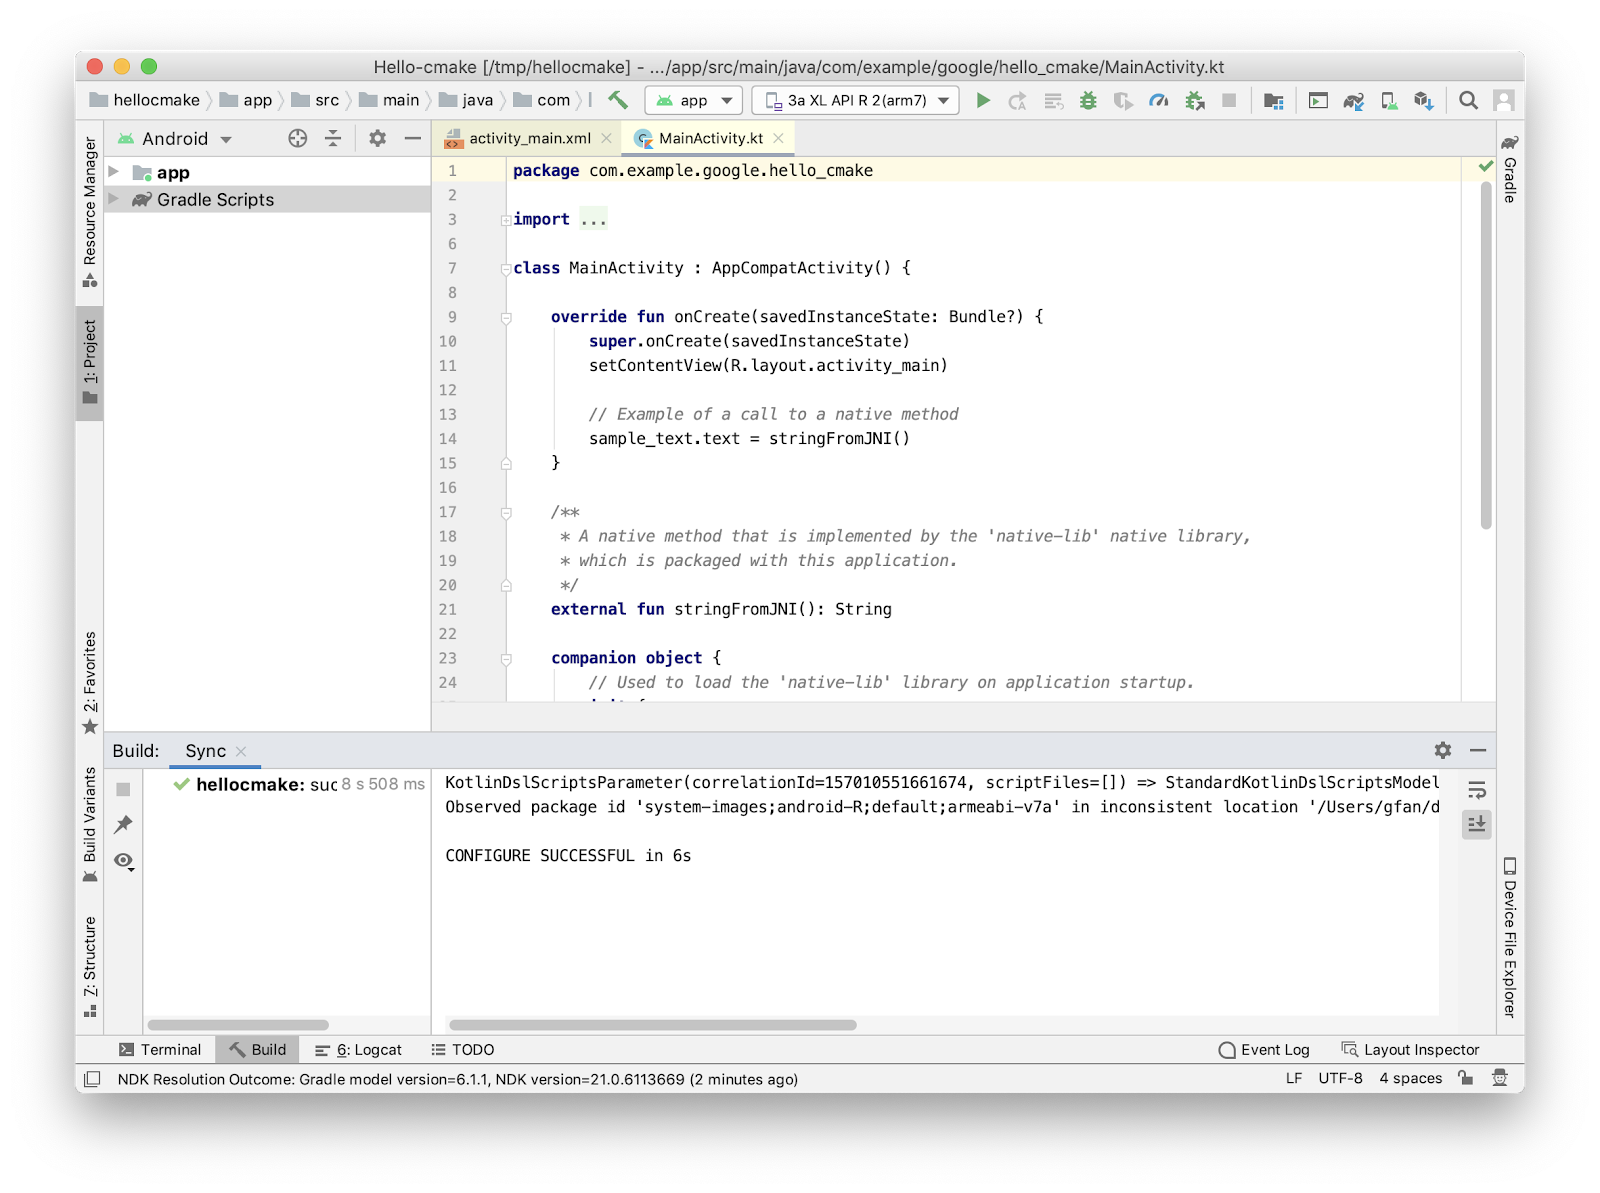 Note that from AGP 4.1+, the default NDK version will be silently installed when needed.
 - Your project is ready to run! If you have a physical Android device available, connect it to your workstation with a USB cable; otherwise, create an Emulator.
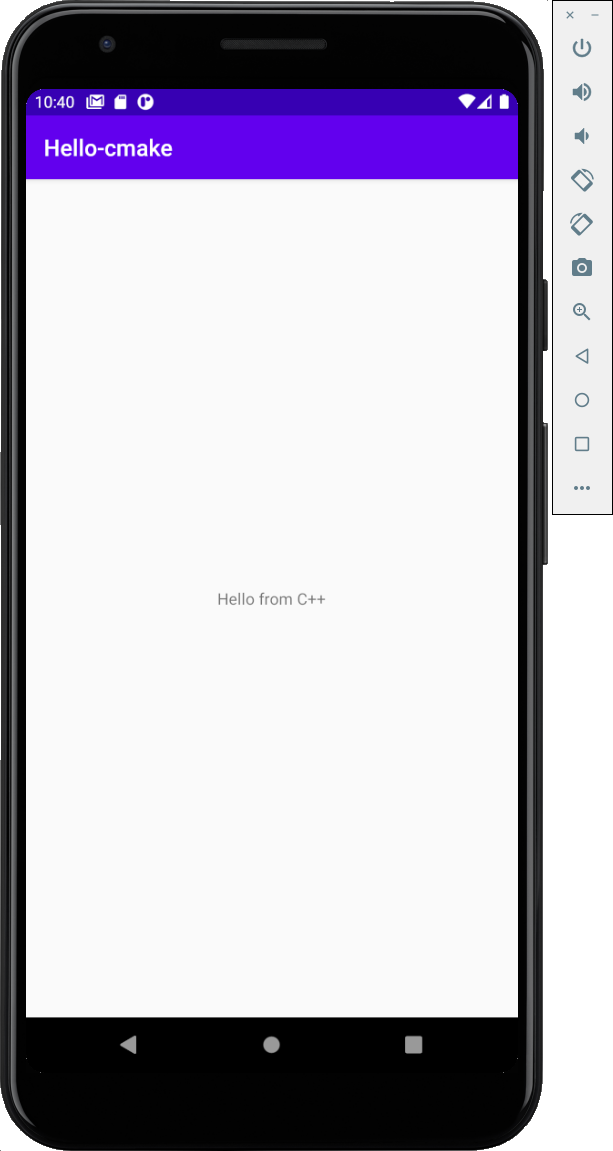
- Run
 the project, you should see the following when running on emulator:
3. Browsing and Debugging JNI Code
- From the "Project" pane on the left side of the IDE, expand the "External Build Files" node and double-click "
CMakeLists.txt".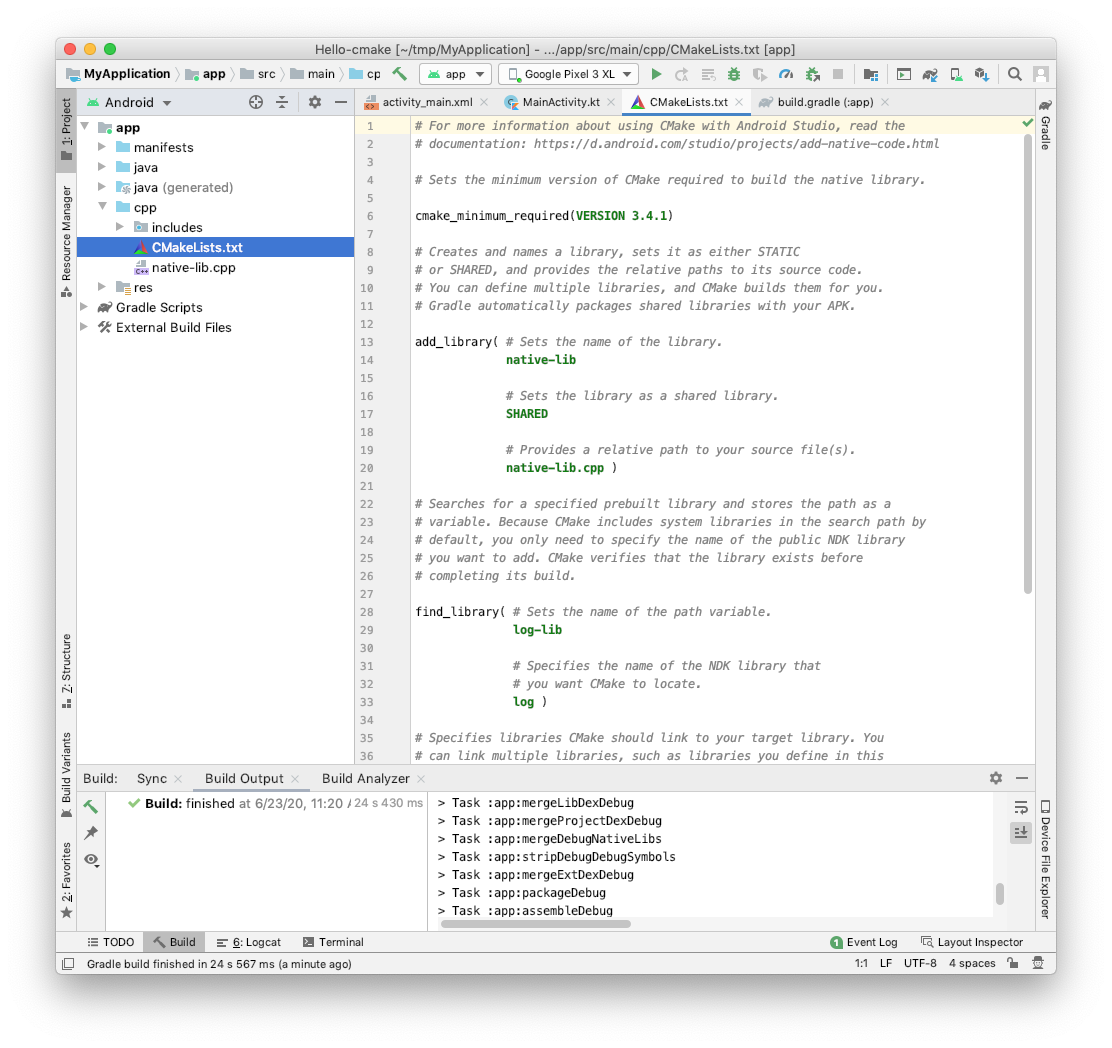 This is the CMake build script that Android Studio generates for your Hello-cmake project; CMakelist.txt directs compiler and linker to produce
 libnative-lib.sofrom your C/C++ source code.libNatiove-lib.sois loaded by your project's Java code at run time. TheCMakeLists.txtcontains mostly comment, it should look similar to:
# Sets the minimum version of CMake required to build the native
# library.
cmake_minimum_required(VERSION 3.4.1)

# Creates the project's shared lib: libnative-lib.so.
# The lib is loaded by this project's Java code in MainActivity.java:
#     System.loadLibrary("native-lib");
# The lib name in both places must match.
add_library( native-lib
             SHARED
             src/main/cpp/native-lib.cpp )

find_library(log-lib
             log )

# Specifies libraries CMake should link to your target library. You
# can link multiple libraries, such as libraries you define in the
# build script, prebuilt third-party libraries, or system libraries.

target_link_libraries( # Specifies the target library.
                       native-lib

                       # Links the target library to the log library
                       # included in the NDK.
                       ${log-lib} )
- From the same "Project" pane, open "Gradle Scripts" > "build.gradle(Module:app)". In the
android.externalNativeBuild.cmake{}block, you can see the bridging code fromGradletoCMake:
// Sets up parameters for both jni build and cmake.
// For a complete list of parameters, see
// developer.android.com/ndk/guides/cmake.html#variables
externalNativeBuild {
   cmake {
       // cppFlags are configured according to your selection
       // of "Customize C++ Support", in this codelab's
       //    "Create a Sample App with the C++ Template",
       //    step 6
       cppFlags "-std=c++17"
   }
......

// Specifies the location of the top level CMakeLists.txt
// The path is relative to the hosting directory
// of this build.gradle file
externalNativeBuild {
   cmake {
       path "src/main/cpp/CMakeLists.txt"
       version "3.10.2"

   }
}
The Android CMake toolchain provides a group of variables for your CMake scripts to configure build parameters, refer to Using CMake variables in Gradle for the complete list.
- Under app > cpp, open the file "
native-lib.cpp". - From here, you could navigate your C/C++ code. For example, to locate the prototype for C/C++ function "
NewStringUTF()", simply right click on the "NewStringUTF" inenv->NewStringUTF(hello.c_str()), and select "Go To" > "Implementation(s)". Android Studio will openjni.hinside IDE, and show you the function prototype right away.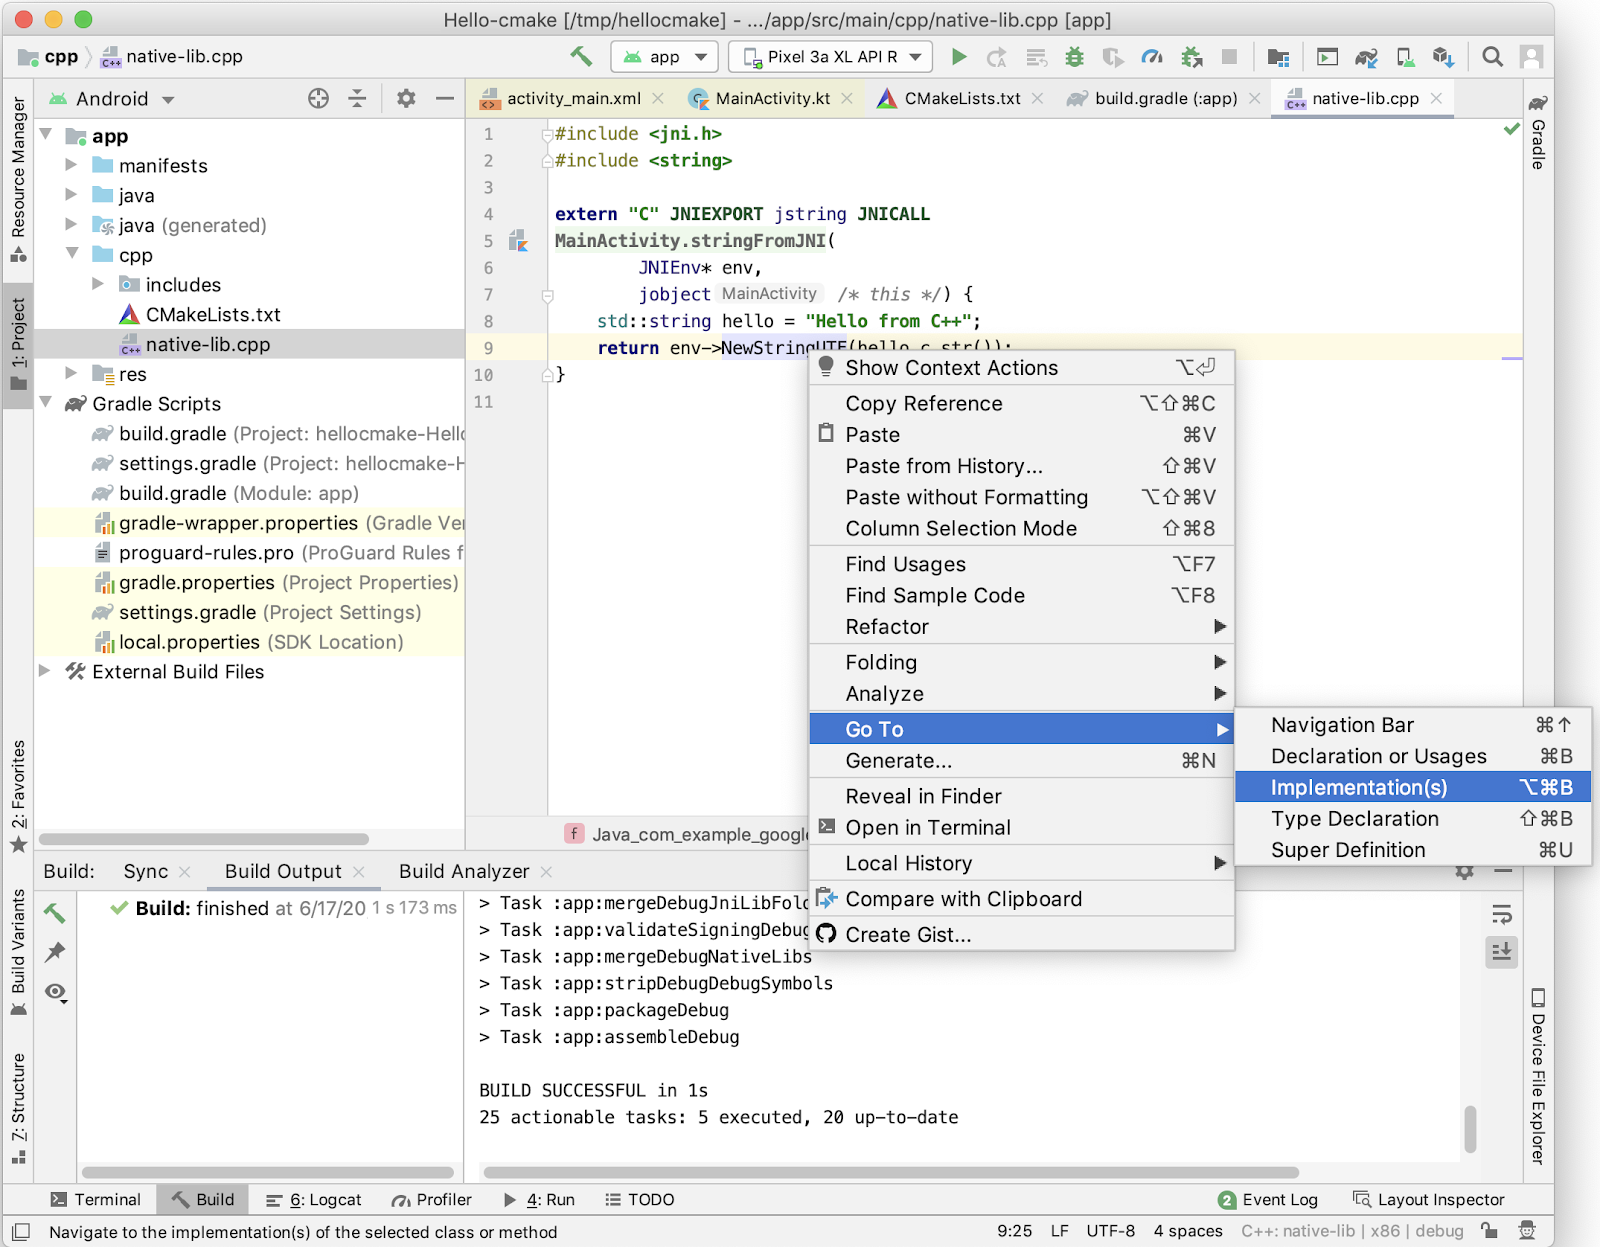
- Close
jni.hsource window and go back tonative-lib.cpp. Locate the following line of code:std::string hello = "Hello from C++".Set a breakpoint by clicking the left gutter along that line of code or place the caret on the line and press Control+F8 (or Command+F8 on Mac).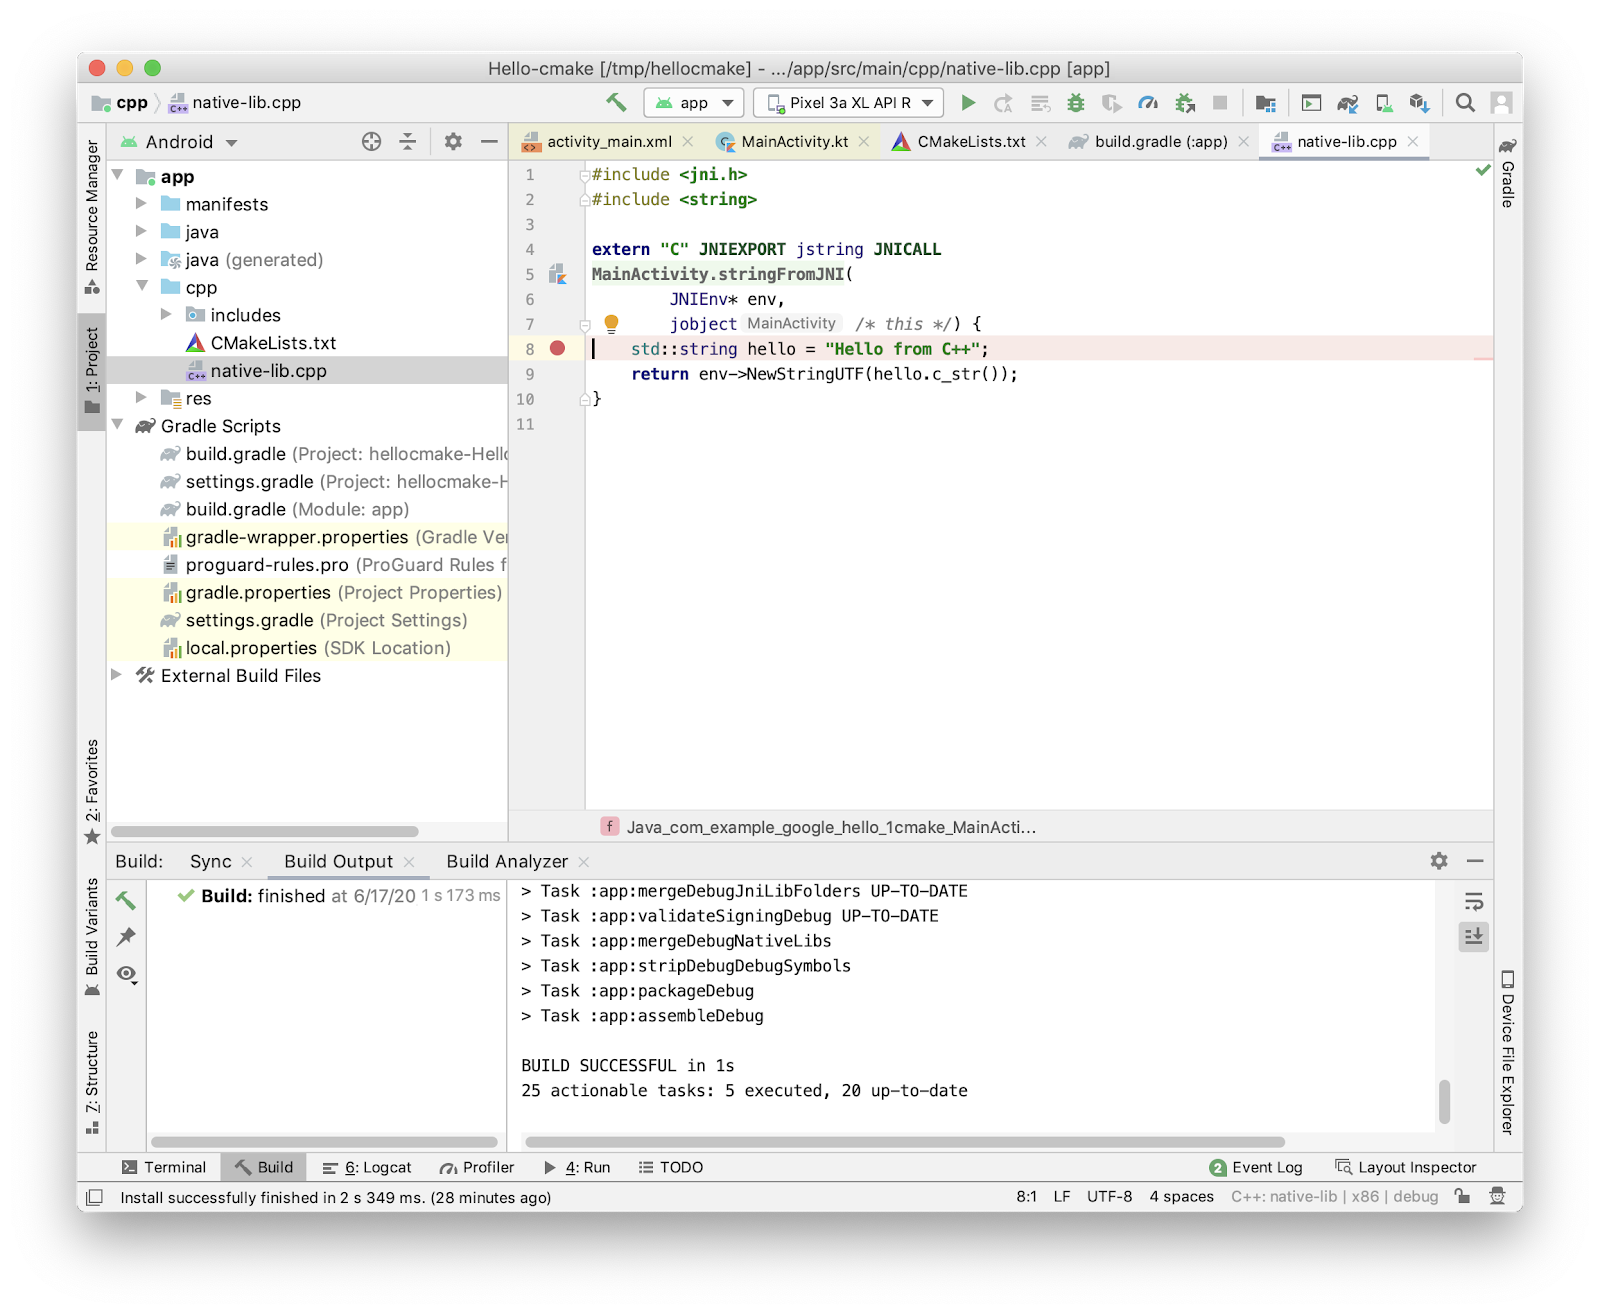
- Make sure your Android device is enabled with USB debugging, then click the debug button
 to deploy your app. Your target device should prompt "Waiting For Debugger" message:
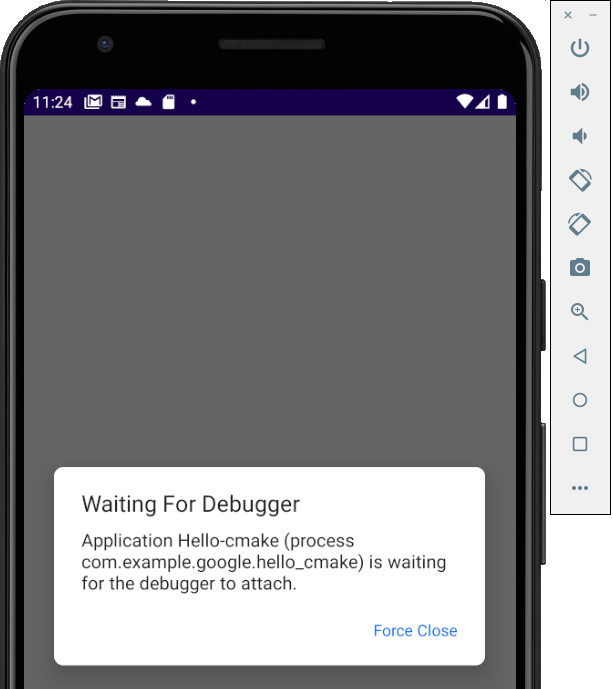
Do not tap "FORCE CLOSE". Note: Android Studio might prompt to install "Instant Run" before starting application; in that case, choosing either "Proceed without Instant Run" or "Install and Continue" is fine for this codelab.
- Wait until Android Studio connects to the debugger on your device (it might take a short time for the first time to connect debugger, depending on the device and Android platform version) and stops at the breakpoint:

- Select "5: Debug"
 tab, click "
env" inside the "Variables" to observe the contents ofenvpointer. You can now step over code with the F8 key and perform other debugging activities. Press F9 to resume execution–you should see the application finish execution on the target device!
4. Congratulations!
With Android Studio 4.0.0, it is simple to create and manage a project that includes C/C++ code; begin your new C/C++ projects with Android Studio + CMake today!
What we've covered with Android Studio
- Create a JNI project with Android Studio C/C++ template
- Debug native code in JNI project
Next Steps
- Use Android Studio CMake for your Android Native project development
- Read Android Studio CMake and Android Debug documentation
- Explore Android Studio samples, google play game samples, and vulkan samples
Learn More
- Learn how to use Android Studio.
- Learn Android NDK and SDK.
- Understand NDK configuration in Studio/AGP
- Learn JNI standard and JNI Tips
- Explore more NDK, Vulkan tutorials, Vulkan API, and Play games samples on github.
- Google IO 2016 Presentation for Android Studio.
- Post questions to Android Tools Team
