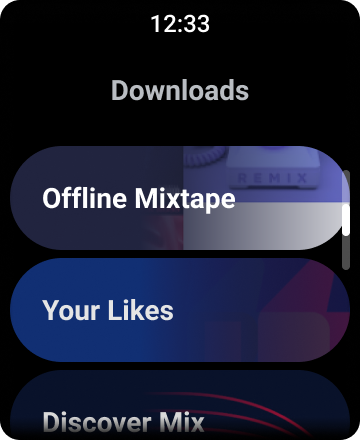
목록이 있으면 사용자는 Wear OS 기기에서 여러 선택 항목 중 하나를 쉽게 고를 수 있습니다.
웨어러블 UI 라이브러리에는 WearableRecyclerView 클래스가 포함되어 있으며 이 클래스는 웨어러블 기기에 최적화된 목록을 만들기 위한 RecyclerView 구현입니다. 새로운 WearableRecyclerView 컨테이너를 만들어 웨어러블 앱에서 이 인터페이스를 사용할 수 있습니다.
애플리케이션 런처 또는 연락처 목록과 같은 간단한 항목의 긴 목록에는 WearableRecyclerView를 사용하세요. 각 항목에는 짧은 문자열 및 관련 아이콘이 있을 수 있습니다. 또는 각 항목에 문자열과 아이콘 중 하나만 있을 수도 있습니다.
참고: 복잡한 레이아웃은 사용하지 마세요. 사용자는 특히 웨어러블 기기의 제한된 화면 크기에서는 항목을 한번 보고 어떤 내용인지 파악할 수 있어야 합니다.
WearableRecyclerView API는 기본적으로 기존의 RecyclerView 클래스를 확장하여 세로로 스크롤 가능한 항목 목록을 일자형 목록으로 표시합니다. WearableRecyclerView API를 사용하면 웨어러블 앱에서 곡선 레이아웃 및 원형 스크롤 동작을 선택할 수 있습니다.

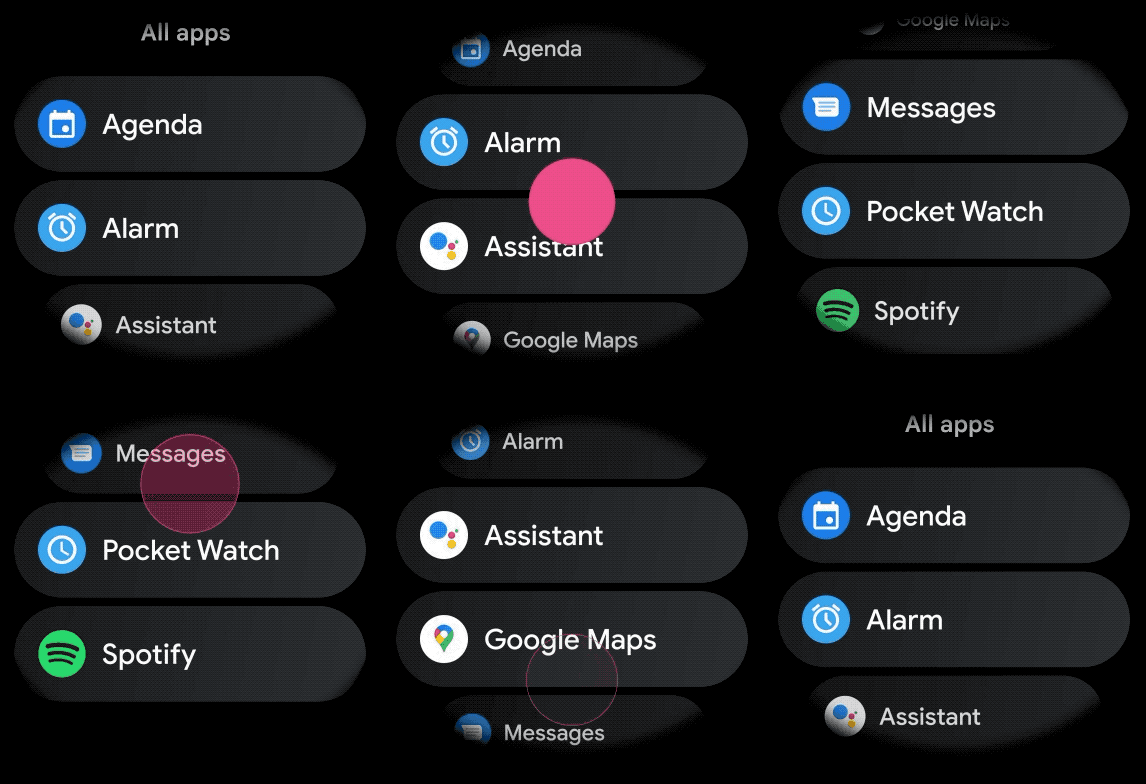
그림 1. Wear OS의 기본 목록 보기
이 가이드에서는 WearableRecyclerView 클래스를 사용하여 Wear OS 앱에서 목록을 만드는 방법과 스크롤 가능한 항목을 위한 곡선형 레이아웃을 선택하는 방법, 스크롤하는 동안 하위 요소의 모양을 맞춤설정하는 방법을 보여줍니다.
XML을 사용하여 활동에 WearableRecyclerView 추가
다음 레이아웃은 활동에 WearableRecyclerView를 추가합니다.
<androidx.wear.widget.WearableRecyclerView
    xmlns:android="http://schemas.android.com/apk/res/android"
    xmlns:tools="http://schemas.android.com/tools"
    android:id="@+id/recycler_launcher_view"
    android:layout_width="match_parent"
    android:layout_height="match_parent"
    android:scrollbars="vertical" />
다음 예는 활동에 적용된 WearableRecyclerView를 보여줍니다.
Kotlin
class MainActivity : Activity() {

    override fun onCreate(savedInstanceState: Bundle?) {
        super.onCreate(savedInstanceState)
        setContentView(R.layout.activity_main)
    }
    ...
}
Java
public class MainActivity extends Activity {
    @Override
    public void onCreate(Bundle savedInstanceState) {
        super.onCreate(savedInstanceState);
        setContentView(R.layout.activity_main);
    }
    ...
}
곡선형 레이아웃 만들기

웨어러블 앱에서 스크롤 가능한 항목의 곡선형 레이아웃을 만들려면 다음을 실행하세요.
WearableRecyclerView를 관련 XML 레이아웃에서 기본 컨테이너로 사용합니다.-
setEdgeItemsCenteringEnabled(boolean)메서드를true로 설정합니다. 그러면 화면의 목록에 있는 첫 번째 항목과 마지막 항목이 세로로 가운데에 배치됩니다. WearableRecyclerView.setLayoutManager()메서드를 사용하여 화면에서 항목의 레이아웃을 설정합니다.
Kotlin
wearableRecyclerView.apply {
    // To align the edge children (first and last) with the center of the screen.
    isEdgeItemsCenteringEnabled = true
    ...
    layoutManager = WearableLinearLayoutManager(this@MainActivity)
}
자바
// To align the edge children (first and last) with the center of the screen.
wearableRecyclerView.setEdgeItemsCenteringEnabled(true);
...
wearableRecyclerView.setLayoutManager(
                new WearableLinearLayoutManager(this));
항목이 중앙에서 멀리 스크롤될 때 아이콘과 텍스트의 크기를 조절해야 하는 등 스크롤하는 동안 하위 요소의 모양을 맞춤설정해야 하는 특정 요구사항이 있는 앱의 경우
WearableLinearLayoutManager.LayoutCallback 클래스를 확장하고
onLayoutFinished 메서드를 재정의합니다.
다음 코드 스니펫은 WearableLinearLayoutManager.LayoutCallback 클래스를 확장하여 중앙에서 멀어질 때 크기가 조절되도록 항목의 스크롤을 맞춤설정하는 예를 보여줍니다.
Kotlin
/** How much icons should scale, at most.  */
private const val MAX_ICON_PROGRESS = 0.65f

class CustomScrollingLayoutCallback : WearableLinearLayoutManager.LayoutCallback() {

    private var progressToCenter: Float = 0f

    override fun onLayoutFinished(child: View, parent: RecyclerView) {
        child.apply {
            // Figure out % progress from top to bottom.
            val centerOffset = height.toFloat() / 2.0f / parent.height.toFloat()
            val yRelativeToCenterOffset = y / parent.height + centerOffset

            // Normalize for center.
            progressToCenter = Math.abs(0.5f - yRelativeToCenterOffset)
            // Adjust to the maximum scale.
            progressToCenter = Math.min(progressToCenter, MAX_ICON_PROGRESS)

            scaleX = 1 - progressToCenter
            scaleY = 1 - progressToCenter
        }
    }
}
Java
public class CustomScrollingLayoutCallback extends WearableLinearLayoutManager.LayoutCallback {
    /** How much icons should scale, at most. */
    private static final float MAX_ICON_PROGRESS = 0.65f;

    private float progressToCenter;

    @Override
    public void onLayoutFinished(View child, RecyclerView parent) {

        // Figure out % progress from top to bottom.
        float centerOffset = ((float) child.getHeight() / 2.0f) / (float) parent.getHeight();
        float yRelativeToCenterOffset = (child.getY() / parent.getHeight()) + centerOffset;

        // Normalize for center.
        progressToCenter = Math.abs(0.5f - yRelativeToCenterOffset);
        // Adjust to the maximum scale.
        progressToCenter = Math.min(progressToCenter, MAX_ICON_PROGRESS);

        child.setScaleX(1 - progressToCenter);
        child.setScaleY(1 - progressToCenter);
    }
}
Kotlin
wearableRecyclerView.layoutManager =
        WearableLinearLayoutManager(this, CustomScrollingLayoutCallback())
Java
CustomScrollingLayoutCallback customScrollingLayoutCallback =
                new CustomScrollingLayoutCallback();
wearableRecyclerView.setLayoutManager(
                new WearableLinearLayoutManager(this, customScrollingLayoutCallback));

