You can get Android 17 in any of the following ways:
- [Get Android 17 on a Google Pixel device](https://developer.android.com/about/versions/17/get#on_pixel)
- [Get Android 17 Beta on a partner device](https://developer.android.com/about/versions/17/get#on_partner)
- [Set up the Android Emulator](https://developer.android.com/about/versions/17/get#on_emulator)
- [Get a generic system image (GSI)](https://developer.android.com/about/versions/17/get#on_gsi)
## Get Android 17 on a Google Pixel device
If you have a [supported Pixel device](https://developer.android.com/about/versions/17/get#google-pixel-devices), you can [check and update your
Android version](https://support.google.com/pixelphone/answer/7680439) to receive Android 17 over the air.
In most cases, you don't need to do a full reset of your data to move to Android
17, but it's recommended that you back up data before installing Android 17 on
your device.
### Supported Google Pixel devices
Android 17 OTAs and downloads are available for the following Pixel devices:
- Pixel 6
- Pixel 6 Pro
- Pixel 6a
- Pixel 7
- Pixel 7 Pro
- Pixel 7a
- Pixel Tablet
- Pixel Fold
- Pixel 8
- Pixel 8 Pro
- Pixel 8a
- Pixel 9
- Pixel 9 Pro
- Pixel 9 Pro XL
- Pixel 9 Pro Fold
- Pixel 9a
- Pixel 10
- Pixel 10 Pro
- Pixel 10 Pro XL
- Pixel 10 Pro Fold
- Pixel 10a
### Flash or manually install a system image
Alternatively, if you'd rather flash your device, we recommend using the [Android Flash Tool](https://flash.android.com/release/17.0.0).
If you need to flash your device manually for some other reason, you can get the
Android 17 system image for your device on the [Pixel downloads page](https://developers.google.com/android/images). Read
the general instructions for how to [flash a system image](https://developers.google.com/android/images#instructions) to your device.
This approach can be useful when you need more control over testing, such as for
automated testing or regression testing.
## Get Android 17 Beta on a partner device
The following device-maker partners are offering Android 17 Beta for you to try
on some of their top devices:
- HONOR
- iQOO
- Lenovo
- OnePlus
- OPPO
- realme
- Sharp
- vivo
- Xiaomi
You can learn how to install Android 17 Beta by visiting each partner's site.
Each partner provides a system image that you can download and flash. Some
partners might also support over-the-air (OTA) delivery. Each partner provides
support resources to guide you through the installation process---use the
**Get the Beta** link on the [Android 17 Beta devices](https://developer.android.com/about/versions/17/devices) page to jump to the
partner's download and OTA information.
Each Android 17 Beta partner provides its own channel for reporting issues found
on their supported Beta devices. We highly recommend using each partner's
feedback channel to report bugs and feedback that are specific to their devices.
[Go to partners list](https://developer.android.com/about/versions/17/devices)
## Set up the Android Emulator
Configuring the Android Emulator to run Android 17 is a flexible solution for
exploring new features and APIs and testing Android 17 behavior changes. It
lets you emulate various screen sizes and device characteristics.
Depending on the type of testing you need to do, consider setting up a variety
of virtual devices from these device categories:
- [Phone](https://developer.android.com/about/versions/17/get#phone-avd)
- [Tablet or large-screen device](https://developer.android.com/about/versions/17/get#large-screen-avd)
### Set up a virtual device (phone)
To set up a virtual device to emulate a typical phone, follow these steps:
1. Install [Android Studio Meerkat \| 2024.3.1](https://developer.android.com/studio).
2. In Android Studio, click **Tools \> SDK Manager**.
3. In the **SDK Tools tab** , select the latest version of **Android Emulator** , and then click the **OK** button. This action installs the latest version if it isn't already installed.
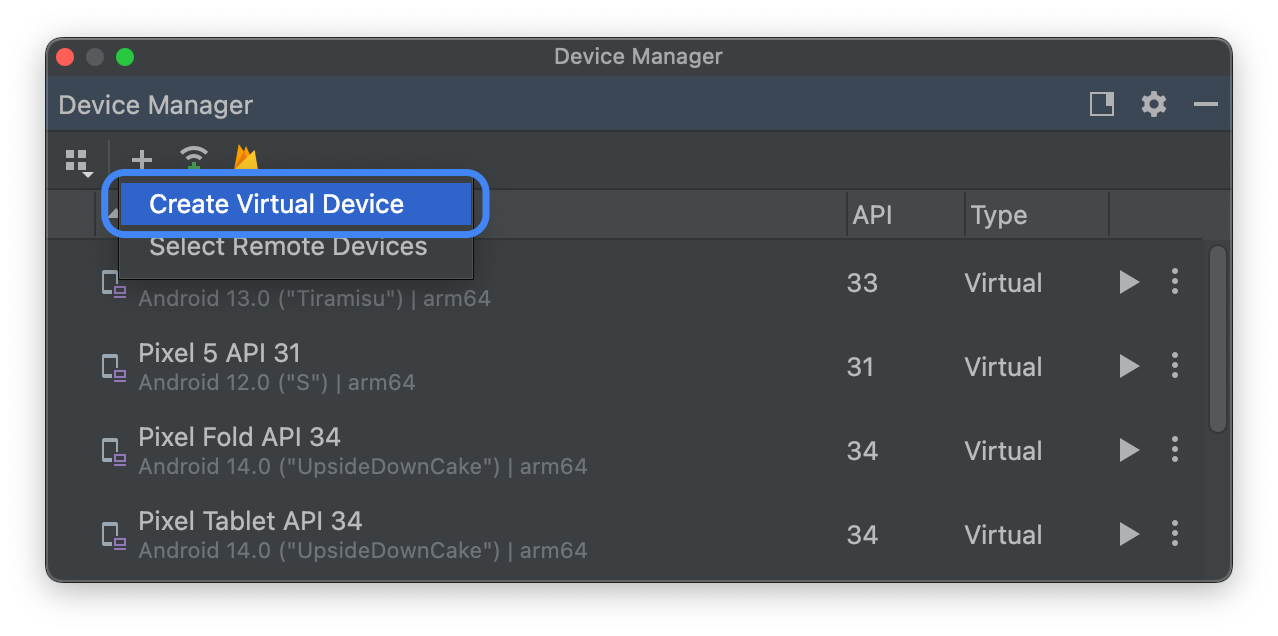
4. In Android Studio, click **Tools \> Device Manager** . In the
**Device Manager** panel, click the
**Add a new device** button ,
then select **Create Virtual Device**.
5. From the **Phone Category tab** , select a device definition for a
[supported Pixel device](https://developer.android.com/about/versions/17/get#on_pixel), then click the **Next** button.
6. Find the Android 17 system image, named **Baklava** , and click the
**Download** button 
next to the **Release Name** . After the download completes, select
this system image, and then click the **Next** button.
7. Finalize other settings for your virtual device, and then click the
**Finish** button.
8. After returning to the list of virtual devices in the **Device Manager** ,
find your Android 17 virtual device, and then click the **Start** button
.
### Set up a virtual device (tablet or large-screen)
To set up a virtual device to emulate a tablet or other large-screen device,
follow these steps:
1. Install [Android Studio Meerkat \| 2024.3.1](https://developer.android.com/studio).
2. In Android Studio, click **Tools \> SDK Manager**.
3. In the **SDK Tools tab** , select the latest version of **Android Emulator** , and then click the **OK** button. This action installs the latest version if it isn't already installed.
4. In Android Studio, click **Tools \> Device Manager** . In the **Device
Manager** panel, click the **Add a new device** button ,
then select **Create Virtual Device**.

5. From the **Tablet Category tab** , select a device definition with a large
screen, such as the **Pixel Tablet** , or from the **Phone Category tab** ,
select the **Pixel Fold** . Then, click the **Next** button.
6. Find the Android 17 system image, named **Baklava** , and click the
**Download** button 
next to the **Release Name** . After the download completes, select
this system image, and then click the **Next** button.
7. Finalize other settings for your virtual device, and then click the
**Finish** button.
8. After returning to the list of virtual devices in the **Device Manager** ,
find your Android 17 virtual device, and then click the **Start** button
.
Repeat these steps to create large screen device definitions that you can use to
test your app in a variety of large screen scenarios.
#### Resizable emulator
In addition to large screen virtual devices that you can configure for Android
17, you can try the resizable device configuration. When you're using a
resizable device definition with an Android 17 system image, the Android
Emulator lets you toggle between the three reference devices: phone,
foldable, and tablet. When using the foldable reference device, you can also
toggle between folded and unfolded states.
This flexibility makes it easier to both validate your layout at design time and
test the behavior at runtime, using the same reference devices. To create a new
resizable emulator, use the Device Manager in Android Studio to create a new
virtual device and select the **Resizable** device definition in the **Phone**
category.
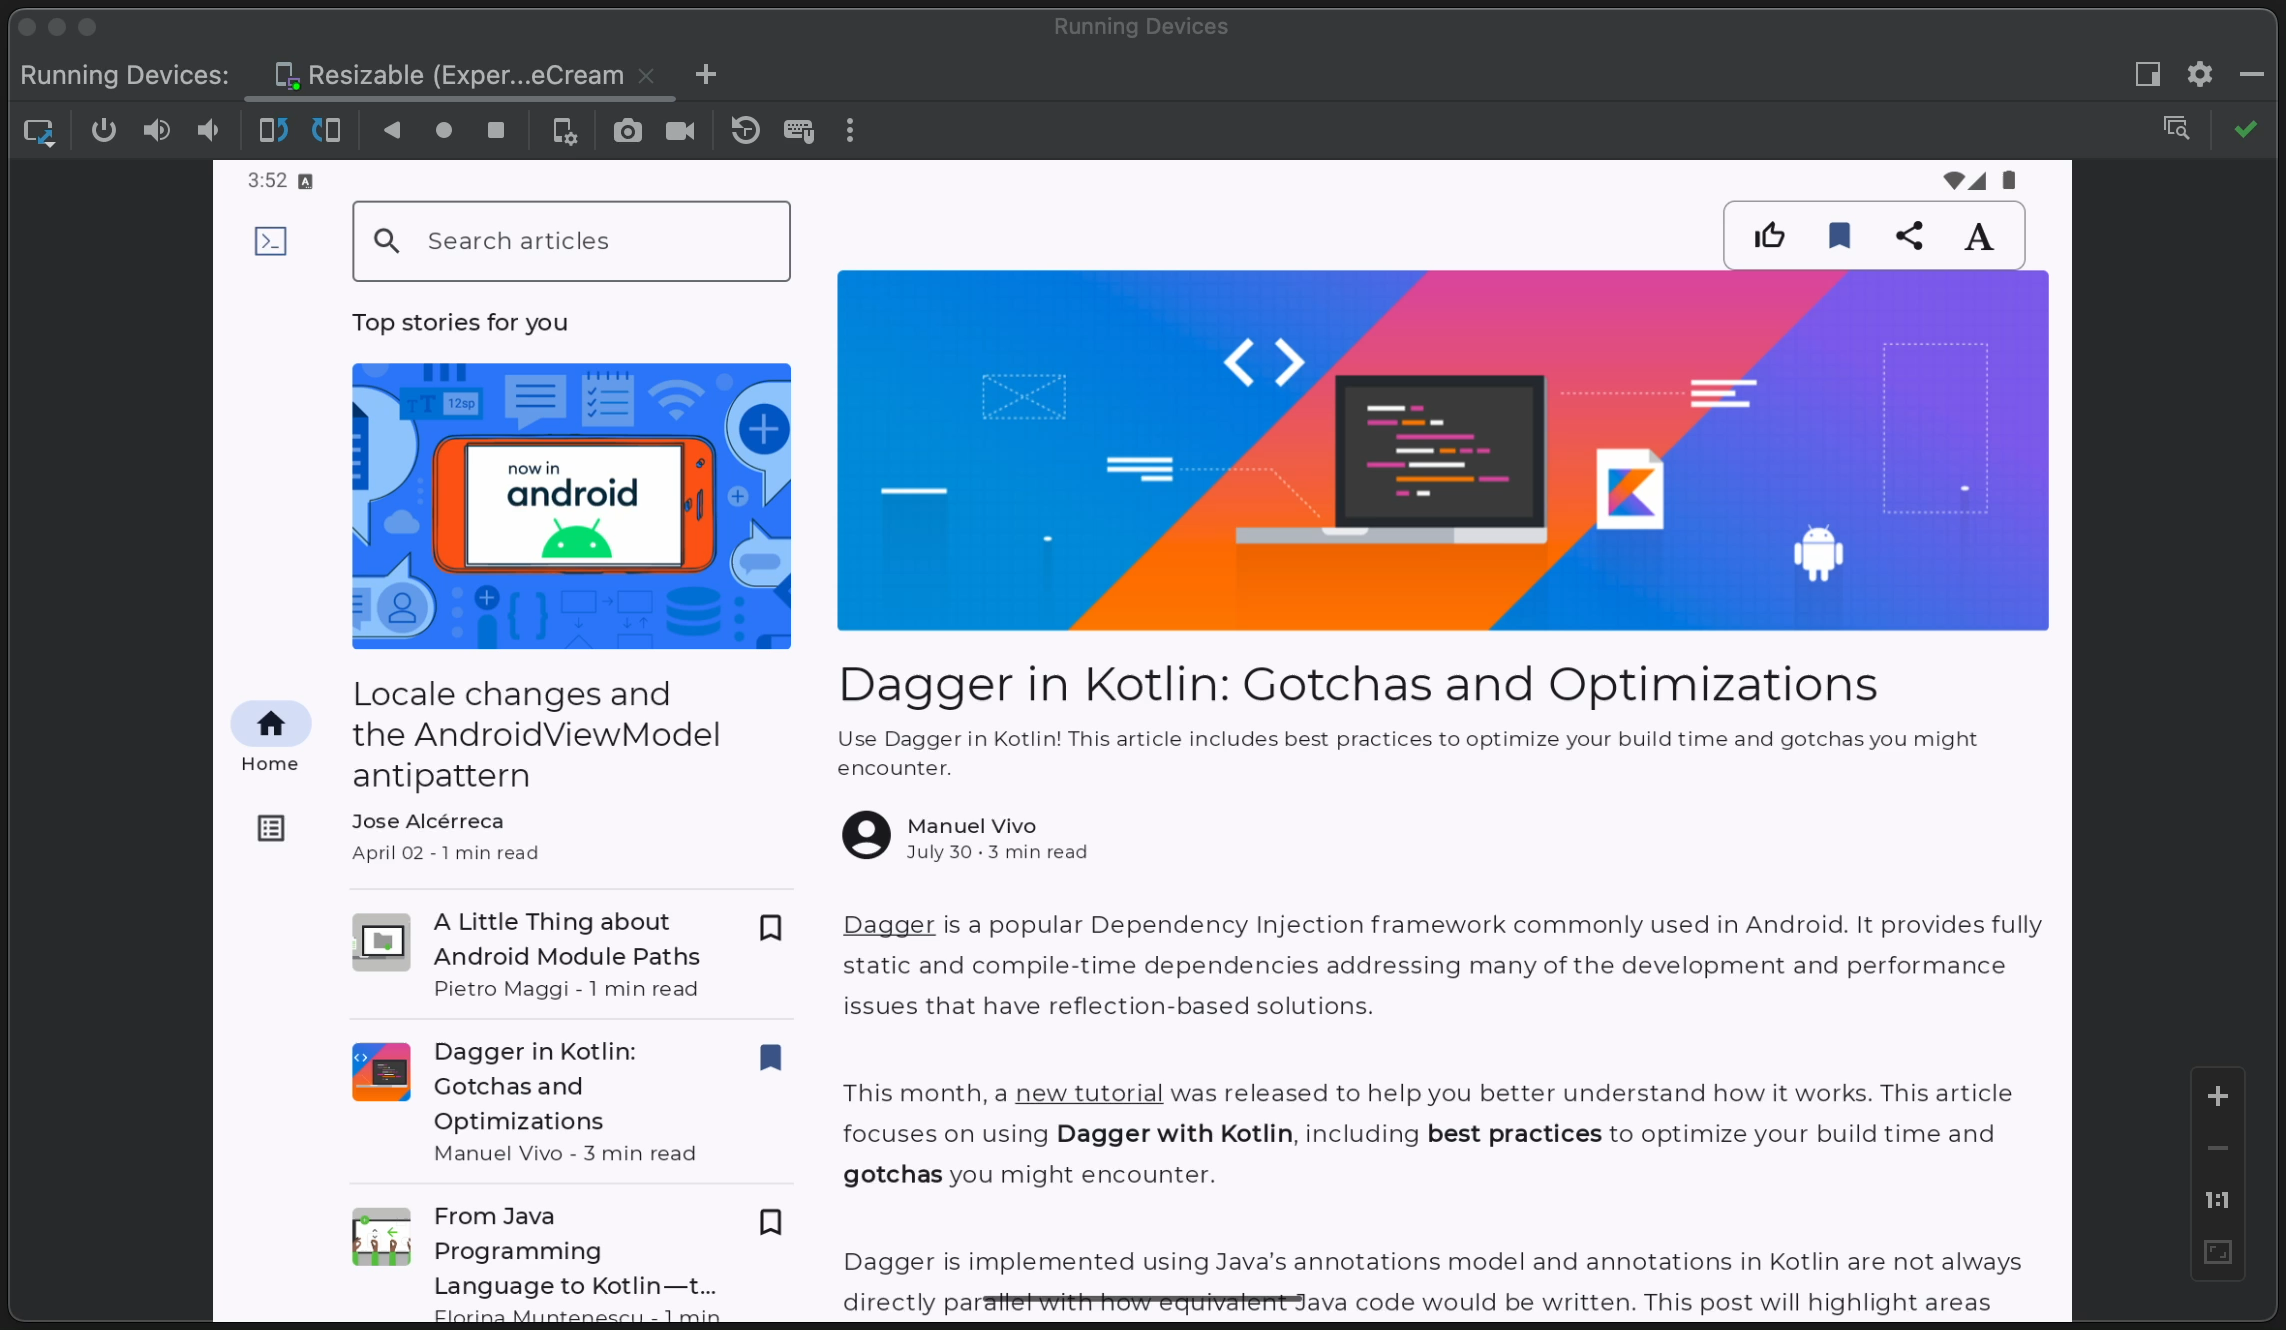 Use the resizable device definition for the Android Emulator to test Android 17 in a variety of large screen scenarios.
## Get a generic system image (GSI)
Android [Generic System Image (GSI)](https://developer.android.com/topic/generic-system-image) binaries are available to developers
for app testing and validation purposes on supported Treble-compliant devices.
You can use these images to address any compatibility issues as well as discover
and report OS and framework issues.
See the [GSI documentation](https://developer.android.com/topic/generic-system-image) for device requirements, flashing instructions,
and information on choosing the right image type for your device. Once you're
ready to download a GSI binary, see the [Downloads section](https://developer.android.com/topic/generic-system-image/releases#android-gsi-17) on the GSI
binaries page.
## More information
To learn about which changes might affect you, and to learn how to test these
changes in your app, read the following topics:
- [Behavior changes that affect all apps](https://developer.android.com/about/versions/17/behavior-changes-all)
- [Behavior changes that affect only apps that target Android 17](https://developer.android.com/about/versions/17/behavior-changes-17)
To learn more about new APIs and features available in Android 17, read [Android
17 features](https://developer.android.com/about/versions/17/features).